
Spare parts
Components and Spares
Electronic components, spares and science project material kits for school and engineering projects: DC motors, propeller fans, 9V batteries, LEDs, buzzers, sensors, switches, wires, breadboards and circuit boards. Build a new working model or repair an old one.
- 22 products
- ₹149 to ₹849
- Buy on Amazon
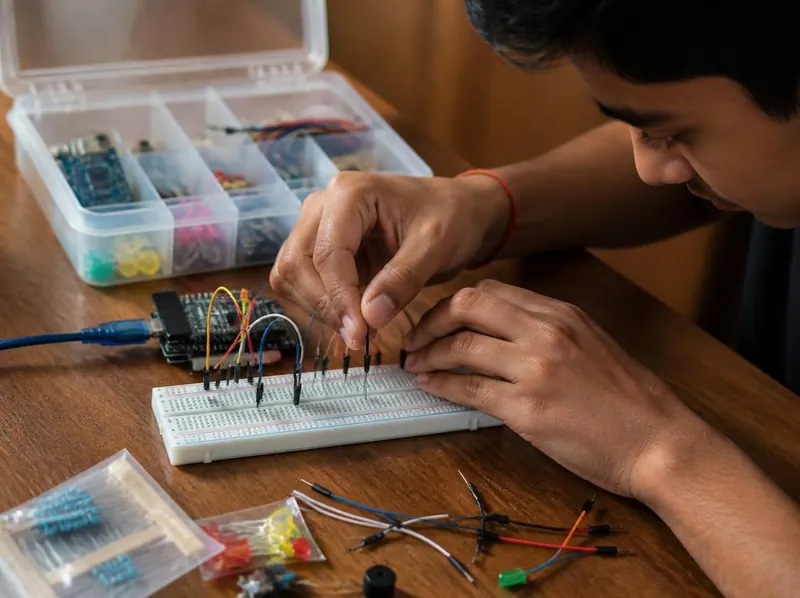
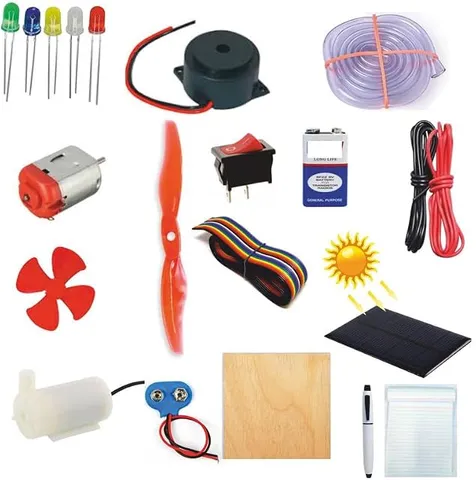
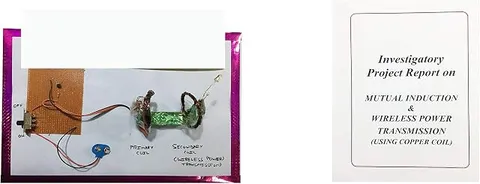
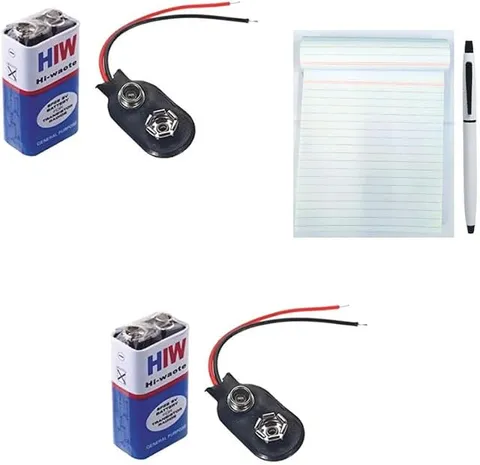
The catalogue
All Components and Spares
Every product has its own page with the details. The Buy button opens the listing on Amazon, where you pay and see the delivery date for your PIN code.
22 products
0 of 22 shown
No products match
Try another word or a different filter, or ask us: a topic that is not listed can often be made to order.
About Components and Spares
Parts to build or repair a science working model at home or in the school lab: DC toy motors, BO gear motors with wheels, propeller fan blades, 9V batteries with connectors, mini solar panels, LEDs, bulb holders, switches, buzzers, jumper wires, berg strips, solderless breadboards and zero PCBs. Several listings are mixed packs with the common parts for a school project, so one order can cover a whole model.
Read the full overview
What the packs contain
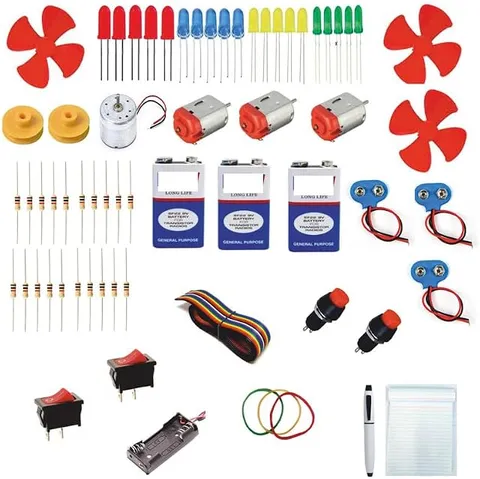
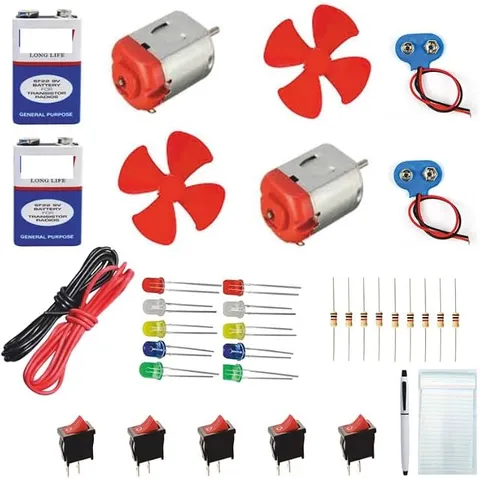
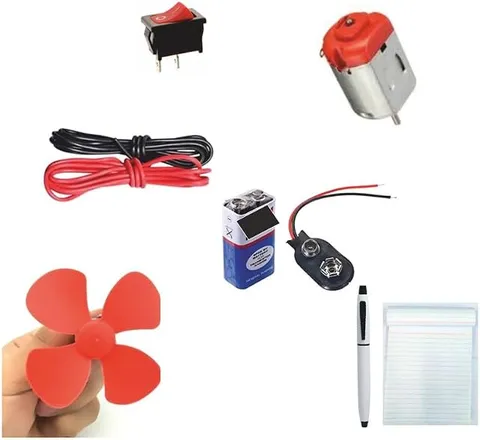
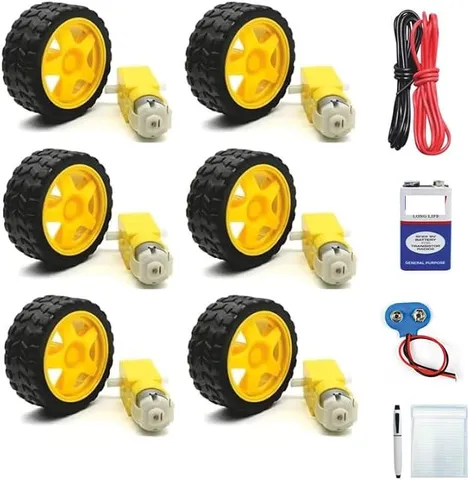
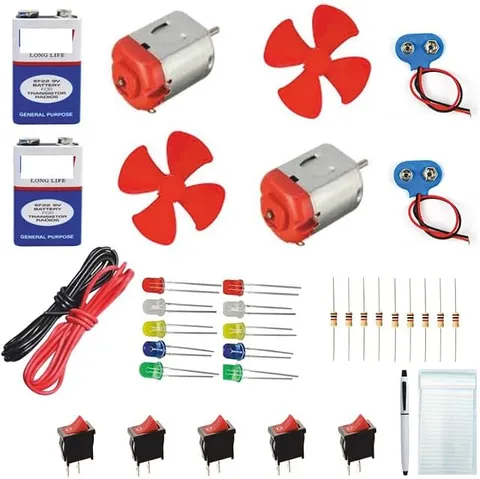
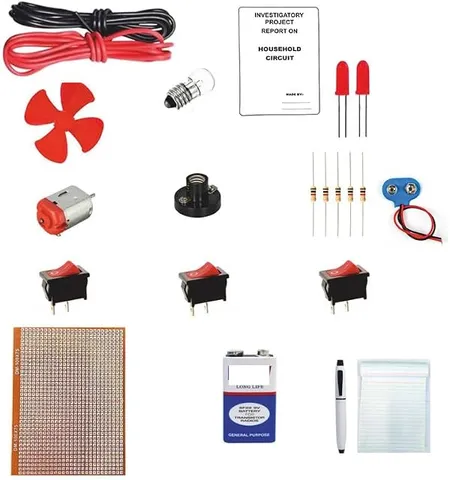
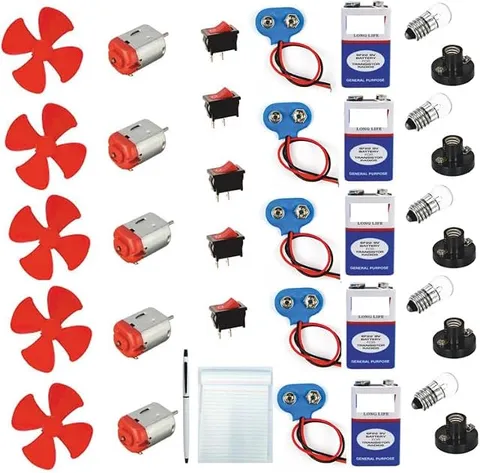
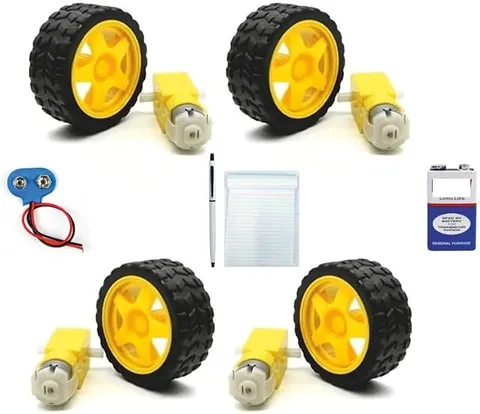
- Motor packs: DC toy motors or BO gear motors, with wheels or fan blades and a 9V battery with a snap connector
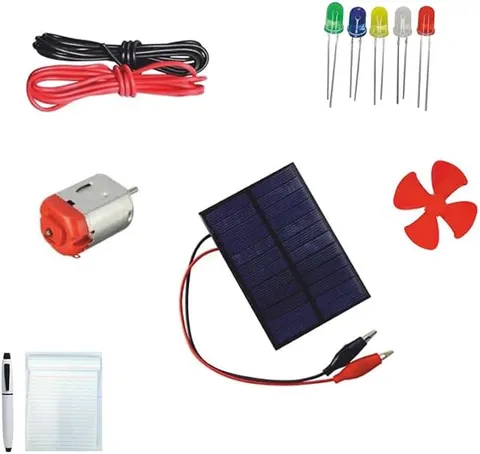
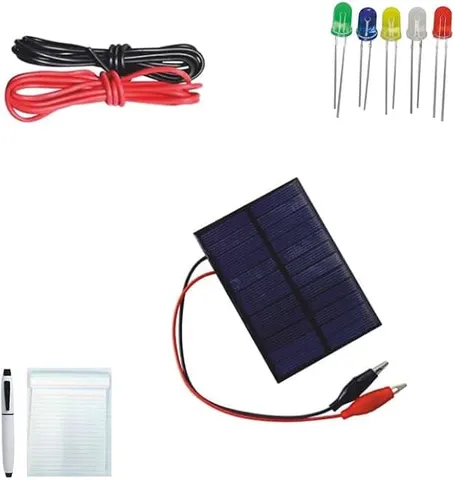
- Solar packs: a mini solar panel with a small fan or LEDs and wires, for a solar street light or solar house model
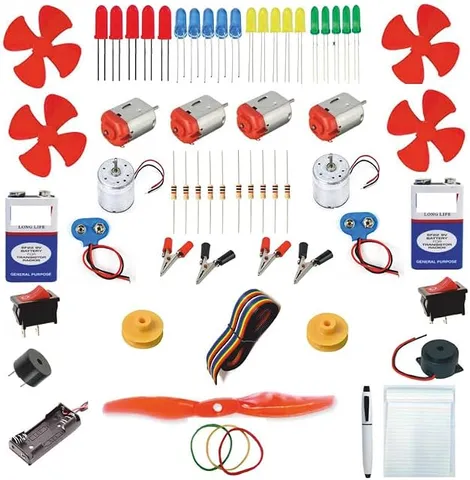
- Circuit basics: bulb holders, switches, LEDs, a buzzer and connecting wires
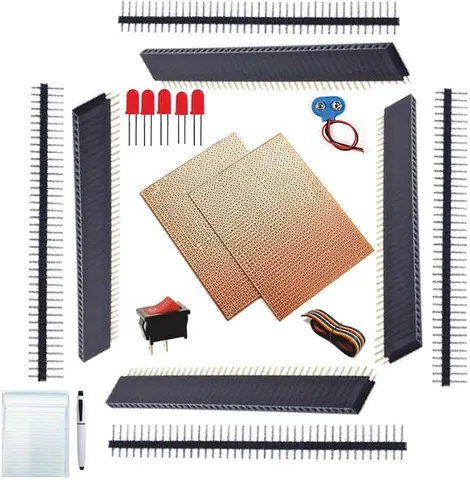
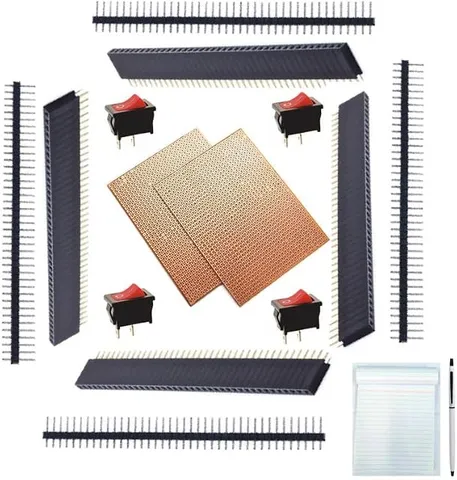
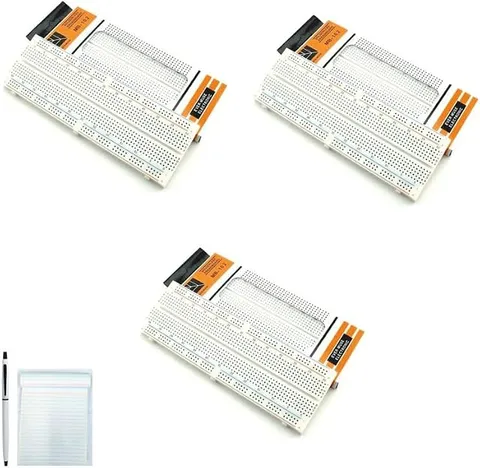
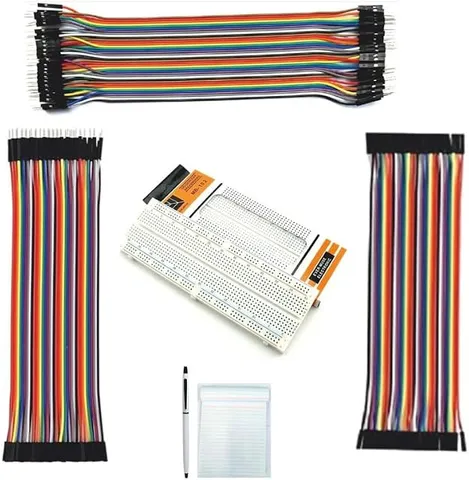
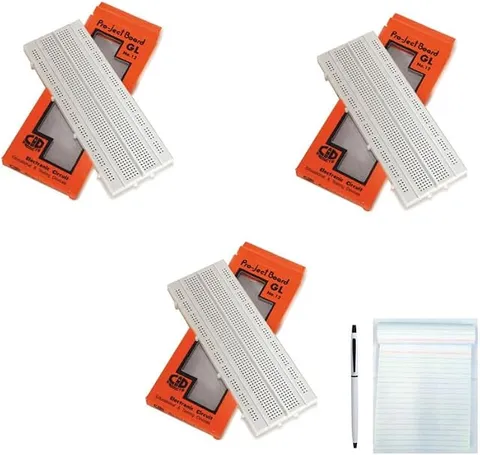
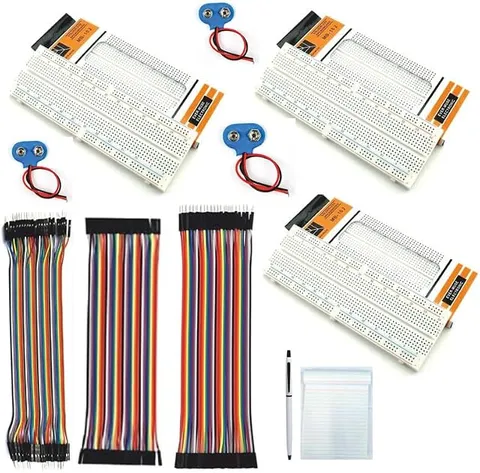
- Prototyping: MB-102 830-point and similar solderless breadboards, berg strips, jumper wires and zero PCBs
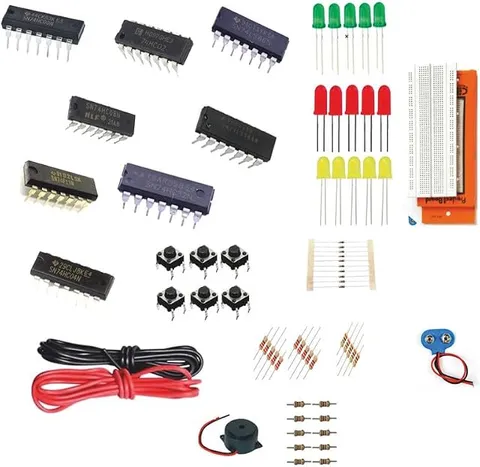
- Logic gates: a pack of 110-plus parts with NAND and other logic gate ICs for electronics projects
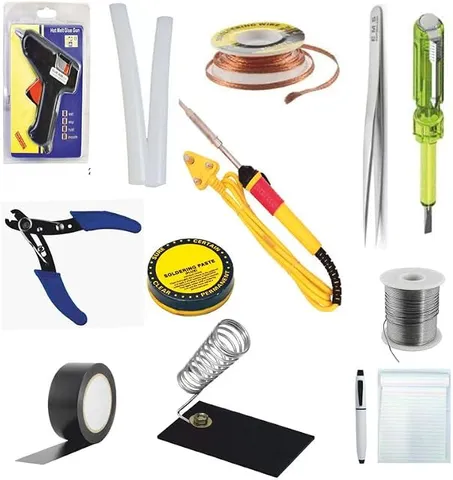
- Tools: a soldering iron kit with a glue gun, a cutter and a stand
Who they are for
Students building their own exhibition model from a video or a textbook, teachers stocking a tinkering corner, and anyone repairing a working model that has stopped. A pack of parts has no printed report.
How to choose
- List the parts your circuit diagram needs before you order: the motor type, the voltage, the number of LEDs and switches.
- For anything that has to push a load, such as wheels, pick a gear motor rather than a plain toy motor: it turns slower with more force.
- Match the battery to the parts: check the voltage given on each listing.
- Add a breadboard and jumper wires if you want to test the circuit before soldering.
Ordering
The Buy button on each product opens its listing on the marketplace, where you pay and see the delivery date for your PIN code. Need a part that is not listed, or many packs for a school workshop? Ask on WhatsApp and we will quote.
What each part is for
The parts most school models are built from. Each links to the matching listings where there are any.
DC toy motor
Spins fast with little force. For fans, propellers and spinning models.
9 listed for DC toy motorBO gear motor
A motor with a gearbox: slower, with far more turning force. For the wheels of cars and robots.
2 listed for BO gear motorBatteries and connectors
A 9V battery with a snap connector, or AA cells in a holder, powers most school models.
9 listed for Batteries and connectorsMini solar panel
Turns sunlight into a small current for solar street light, solar house and solar fan models.
3 listed for Mini solar panelLEDs
Light up on very little current. They work one way round only and need a resistor in series.
4 listed for LEDsBulbs and holders
Small bulbs for simple circuits and series and parallel demonstrations.
1 listed for Bulbs and holdersSwitches
Push, slide and rocker switches open and close a circuit; push buttons suit bells and quiz boards.
3 listed for SwitchesBuzzer
Sounds when powered. For alarms, quiz buzzers and water level indicators.
1 listed for BuzzerSensors
An LDR senses light, an IR sensor senses an obstacle or a black line, a soil sensor senses moisture.
Wires and jumpers
Connecting wire for permanent joins; jumper wires plug into a breadboard for testing.
4 listed for Wires and jumpersBreadboard
Build and change a circuit without soldering. Test every circuit here first.
4 listed for BreadboardZero PCB and berg strips
For a permanent, soldered circuit once the breadboard version works.
2 listed for Zero PCB and berg strips
Picking the voltage and size
Most problems with home-built models come from a battery that does not match the parts. A few rules avoid them.
Read the rating
Every motor, LED and bulb is made for a voltage. Check it on the listing or the part and pick a battery close to it.
Series or parallel
Cells in series add their voltage: two 1.5V cells give 3V. Cells in parallel keep the voltage and last longer.
Small motors and 9V
Many small toy motors are made for about 3 to 6V. On 9V they spin faster, heat up and wear out sooner.
A resistor with every LED
Never connect an LED straight to a battery. As a starting point, about 470 ohms keeps one LED safe on 9V.
Battery life
A 9V battery is small and runs a motor only for a while. For a model that runs all day, use AA cells in a holder.
Measure the fit
Check shaft sizes before buying wheels or fan blades, and measure your base before choosing a breadboard or panel.
Testing parts before you build
Ten minutes of testing saves an evening of searching for the one part that does not work.
- Touch a motor's two wires to a battery for a moment: it should spin, and swapping the wires reverses it
- Try an LED with its resistor; if it stays dark, turn it round (the longer leg goes to plus)
- Measure batteries with a multimeter: one reading well below its rated voltage is weak
- Use the multimeter's continuity beep to check wires, joints and switches
- Check a solar panel in direct sunlight before fixing it to the model
- Build on a breadboard first, and solder only when the circuit works
- Keep the packaging until everything has been tested
For an order placed on a marketplace, replacements and returns follow the marketplace's own policy: start from your order page there.
Storing parts
Parts kept well are ready for the next project, the next repair or the next class.
Batteries
Store them out of the model in a cool, dry place. Cover 9V terminals and never keep cells loose with coins or keys.
Small parts
A box with compartments, labelled by part and value, saves time at every build.
Chips and sensors
Keep ICs in their tube or foam so the pins stay straight, and handle sensors by their edges.
Motors and panels
Keep motors dry and dust-free, and protect the face of a solar panel from scratches.
Wires
Coil wires loosely: sharp bends break the copper inside the insulation.
Away from children
Button cells and small magnets are dangerous if swallowed. Store them high up and closed.
Repairs
Fixing a model that has stopped working
Most stopped models have one simple fault. Work through it in this order and you usually find it in minutes.
Start with the battery
A flat battery is the most common fault. Measure it, or try a fresh one first.
Check the switch
Bridge the switch with a wire for a moment. If the model runs, replace the switch.
Follow the wires
Look for a loose joint, a broken wire or a snap connector that has come off.
Test each part
Connect the motor, LED or buzzer straight to a battery (an LED with its resistor) to find the one that failed.
Replace like for like
Order a part of the same type and voltage as the one you are replacing.
Test before the day
Run the repaired model for a while at home, then take the battery out until the show.
Tip: A basic multimeter makes every one of these steps quicker.
Questions about Components and Spares
Still have a question?
Chat on WhatsAppWhich motor do I need for my project?
For a fan or a propeller, a small DC toy motor. For wheels that must push a model along, a BO gear motor, which is slower but much stronger. Check the voltage on the listing against your battery.
Can I run a small motor on a 9V battery?
Many small toy motors are made for about 3 to 6 volts. On 9V they spin faster, heat up and wear out sooner, so check the rating; two or three AA cells in a holder often suit them better.
Why does my LED not light up?
It may be the wrong way round (the longer leg goes to plus), it may have burnt out if it was connected without a resistor, or the battery may be flat. Test it with a fresh battery and a resistor.
Do I need to solder?
Not to test. Build on a breadboard with jumper wires first. Solder onto a zero PCB only when the circuit works and you want it permanent, with an adult beside you.
Can I order parts in bulk for a school lab or workshop?
Yes. Send the list of parts and the quantities on WhatsApp and we will quote.
A part arrived damaged. What do I do?
For an order placed on a marketplace, use your order page there: replacements and returns follow the marketplace's policy. Test parts as soon as they arrive, so there is time to sort it out.
Free to read
Free ebooks on parts and circuits
Read them before you choose, while you build and the night before you present.
- BeginnerElectronic Components HandbookResistors, capacitors, LEDs, diodes, transistors and more, with how to use eachRead free
- BeginnerBreadboard CircuitsFifteen experiments with batteries, LEDs, switches and sensorsRead free
- Beginner to intermediateMotors, Gears and Motor DriversMake things move: DC motors, servos, steppers and how to drive themRead free
- Beginner to intermediateSensors for School ProjectsHow common sensors work and how to use them with ArduinoRead free