- Components and Spares
- Component
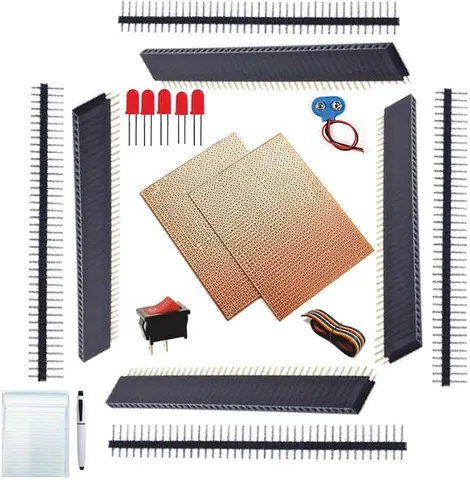
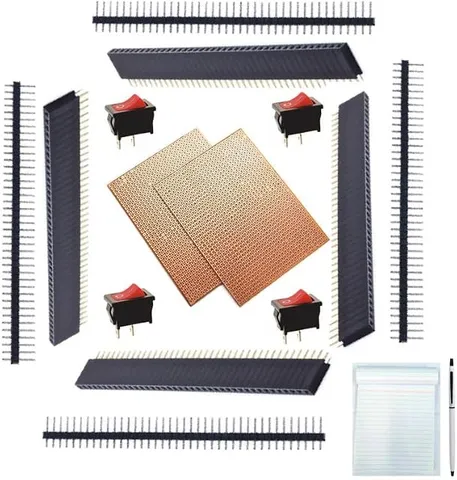
Berg Strip 40 Pin 2.54mm DIY Kit
Code B0FGTZLCQD
- Paid for and delivered by Amazon. The current price and the delivery date for your PIN code are shown there.
- Sold by Gurukul Technicals Institute, Delhi.
- Need a different topic, a custom version or a school order? Ask on WhatsApp.
Component
About this part
Berg strips, also called pin headers, are rows of metal pins at the standard 2.54 mm spacing used to make plug-in connections on circuit boards. They let you connect sensors, modules and wires to a board without soldering each wire in permanently. The listing also mentions M2M (male-to-male) and F2F (female-to-female) parts and a switch.
What the listing says
- HQ M2M & F2F with Switch
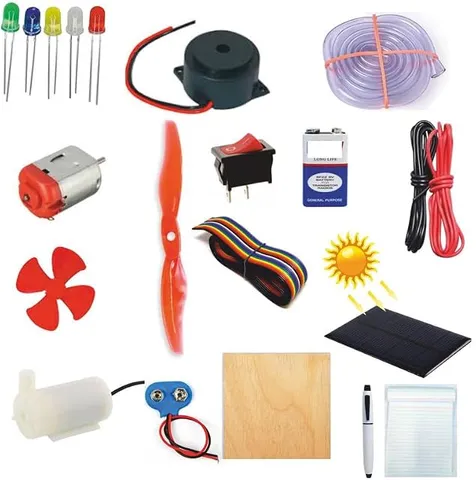
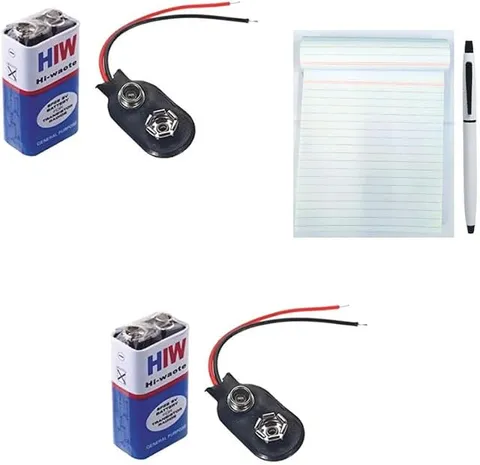
- Free Pen & Rough Pad Electronic Components
How it works
The science behind it
The idea the part demonstrates, in words you can use in your report and when you explain it.
A connector has two jobs: to carry current with very little resistance, and to keep neighbouring pins from touching. Header pins are generally made of a copper alloy, which is a good conductor, and are held in a plastic strip, which is an insulator. The pitch, or distance between the centres of two neighbouring pins, is 2.54 mm, exactly 0.1 inch (1 inch = 25.4 mm). This is the same spacing as breadboard holes, zero PCB holes and the legs of many ICs, so parts from different makers fit together. A male header has exposed pins and a female header has sockets that grip those pins, much like a plug going into the switchboard socket at home. A loose or dirty contact adds resistance, and by Ohm's law (V = IR) that causes a voltage drop and heating, which is why a firm fit matters.
Using it in your projects
Using berg strips (pin headers) in your projects
What this part is good for, what else you need with it and how to connect it.
Projects you can build with it 6
- Plug-in pins for an LDR or IR sensor module in an automatic street light project
- A removable battery connector for a robot car
- Mounting a microcontroller board or display module on a zero PCB so it can be taken out
- Test points on a project board so a multimeter can be clipped on easily
- A plug-in sensor station for a weather or temperature project
- Jumper links that switch a circuit between two modes
What else you need 8
How to connect it 8 steps
Count the pins you need. Hold a male strip with pliers right at the gap after the last pin and bend it to snap it. Female strips do not snap cleanly, so cut through the next pin instead.
Push the short ends of the male pins through the holes of the zero PCB or module, so the long ends stand up.
Hold the header straight with tape and solder only one end pin. Check it stands upright before soldering the rest.
Solder each pin with a small, shiny cone of solder, taking care not to bridge neighbouring pins.
Use continuity mode to check that each pin connects to its pad and that no two neighbouring pins are joined.
Plug female jumper wires onto the male pins, or push a male header into a breadboard, and connect your sensor or battery.
If your pack includes a switch, wire it in series with the battery lead to turn the circuit on and off.
Label the pins (+, −, OUT) with the marker so the wires always go back the right way.
Read this first
Safety first
Go through these points before you build or switch anything on. Younger students should do this with an adult.
- Snapping or cutting strips can make small pieces fly; cover the strip with your hand or wear glasses.
- Solder only with an adult; pins heat up quickly, so never hold them with your fingers while soldering.
- Keep loose pins away from younger children, who might swallow them.
- Check for solder bridges before connecting a battery, because a short can make the battery hot.
Troubleshooting
If something does not work
The usual problems with this part and how to fix them. Open a problem to see the fix.
The header is crooked after soldering
Reheat the one soldered end pin, straighten the strip while the solder is soft, and let it cool before soldering the others.
The strip broke in the wrong place
Male strips break at the plastic notches, so bend exactly at a notch with pliers. Female strips should be cut through a pin, giving up one socket.
A sensor connected through the header gives no reading
Check continuity from the pin to the pad, look for a dull cold joint, and make sure each female wire is pushed fully down on its pin.
The female sockets feel loose
Sockets can loosen after many uses. Use a fresh section of strip for connections that must stay firm.
Exhibition day
How to present it
A running order for the exhibition table or the practical, step by step.
Show a sensor module fitted on headers and lift it out, to explain why removable connections help in testing.
Measure across eleven pins (ten gaps) with a ruler to show 25.4 mm, which proves the 0.1-inch pitch.
Explain how a strip is snapped or cut to the exact number of pins you need.
Mention typical uses: Arduino shields, sensor modules and joining a board to a breadboard.
Practice
Viva questions
Practice questions on this part, with short answers. Try each one aloud before you open the answer.
What is the pitch of a standard Berg strip?
2.54 mm, which is 0.1 inch, measured between the centres of neighbouring pins.
What is the difference between a male and a female header?
A male header has exposed pins, while a female header has sockets that receive and hold those pins.
Why is the base of a header strip made of plastic?
Plastic is an insulator, so it holds the pins in place without letting current pass between them.
Why use headers instead of soldering a module directly to the board?
Headers let you remove, replace or reuse the module, which makes testing and repair much easier.
Buying checklist
Before you buy
What to check before you order the part, and what to do when it arrives.
1Before you order
- Check whether your project needs male headers, female headers or both, and how many pins your module has.
- Make sure the pitch is 2.54 mm so the strips match your breadboard or zero PCB.
- Plan for a soldering iron and an adult helper if the headers must be soldered.
- Store the strips in a small box so the pins do not bend.
- Check the delivery date for your PIN code on the marketplace, and order well before the exhibition or practical.
2When it arrives
- Read the listing for what comes with the strips, and check the parcel against it when it arrives.
Next steps
Take it further
Ways to turn this part into a bigger investigation or a stronger exhibition entry.
Design a small sensor board on zero PCB with female headers so different sensors can be swapped in.
Measure the resistance between two pins with a multimeter and explain why a good connector has very low resistance.
Build a project where every module plugs into headers, and explain in your report how this makes repairs easier.
Audience
Who it suits
Useful for Class 9 to 12 students, polytechnic and engineering learners, and hobbyists building Arduino or sensor projects.
- CategoryComponents and Spares
- TypeComponent
Free to read
Free ebooks for this topic
Free PDF ebooks from Gurukul Technicals Institute on the science, the making and the presenting of projects like this one.
- Free PDF ebook
Electronic Components Handbook
Resistors, capacitors, LEDs, diodes, transistors and more, with how to use each
- Free PDF ebook
Electricity and Magnetism Experiments
Hands-on experiments with cells, wires, bulbs and magnets
- Free PDF ebook
Your Science Exhibition Guide
Choose a project, build it, present it and answer the judges with confidence