Head office, Rana Pratap Bagh, Delhi011 2721 1512+91 97116 99511

Project kits

DIY Kits

DIY science experiment kits and STEM kits for kids with every part and step-by-step instructions, so students build the working model themselves and understand how it works. For science exhibitions, holiday homework, Atal Tinkering Labs and rainy-day projects.

  • Made to order
  • Quoted on WhatsApp
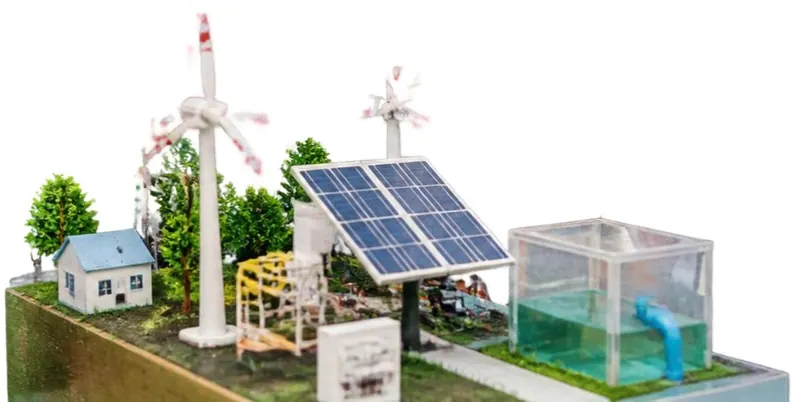
A renewable energy working model with windmills, a solar panel, a house and a water tank
Made to order

Nothing is listed here yet. Ask us to make it.

DIY Kits are made to order. Tell us what you need on WhatsApp and we reply with whether it can be made, the price and a dispatch date.

Put this in your message

  • The topic
  • The class or age of the student
  • Whether soldering is fine
  • The date you need it by

About DIY Kits

DIY science kits are for students who want to build the working model themselves. A kit has the parts for one project and step-by-step instructions, so the child learns how the circuit or mechanism works instead of only presenting a finished model. They suit science exhibitions, holiday homework, STEM clubs and tinkering labs, and they make a good first science project at home.

Read the full overview

How a DIY kit differs from a ready-made model

  • A ready-made working model arrives assembled and ready to present.
  • A DIY kit arrives as parts, such as motors, LEDs, wires and a base, with instructions. Building it takes one or more sittings, depending on the project.

Made to order

DIY kits are made to order. Topics that work well as kits include a solar house or solar street light, a simple electric motor, an electromagnetic crane, a rain alarm, a water level indicator and a working traffic light. Tell us the topic and the class on WhatsApp and we will reply with a suggestion, the price and a dispatch date. Packs of loose parts are listed under Components and Spares.

Choosing by age

  1. Class 3 to 5: one circuit, one moving part, big components, such as a solar fan, a simple bulb circuit or a wind vane.
  2. Class 6 to 8: circuits with a switch and a sensor, such as an automatic street light with an LDR or a water level alarm.
  3. Class 9 to 12: projects with a transformer, a rectifier, a 555 timer or an Arduino.

What to ask before you order

Ask for the parts list, whether a report is included, and whether the kit needs soldering. If you would rather avoid soldering, ask for a breadboard version.

Choosing a kit by class

Start one step below what the student thinks they can manage: a kit that works first time builds confidence for the next one.

Class 3 to 5One circuit, one moving part, big components.

  • Solar fan
  • Simple bulb circuit
  • Wind vane
  • Electric quiz board

Class 6 to 8A switch and a sensor, with a little wiring.

  • Automatic street light
  • Water level alarm
  • Electromagnetic crane
  • Rain alarm

Class 9 to 12Transformers, timers and microcontrollers.

  • Rectifier
  • 555 timer circuits
  • Clap switch
  • Arduino starter projects

Kits on these topics can be asked for on WhatsApp.

Tools a kit usually needs

Most school kits need only a few tools. Check your kit's instructions for its exact list before you start.

  • Small screwdrivers

    A small flat and cross-head set for motor mounts, battery holders and terminals.

  • Scissors and a craft knife

    Scissors for card and wire ties; the knife is for an adult to use.

  • Glue

    White glue for card and wood, hot glue for quick joins (with an adult).

  • Wire stripper

    Bares the ends of wires cleanly. A nail cutter works at a pinch, carefully.

  • Ruler, pencil and tape

    For marking out the base, and insulating tape to cover every bare joint.

  • Soldering iron

    Only if the kit says so, and only with an adult. Many kits avoid it on purpose.

Where an adult should help

Let the child do the thinking and the wiring: that is where the learning is. An adult takes the risky jobs.

  • Class 1 to 2

    Build together. Small parts, magnets and button cells must stay out of reach of toddlers.

  • Class 3 to 5

    Children follow the picture steps and connect wires; an adult cuts, uses hot glue and checks the circuit before it is switched on.

  • Class 6 to 8

    Students wire and test on their own; an adult handles soldering, hot glue and anything run from an adapter.

  • Class 9 to 12

    Students can solder with supervision; an adult stays near for adapters and battery charging.

Ready-made, kit or your own build?

All three end with a model on the table. The right one depends on the time left and how much of the building the student will do.

  • Ready-made model

    Best whenWhen the date is close, or the circuit is beyond the class level.

    • Arrives assembled, so it can be tested the day it arrives
    • Check the listing for the board size, the power source and whether a report is included
    • Still read the report and run it several times: judges ask how it works
  • DIY kit

    Best whenWhen there are a few weeks and the learning matters most.

    • The student assembles it, which gives a lot to talk about
    • Plan time for building, testing and fixing
    • Needs basic tools, and an adult for cutting, hot glue or soldering
  • Spare parts

    Best whenWhen you are repairing a model or building your own design.

    • Single parts: motors, LEDs, switches, batteries and wires
    • List what your circuit needs before you order
    • Test each part before you fix it in place
    Spare parts (22)

From box to exhibition

What building a kit involves

A kit is a small project of its own. Working through it in this order keeps it calm and gets it finished.

  1. Check the parts

    Lay everything out and tick it off against the parts list before you start.

  2. Read every step

    Read the instructions to the end once, so you know where each part goes.

  3. Prepare the space

    A clear table, good light, a tray for small parts and the tools within reach.

  4. Build the base

    Fix the board, frame or structure first, then the moving parts.

  5. Wire and test

    Connect the circuit and test it before gluing anything down; fix what does not work.

  6. Finish and explain

    Label the parts, tidy the wires and practise saying how it works.

Tip: Spread a bigger build over two or three sittings: mistakes are easier to spot with fresh eyes.

Questions about DIY Kits

Still have a question?

Chat on WhatsApp
What comes in a DIY kit?

The parts for one project with instructions, so the student builds the model. Ask for the parts list before you order, and whether a report or soldering is involved.

How long does a kit take to build?

It depends on the project and the child's age: a simple circuit can be done in one sitting, a model with moving parts may take several. Plan to finish well before the due date.

Does the kit need soldering?

Ask before ordering. If you would rather avoid soldering, ask for a version that uses a breadboard or screw connectors.

Can I get a kit on a topic of my choice?

Send the topic, the class and the date on WhatsApp. We reply with a suggestion, the price and a dispatch date.

Should a parent help?

Yes, with cutting, hot glue, soldering and anything run from an adapter. Let the child do the thinking and the wiring.

WhatsApp us