Head office, Rana Pratap Bagh, Delhi011 2721 1512+91 97116 99511

Course family

Design & Digital Skills

Students and small businesses who make print and web material

Lay out posters, cards and documents for print with desktop publishing tools.

Duration, fees and batch timings are quoted by the head office or your centre.

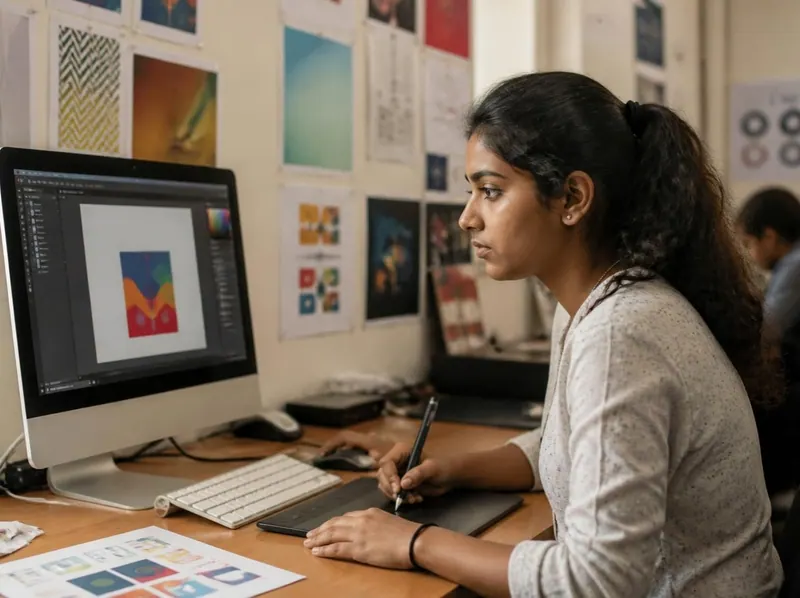
A student designing a poster layout on a computer with a graphics tablet, sample prints on the wall behind

In this family

  • 2courses
  • 1study book
  • 7lessons
  • 35practice questions
  • 6free ebooks

The courses

2 courses in this family

What each course is about, who it suits, what you practise and the study material that comes with it. Each course has a full page with every lesson, sample questions and admission details.

  1. Students and small businesses who make print material

    DTP: desktop publishing

    • 7lessons
    • 35questions
    • 6ebooks

    Laying out pages for print: posters, pamphlets, cards and documents with text and pictures.

    Who it suits

    • Anyone who wants to work in a print shop or design studio
    • Shop owners who make their own posters and cards
    • Students who design for school and college events and magazines
    • Learners heading towards graphic design

    What you will practise

    • Lay out a page with margins, grids, alignment and white space
    • Choose and pair typefaces, and set sizes and spacing for print
    • Know when to use RGB or CMYK, and the resolution print needs
    • Tell vector graphics from raster images and use each well
  2. Students and small businesses who make print material

    CorelDRAW

    • 7lessons
    • 35questions
    • 4ebooks

    Drawing logos, banners, visiting cards and signboards that print sharply at any size.

    Who it suits

    • Print shop and flex-printing staff
    • Shop owners who design their own boards and cards
    • Students who want a practical design skill
    • Learners heading towards graphic design

    What you will practise

    • Find your way around the CorelDRAW workspace and save .cdr files
    • Draw with the Rectangle, Ellipse and Text tools and edit nodes with the Shape tool
    • Duplicate, group, combine, weld, trim and PowerClip objects
    • Set fills and outlines from the colour palette, and convert text to curves

What you will learn

1 study book, 7 lessons.

Every lesson of the study books that come with these courses in the student portal. Open a lesson to see its key points. Your centre gives you the syllabus, the duration and the fee.

DTP and CorelDRAW

For DTP and CorelDRAW

Learn desktop publishing from the ground up: page layout, typography, RGB and CMYK colour, print resolution, vector and raster graphics, the core CorelDRAW tools, and a visiting card and poster workflow ending in a print-ready PDF.

  • 7 lessons
  • About 27 min of reading
  • 35 practice questions
  • 25 key terms
  1. 1What DTP Is and Page Layout Basics5 key points · 3 min read
    • DTP combines text, images and shapes into designs for print and screen.
    • A4 is 210 × 297 mm; folding A3 in half gives A4.
    • Bleed extends edge-to-edge colour past the trim line, commonly by about 3 mm.
    • Keep important text inside the safe area, away from the trim line.
    • Hierarchy, alignment, proximity, white space and contrast make a layout work.
  2. 2Typography for DTP5 key points · 4 min read
    • Serif fonts have small strokes at letter ends; sans serif fonts do not.
    • Type is measured in points, and 72 points make one inch.
    • Leading is line spacing, kerning is space between two letters, tracking is overall spacing.
    • Use two or three typefaces at most in one design.
    • Use Unicode fonts such as Nirmala UI or Mangal for Hindi.
  3. 3Colour Models and Resolution for Print5 key points · 4 min read
    • RGB mixes light for screens; CMYK mixes inks for print.
    • K in CMYK stands for key, which is black.
    • Set print documents to CMYK and small black text to 100% K only.
    • Print images should be about 300 DPI at their final size.
    • Pixels needed = print size in inches × resolution.
  4. 4Vector and Raster Graphics5 key points · 4 min read
    • Raster images are made of pixels and lose quality when enlarged.
    • Vector graphics are made of paths and stay sharp at any size.
    • Use vector for logos and text, raster for photographs.
    • PNG supports transparency; JPG uses lossy compression and has none.
    • PowerTRACE converts a bitmap into editable curves.
  5. 5The CorelDRAW Workspace and Basic Tools5 key points · 4 min read
    • CorelDRAW saves files with the .cdr extension.
    • Pick selects and transforms objects; Shape (F10) edits nodes.
    • Rectangle is F6, Ellipse F7 and Text F8; hold Ctrl for a square or circle.
    • Left-click a palette colour for the fill and right-click for the outline.
    • Ctrl+Q converts a shape or text to curves.
  6. 6Working with Objects in CorelDRAW5 key points · 4 min read
    • Ctrl+D duplicates, Ctrl+G groups and Ctrl+U ungroups.
    • Combine (Ctrl+L) makes one curve object with a single fill and outline.
    • Shift+Page Up and Shift+Page Down send an object to the front or back of its layer.
    • Weld, Trim and Intersect build new shapes from overlapping objects.
    • PowerClip places an object inside a frame without cutting it.
  7. 7Visiting Card and Poster Workflow, and PDF Export for Print5 key points · 4 min read
    • Set up the page size, CMYK colour mode and bleed before designing.
    • Keep text inside the safe area and proof at 100% size.
    • Embed fonts or convert text to curves before sending a job.
    • Export with a print preset such as Prepress or PDF/X.
    • Send the printer a checked PDF, not the .cdr file, unless asked.
In the student portal

Practise until you are sure, then take the exam.

Students of the institute and its member centres sign in to read these study books lesson by lesson and test themselves on each one. Your centre gives you your login when you enrol.

  • 1study book
  • 35practice questions
  • 25glossary terms
  • Fresh questions each time

    Each test is a random set of up to 20 questions from the study book’s question bank.

  • One minute per question

    A timer counts down while you answer, as in an exam hall.

  • Every answer explained

    At the end you see the right answer and an explanation for each question.

  • Read or print a lesson

    Each study book has its lessons, key points, exercises and a glossary, on a phone or a computer.

Good to know

Who these courses are for.

  • Useful for

    • Work in print shops and design studios
    • Making posters and cards for your own business
    • School and college events and magazines
  • Who can join

    • Students above 12 years of age can take admission
    • At the Delhi head office or an authorised member centre
    • Students and small businesses who make print and web material
  • Study notes

    • Your centre gives you the course material
    • Gurukul E-Notes cover basic computer, MS Office, C and C++, HTML, hardware, networking, spoken English, Tally and the internet

Admission

From your first question to your certificate.

The usual steps, at the head office or at a member centre.

Start with a question
  1. Ask about the course

    Call or WhatsApp the head office, or visit your nearest member centre. Ask for the duration, the fee and the batch timings in writing.

  2. Fill the admission form

    Admission forms are supplied by the head office to every centre.

  3. Learn in class

    Attend your batch at the centre, with the course material, the study books in the student portal and study notes.

  4. Take the exam

    The institute prefers written exams, taken in front of a teacher.

  5. Receive your certificate

    Students who pass get a Gurukul Technicals Institute certificate and marksheet. Employers can ask the head office to verify it.

Questions about design courses

Still have a question?

Chat on WhatsApp
Who can take admission?

Students above 12 years of age can take admission. Tell the head office or your centre what you already know, and they will suggest where to start.

How long is the course and what is the fee?

Duration, fees and batch timings depend on the course and the centre. Ask the head office or your nearest member centre, and get the details in writing before you pay.

Where are the classes?

At the head office in Delhi (A-10, Chief Commissioner Colony, opposite Rana Pratap Bagh) and at authorised member centres. Call or WhatsApp the head office to find the nearest centre.

Is there an exam and a certificate?

Yes. The institute prefers written exams, taken in front of a teacher. Students who pass receive a Gurukul Technicals Institute certificate and marksheet, which the head office verifies on request.

What study material comes with the course?

Students of the institute and its member centres sign in to the student portal to read 1 study book for these courses (DTP and CorelDRAW) and take timed practice tests. The free ebooks on this page can be downloaded by anyone.

GTI Franchise Network

Teach design courses at your own centre.

Member centres run the institute’s courses under their own name, with exams, certificates and support from the head office.

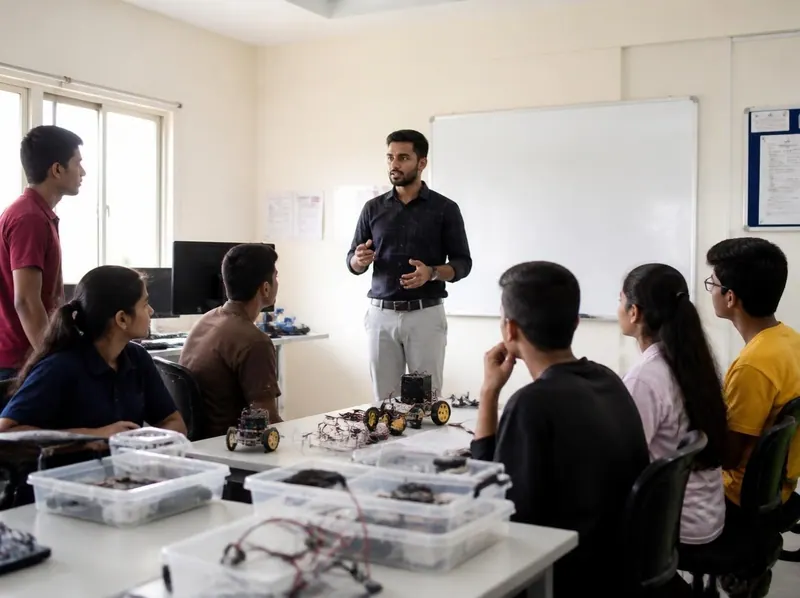
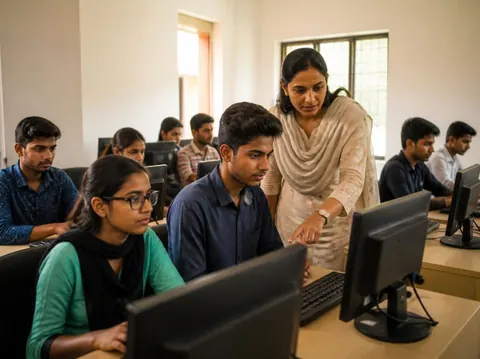
An instructor teaching a class of students seated with robotics kits and computers
WhatsApp us