- Components and Spares
- Component
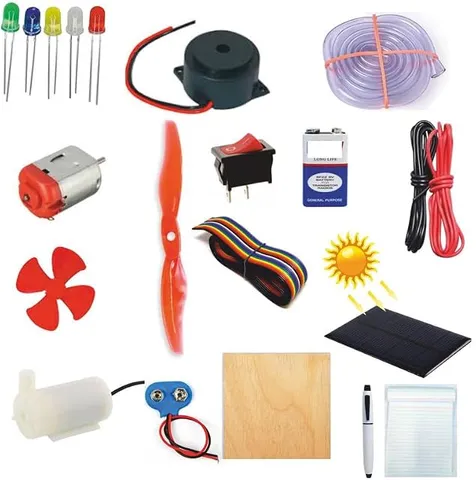
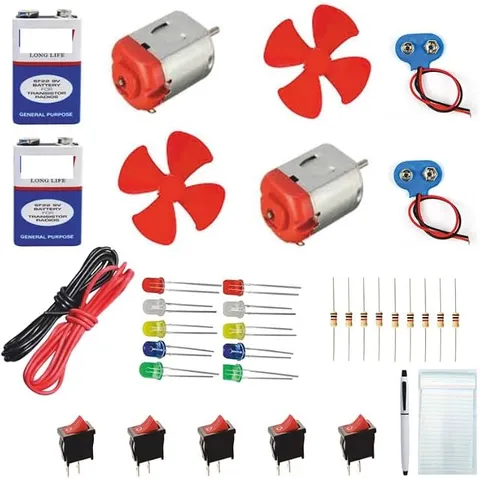
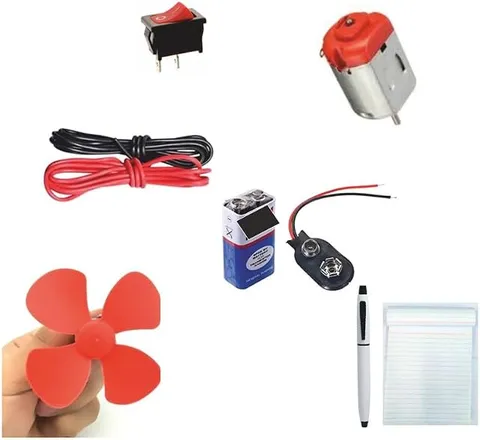
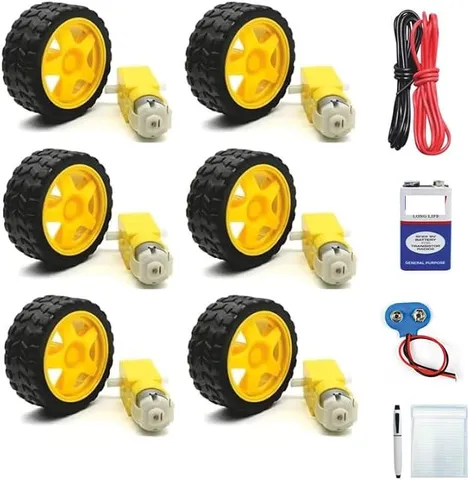
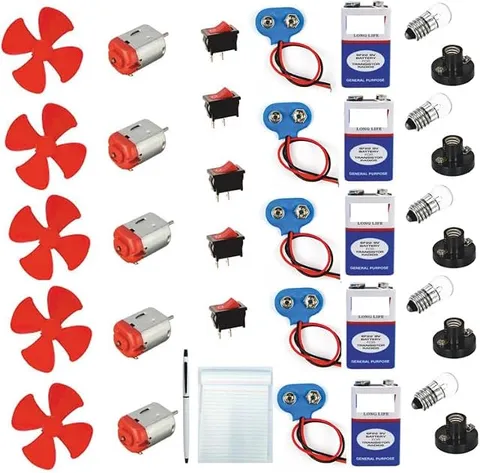
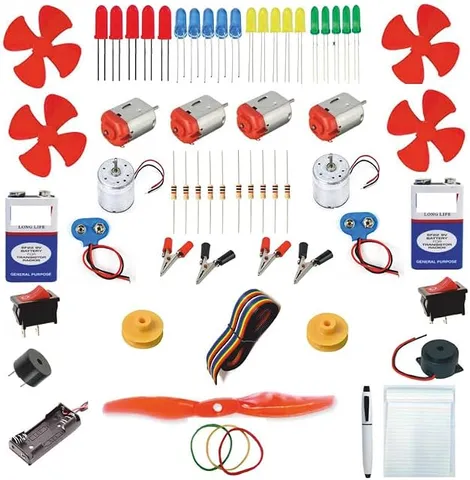
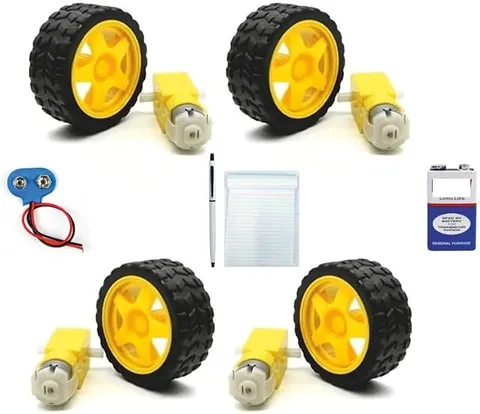
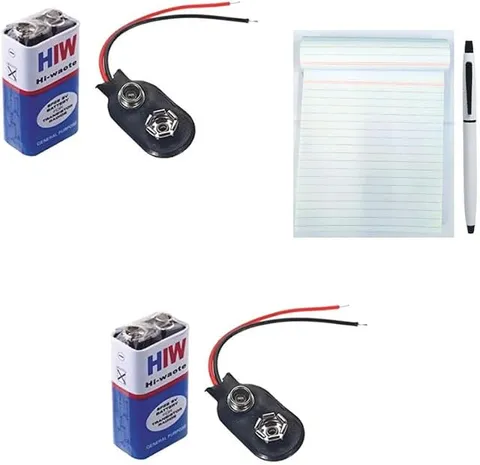
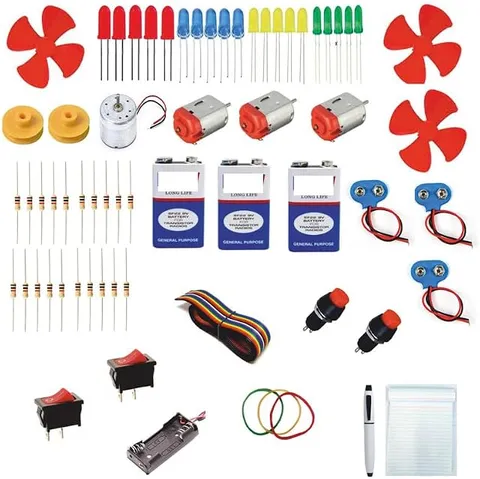
Basic Electronic LED DC DVD Motor Pulley 9V Battery DIY KIT with Free Pen and PAD
Code B0FGV2367L
- Paid for and delivered by Amazon. The current price and the delivery date for your PIN code are shown there.
- Sold by Gurukul Technicals Institute, Delhi.
- Need a different topic, a custom version or a school order? Ask on WhatsApp.
In this project guide
Component
About this part
This is a starter DIY electronics kit; the listing names an LED, a DC motor, a DVD motor, a pulley and a 9V battery, and says a pen and pad are included free. Parts like these let a student build simple projects such as a motor-driven pulley or an LED indicator light while learning how each part works.
What the listing says
- Basic ELCTRONIC LED DC DVD Motor Pulley 9V Battery DIY KIT with Free Pen and PAD
How it works
The science behind it
The idea the part demonstrates, in words you can use in your report and when you explain it.
A DC motor turns electrical energy into rotation. A current-carrying coil in a magnetic field feels a force, whose direction is given by Fleming's left-hand rule; the forces on opposite sides of the coil create a turning effect, and a commutator reverses the current every half turn so the coil keeps spinning the same way. Reversing the battery reverses the rotation. An LED (light-emitting diode) gives out light when current flows through it in the forward direction only; its longer leg is usually the positive anode, and a resistor is placed in series to limit the current. A pulley and belt pass rotation from one shaft to another: the smaller pulley turns faster, and the speed ratio is the inverse of the diameter ratio, so a 1 cm pulley driving a 4 cm pulley turns it at one quarter of the speed. A village atta chakki often runs on this kind of belt drive.
Make it yourself
Make a motor-driven pulley lift with indicator lights yourself
Everything you need and the order to do it in. Tick off the materials as you collect them.
What you need 10
Step by step 8 steps
Build a tower from two upright columns of ice-cream sticks or card, about 30 cm tall, joined at the top by a cross piece, and glue it to the base.
Fix the motor at the bottom of the tower with its shaft sideways, and push the pulley firmly onto the shaft.
Fix the straw-and-skewer guide pulley across the top of the tower so it turns freely.
Tie one end of the thread to the motor pulley and wind a few turns on. Run the thread up over the guide pulley and down to the hook on the cabin.
Wire the DPDT switch as a reversing switch: motor leads to the two centre terminals, battery to one pair of end terminals, and cross-wire the two end pairs (top-left to bottom-right, top-right to bottom-left).
Connect the red and green LEDs side by side but facing opposite ways (the long leg of each joined to the short leg of the other), and connect this pair through the 1 kΩ resistor across the motor's terminals. Red now lights for one direction and green for the other.
Switch to 'up' and watch the cabin rise; switch to 'down' to lower it; the centre position stops it. Small motors spin fast, so be ready to stop the cabin before it reaches the top pulley.
Start with an empty cabin, then add one coin at a time and note how the lifting speed changes.
Read this first
Safety first
Go through these points before you build or switch anything on. Younger students should do this with an adult.
- Use the hot glue gun only with an adult; the nozzle and fresh glue can burn skin.
- Keep fingers and hair away from the motor shaft and pulley while it turns.
- Do not hold the motor stalled with a heavy load for long; it heats up and drains the battery quickly.
- Keep small parts away from young children.
Troubleshooting
If something does not work
The usual problems with this part and how to fix them. Open a problem to see the fix.
The motor hums but the cabin does not rise
The load is too heavy, the thread is slipping on the pulley, or the battery is weak. Lighten the cabin, wind a few more turns of thread on the pulley, and try fresh cells.
The cabin goes down when the switch is set to 'up'
The motor is simply connected the other way round. Swap its two leads at the switch.
Only one of the two LEDs ever lights
Both LEDs are facing the same way. Turn one round so that each one's long leg joins the other's short leg.
The thread slips off the edge of the pulley and tangles
Glue a circle of card on each side of the pulley as a flange, and line the guide pulley up directly above it.
Exhibition day
How to present it
A running order for the exhibition table or the practical, step by step.
Build one complete mini project, such as a motor-driven pulley with an LED indicator, instead of leaving the parts loose on the table.
Show that swapping the battery wires reverses the motor, and explain why.
Demonstrate that the LED lights only one way round, then point out its longer anode leg.
Compare the pulley sizes to explain the speed ratio with real numbers.
Practice
Viva questions
Practice questions on this part, with short answers. Try each one aloud before you open the answer.
On what principle does a DC motor work?
A current-carrying coil placed in a magnetic field experiences a force, and the forces on its two sides make it rotate.
What is the function of the commutator in a DC motor?
It reverses the direction of current in the coil every half rotation, so the coil keeps turning in one direction.
Why does an LED need a resistor in series?
To limit the current; without it, too much current would flow and the LED could burn out.
If a small pulley drives a pulley twice its diameter, how does the speed change?
The larger pulley turns at half the speed of the smaller one, but with more turning force.
Project file
Project file outline
The headings of the project file, in order. Give each heading its own section and write it in your own words.
Free ebook: Writing a Science Project FileContents
- Aim: to build a motor-driven pulley lift and study how a DC motor turns electrical energy into motion
- Introduction: the DC motor and how it works
- Pulleys and how a fixed pulley changes the direction of a force
- Parts used and the job of each: motor, pulley, LEDs, resistor, switch and battery
- Circuit diagram of the reversing switch and direction indicator
- Construction steps
- Observations: time taken to lift different loads
- Uses of motors and pulleys: lifts, cranes and wells
- Conclusion
Buying checklist
Before you buy
What to check before you order the part, and what to do when it arrives.
1Before you order
- Read the listing to see which parts are named, and list anything else your chosen project needs, such as a switch, glue or thread.
- Choose a project that suits your class level; a simple pulley lift is fine for junior classes, while seniors should add calculations.
- Build and test the model a few days before the exhibition, not the night before.
- Keep the box for spare parts and for carrying the finished model.
- Check the delivery date for your PIN code on the marketplace, and order well before the exhibition or practical.
- Building it yourself: younger students should build with an adult, especially with motors, batteries and small parts.
2When it arrives
- Check each part when it arrives: run the motor briefly from the battery and light the LED through a resistor.
Next steps
Take it further
Ways to turn this part into a bigger investigation or a stronger exhibition entry.
Measure the time to lift a known mass through a known height, calculate the useful power (mgh ÷ t), and compare it with the electrical power (V × I) to estimate efficiency.
Add limit switches at the top and bottom of the tower that stop the motor automatically.
Run a belt from the small motor pulley to a larger pulley on a separate axle and wind the thread on that axle, so the cabin lifts heavier loads more slowly, and compare the results.
Audience
Who it suits
Suits Class 6 to 10 students starting hands-on electronics and building simple working models for science fairs.
- CategoryComponents and Spares
- TypeComponent
Free to read
Free ebooks for this topic
Free PDF ebooks from Gurukul Technicals Institute on the science, the making and the presenting of projects like this one.
- Free PDF ebook
Electronic Components Handbook
Resistors, capacitors, LEDs, diodes, transistors and more, with how to use each
- Free PDF ebook
Electricity and Magnetism Experiments
Hands-on experiments with cells, wires, bulbs and magnets
- Free PDF ebook
Your Science Exhibition Guide
Choose a project, build it, present it and answer the judges with confidence
- Free PDF ebook
Writing a Science Project File
How to write the report, from the cover page to the bibliography