- Components and Spares
- Component
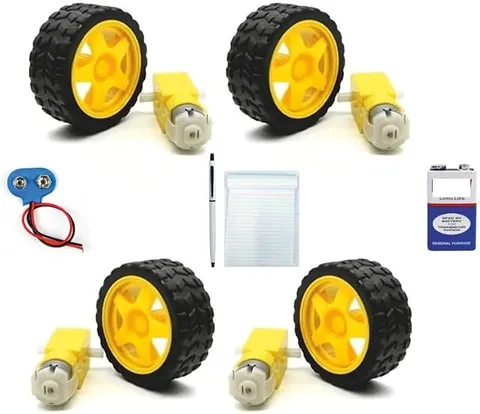
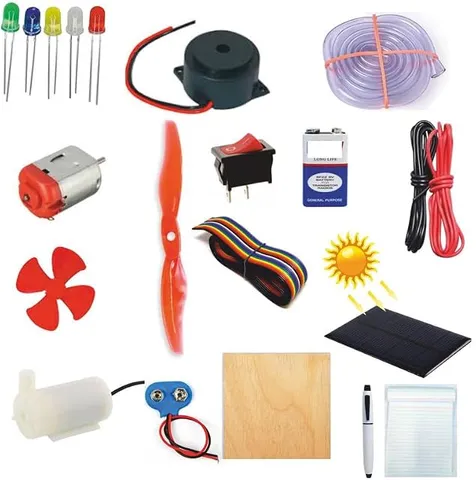
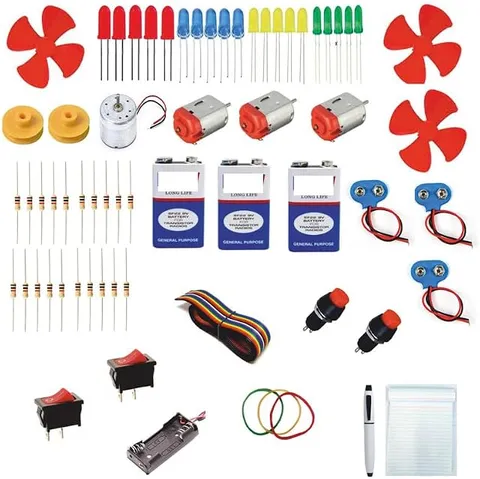
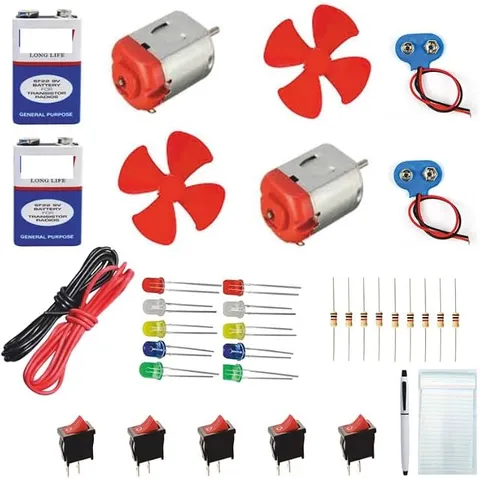
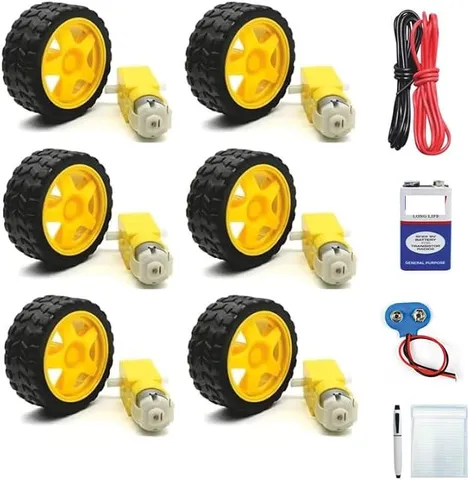
18in1 BO Gear Motor Dual Shaft with Black & Yellow Wheels with Wires & Battery
Code B0FGV2F6NK
- Paid for and delivered by Amazon. The current price and the delivery date for your PIN code are shown there.
- Sold by Gurukul Technicals Institute, Delhi.
- Need a different topic, a custom version or a school order? Ask on WhatsApp.
Component
About this part
A dual-shaft BO gear motor kit with black and yellow wheels, which the listing describes as 18 in 1 and says comes with wires and a battery. BO motors are widely used in Indian school robotics for small robot cars, line followers and moving models.
How it works
The science behind it
The idea the part demonstrates, in words you can use in your report and when you explain it.
A BO motor, short for battery operated motor, is a small DC motor fixed to a gearbox, usually with plastic gears, that lowers the speed and raises the torque so it can drive wheels directly. Dual shaft means the output shaft sticks out on both sides, so a wheel can be fixed on either side, or an encoder disc can be added on the free end to count rotations. A robot's speed depends on how fast the wheel turns and how big it is. In one turn, a wheel moves forward a distance equal to its circumference, πd. So a wheel turning N times a minute moves πdN per minute; for example, a 7 cm wheel at 60 rpm covers about 22 cm per turn, roughly 13 metres a minute. Bigger wheels go faster but need more torque to start. Grip comes from friction between tyre and floor, which is why a car slips on a smooth tiled floor.
Using it in your projects
Using BO dual-shaft gear motors and wheels in your projects
What this part is good for, what else you need with it and how to connect it.
Projects you can build with it 7
- A wired remote-control car using two reversing switches
- A line-following robot with infrared sensors
- An obstacle-avoiding robot with an ultrasonic sensor
- A slowly turning display stand for another exhibition model
- A conveyor belt model for a factory or airport
- A crane or lift model that winds a string on a shaft
- An automatic curtain or gate opener model
What else you need 10
How to connect it 8 steps
Solder a pair of wires to each motor with an adult, then test each motor in both directions on the battery and mark which wire makes it go forward.
Fix the two motors under the back of the chassis with clamps or hot glue, their shafts in a straight line and pointing outwards.
Fit the wheels on the outer shafts; leave the inner shafts free for a counting disc later.
Fit the castor or bead under the front so the car stands level on three points.
Wire each DPDT switch as a reversing switch: the motor's two wires to the two middle pins, the battery to the two pins at one end, and those two pins cross-connected to the two pins at the other end.
Fix both switches and the battery pack in the remote box, and run the four-core cable to the car, two cores for each motor.
Push both switches forward and the car moves forward; one forward and one back makes it spin on the spot; one forward and one in the middle makes it turn gently.
Time the car over 2 m and work out its speed, then compare it with πdN for your wheel diameter and the motor's rpm.
Read this first
Safety first
Go through these points before you build or switch anything on. Younger students should do this with an adult.
- Keep fingers and hair away from the wheels while the motors are running.
- Check the remote's wiring before connecting the battery: a mistake in the cross-connections can short-circuit the battery through the switch.
- Do not let the car stay pushed against a wall with the motors on; stalled motors heat up and drain the battery.
- Solder and use hot glue only with an adult; the motor's plastic end cap melts easily.
Troubleshooting
If something does not work
The usual problems with this part and how to fix them. Open a problem to see the fix.
The car spins on the spot when both switches are pushed forward
One motor is wired the other way round. Swap that motor's two wires at its switch.
A motor still runs with its switch in the middle
The switch may not be a centre-off type, or two pins are bridged. Check the switch type and the solder joints.
The battery gets warm when a switch is moved
The cross-connections are wrong and are shorting the battery. Disconnect the battery at once and check the wiring against a diagram.
The car drifts to one side
The motors run at slightly different speeds, a wheel may be loose, or the castor may be sticking. Tighten the wheels and free the castor.
Exhibition day
How to present it
A running order for the exhibition table or the practical, step by step.
Measure your wheel's diameter, calculate the distance per turn, and compare it with a real test run.
Show how the dual shaft lets you mount a wheel on either side, and explain how an encoder disc could count turns.
Run the car on a smooth floor and on a rough mat, and explain the difference using friction.
Label the positive and negative wires clearly, since swapping them reverses the motor.
Practice
Viva questions
Practice questions on this part, with short answers. Try each one aloud before you open the answer.
Why is a gearbox attached to a BO motor?
A small DC motor spins too fast with too little torque, so the gearbox reduces the speed and increases the torque to drive the wheels.
How far does a wheel move in one rotation?
It moves a distance equal to its circumference, which is π times its diameter.
What is the advantage of a dual-shaft motor?
The shaft comes out on both sides, so a wheel can be fixed on either side or a sensor such as an encoder can be attached to the spare end.
Why does a robot car slip on a very smooth floor?
There is less friction between the tyres and the floor, so the wheels spin without pushing the car forward properly.
Buying checklist
Before you buy
What to check before you order the part, and what to do when it arrives.
1Before you order
- The title describes an 18 in 1 set with wires and a battery; read the listing for the exact parts and how many of each.
- Check the motors' rated voltage and speed in the listing and choose your battery to match.
- Check that the wheels fit the motor shafts snugly before you glue anything.
- Keep the small screws and spare parts together in a small box.
- Check the delivery date for your PIN code on the marketplace, and order well before the exhibition or practical.
- Building it yourself: younger students should build with an adult, especially with motors, batteries and small parts.
2When it arrives
- On arrival, run each motor briefly in both directions and listen for grinding gears.
Next steps
Take it further
Ways to turn this part into a bigger investigation or a stronger exhibition entry.
Fit a slotted disc on a free inner shaft with an infrared slot sensor to count turns and measure the distance travelled.
Compare wheels of different sizes for speed and for pulling force, measuring the pull with a spring balance.
Replace the wired remote with a motor driver, a microcontroller and a Bluetooth module so a phone can steer the car.
Audience
Who it suits
Suits Class 6 to 12 robotics, Atal Tinkering Lab and science fair projects that need small motorised wheels.
- CategoryComponents and Spares
- TypeComponent
Free to read
Free ebooks for this topic
Free PDF ebooks from Gurukul Technicals Institute on the science, the making and the presenting of projects like this one.
- Free PDF ebook
Electronic Components Handbook
Resistors, capacitors, LEDs, diodes, transistors and more, with how to use each
- Free PDF ebook
Electricity and Magnetism Experiments
Hands-on experiments with cells, wires, bulbs and magnets
- Free PDF ebook
Motors, Gears and Motor Drivers
Make things move: DC motors, servos, steppers and how to drive them