- Components and Spares
- Component
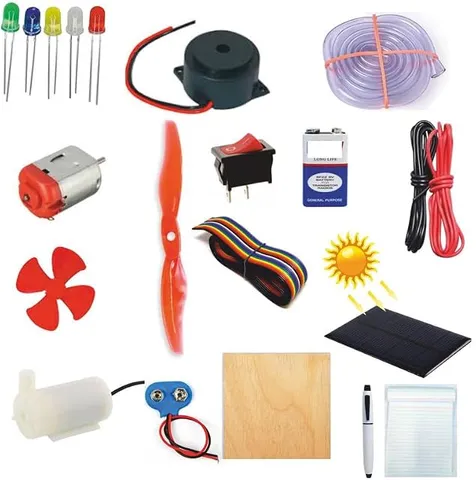
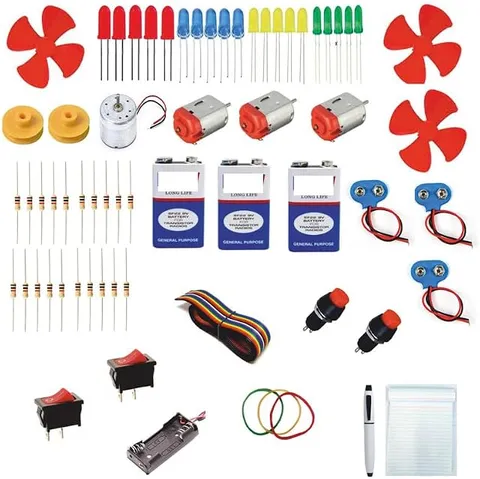
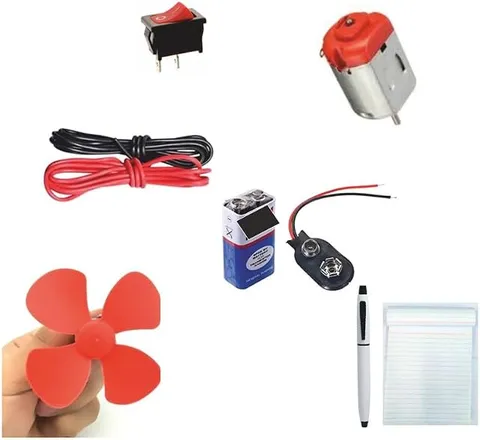
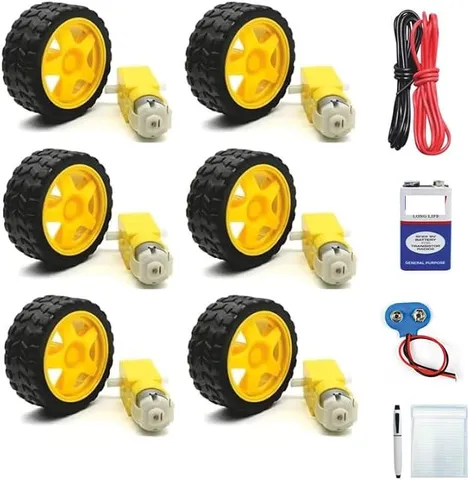
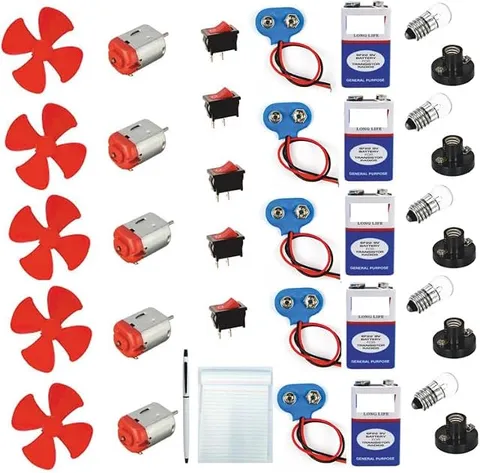
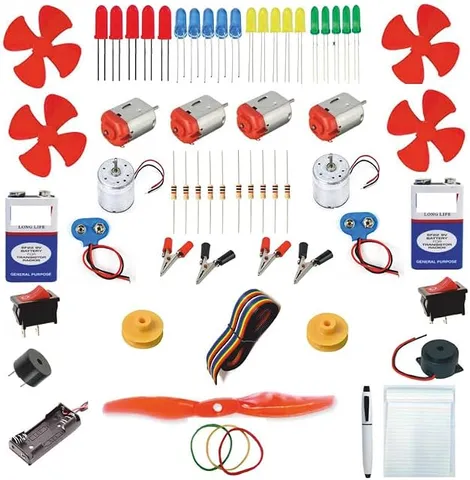
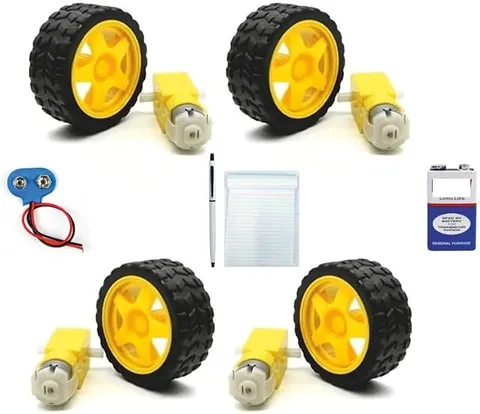
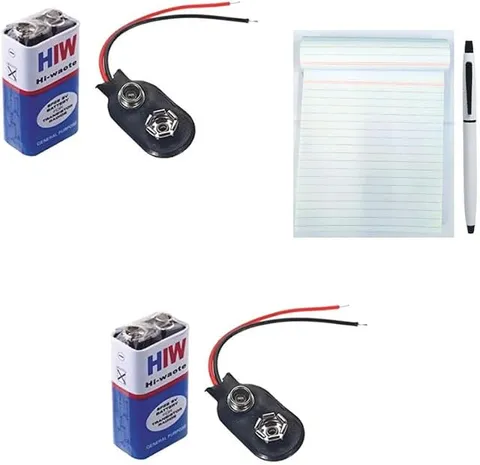
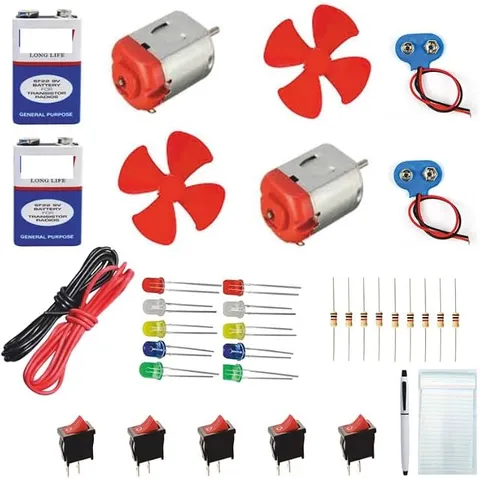
30+ Electronic Components DC Toy Motor with Fan & On/Off Switch & 9V battery kit
Code B0FGV2XQ71
- Paid for and delivered by Amazon. The current price and the delivery date for your PIN code are shown there.
- Sold by Gurukul Technicals Institute, Delhi.
- Need a different topic, a custom version or a school order? Ask on WhatsApp.
In this project guide
Component
About this part
This is a starter electronics kit for simple motor projects; the listing says it has 30+ electronic components, a DC toy motor with a fan, an on/off switch and a 9V battery. With these parts a beginner can wire a working fan circuit and then reuse the motor in other models.
How it works
The science behind it
The idea the part demonstrates, in words you can use in your report and when you explain it.
A simple circuit needs a source of energy, a load and a complete path. In a fan circuit the battery is the source, the motor is the load and the switch opens or closes the path. The battery turns stored chemical energy into electrical energy, and when the switch is on, the motor turns electrical energy into kinetic energy. Inside the motor, a current-carrying coil placed in a magnet's field feels a force that makes it turn, and swapping the battery connections reverses the current and the direction of spin. The fan works because its blades are tilted: as they turn, they push air forward, and by Newton's third law the air pushes back on the blades. Electrical power is P = V × I, so a motor drawing 0.2 A from 9 V uses 1.8 W. The table fan in your home works on the same idea, on a bigger scale and run from the mains.
Make it yourself
Make a battery-powered table fan with an on/off switch yourself
Everything you need and the order to do it in. Tick off the materials as you collect them.
What you need 10
Step by step 8 steps
Strip about 1 cm of insulation from the ends of three wires. If the motor has no wires attached, twist them through its two terminal holes, or solder them with an adult's help.
- Test the motor before building
Touch its two wires to the battery terminals for a second. It should spin; swap the wires and it should spin the other way.
Push the fan blade firmly onto the shaft, check it spins without wobbling, and note which way it blows air with each connection.
- Make the stand
Fix the tower to the heavy base and strap the motor on top with a cable tie or tape, so the blade clears the table and the stand by at least 1 cm.
- Wire the circuit in series
Battery positive to the switch, switch to one motor terminal, and the other motor terminal back to battery negative.
Add the power light in parallel with the motor: the LED's long leg through the 1 kΩ resistor to the switched positive wire, and its short leg to battery negative.
Switch on and check the air direction; if the fan blows backwards, swap the two motor wires. Tape over every joint.
Fix the battery in a small pocket or box on the base, so its weight helps keep the fan from tipping over.
Read this first
Safety first
Go through these points before you build or switch anything on. Younger students should do this with an adult.
- Keep fingers, hair and loose clothing away from the spinning blade, and do not touch it until it has fully stopped.
- Never let the battery's two terminals touch the same piece of metal or bare wire; a short circuit makes a 9 V battery hot quickly.
- Use the soldering iron and glue gun only with an adult, on a heat-proof surface, and let joints cool before touching.
- If the motor gets hot or smells of burning, switch off at once; it may be jammed or may have run too long on 9 V.
Troubleshooting
If something does not work
The usual problems with this part and how to fix them. Open a problem to see the fix.
The motor hums but does not turn
The blade may be pushed on so far that it rubs the motor body, or the battery is weak. Pull the blade out slightly, spin it by hand to free it, and try a fresh battery.
The fan blows air backwards
The motor is turning the wrong way for that blade. Swap the two motor wires; reversing the current reverses the spin.
The fan shakes the whole stand
The blade is off-centre or one wing is bent. Straighten it or press it on squarely, and add more clay to the base.
The fan slows down within a few minutes
A small 9 V battery cannot supply a motor's current for long. Use a fresh battery for the exhibition, switch off between demonstrations, or use a holder of four AA cells (6 V), which suits a 3 to 6 V toy motor and lasts much longer.
The fan runs but the LED stays off
The LED is the wrong way round or its resistor is loose. Turn the LED so its long leg faces the positive wire.
Exhibition day
How to present it
A running order for the exhibition table or the practical, step by step.
Draw the circuit diagram with standard symbols for the battery, switch and motor before you start wiring.
Flip the switch on and off to explain open and closed circuits, then swap the battery leads to show the fan reversing.
Switch the circuit off between demonstrations so the battery does not run down.
Reuse the motor and fan in a second simple model, such as a hand-held fan, to show that the same circuit can power different designs.
Practice
Viva questions
Practice questions on this part, with short answers. Try each one aloud before you open the answer.
What energy changes take place from the battery to the fan?
Chemical energy in the battery becomes electrical energy, and the motor turns it into kinetic energy of the fan.
What is the function of a switch in a circuit?
A switch opens or closes the circuit, so it stops or allows the flow of current.
What happens if you reverse the battery connections of a DC motor?
The current reverses, so the motor and fan turn in the opposite direction.
Why are fan blades tilted?
The tilt makes the turning blades push air forward, creating a breeze; by Newton's third law the air pushes back on the blades.
Project file
Project file outline
The headings of the project file, in order. Give each heading its own section and write it in your own words.
Free ebook: Writing a Science Project FileContents
- Aim: to make a battery-powered fan and study the energy changes in it
- Introduction: the parts of a simple circuit: source, switch, load and connecting wires
- Materials and the job of each component
- Circuit diagram with the motor and the indicator LED in parallel
- Construction of the stand and the wiring
- Working: how a DC motor turns, and how tilted blades push air
- Observations: effect of reversing the battery, and of 3 V and 9 V on speed
- Precautions and conclusion
Buying checklist
Before you buy
What to check before you order the part, and what to do when it arrives.
1Before you order
- Decide what you want to build first, such as a fan, a boat or a small car, and check in the listing that the motor and parts suit it.
- Read the listing carefully to see which parts are named, so you know whether you still need a stand, tape or tools.
- Measure the battery with a multimeter if you have one, and keep a spare for the exhibition day.
- Store the small parts in a zip-lock bag so LEDs and resistors are not lost before your next project.
- Check the delivery date for your PIN code on the marketplace, and order well before the exhibition or practical.
- Check what is in the box on the marketplace listing, including any batteries or tools you need to add.
- Building it yourself: younger students should build with an adult, especially with motors, batteries and small parts.
2When it arrives
- As soon as it arrives, test the motor, switch and battery together in a quick circuit before starting the build.
Next steps
Take it further
Ways to turn this part into a bigger investigation or a stronger exhibition entry.
Add a DPDT switch wired to reverse the motor, so the fan can blow or suck air at the flick of a switch, and explain why.
Compare the fan's speed on 3 V, 6 V and 9 V by counting turns of a paper flag in a slow-motion phone video, and plot speed against voltage.
Reuse the motor in a second model, such as an air-propelled boat, or spin it by hand as a tiny generator and measure the voltage it makes.
Audience
Who it suits
Suits Class 4 to 8 students making their first electrical project and beginners learning about simple circuits.
- CategoryComponents and Spares
- TypeComponent
Free to read
Free ebooks for this topic
Free PDF ebooks from Gurukul Technicals Institute on the science, the making and the presenting of projects like this one.
- Free PDF ebook
Electronic Components Handbook
Resistors, capacitors, LEDs, diodes, transistors and more, with how to use each
- Free PDF ebook
Electricity and Magnetism Experiments
Hands-on experiments with cells, wires, bulbs and magnets
- Free PDF ebook
Your Science Exhibition Guide
Choose a project, build it, present it and answer the judges with confidence
- Free PDF ebook
Writing a Science Project File
How to write the report, from the cover page to the bibliography