- Components and Spares
- Component
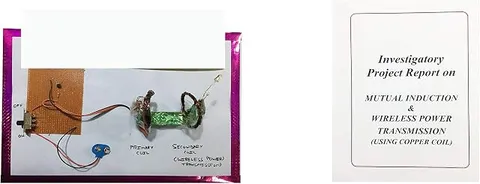
Mutual Induction & Wireless Power Transmission Educational Circuit Board, Multicolor
Code B07P33C6RP
- Paid for and delivered by Amazon. The current price and the delivery date for your PIN code are shown there.
- Sold by Gurukul Technicals Institute, Delhi.
- Need a different topic, a custom version or a school order? Ask on WhatsApp.
In this project guide
Component
About this part
This circuit board demonstrates wireless power transmission, where energy passes from one coil to another through the air with no wires between them. It shows mutual induction in action and connects it to modern technology such as wireless phone chargers and contactless cards.
How it works
The science behind it
The idea the part demonstrates, in words you can use in your report and when you explain it.
Wireless power transfer uses mutual induction. An oscillator drives a high-frequency alternating current through a transmitter coil, which produces a rapidly changing magnetic field. When a receiver coil is brought close, this changing field passes through it and induces an EMF, which can light an LED or charge a battery. How much energy reaches the receiver depends on how strongly the coils are coupled: the coupling coefficient k, between 0 and 1, tells what share of the transmitter's flux links the receiver. Coupling falls quickly as the gap grows or the coils tilt out of line, so the output drops sharply with distance. Tuning both coils to the same resonant frequency with capacitors improves the transfer. Delhi Metro smart cards work on this idea: the card has no battery, and the reader's field induces just enough power for its chip to reply.
Make it yourself
Make a wireless power transmission circuit yourself
Everything you need and the order to do it in. Tick off the materials as you collect them.
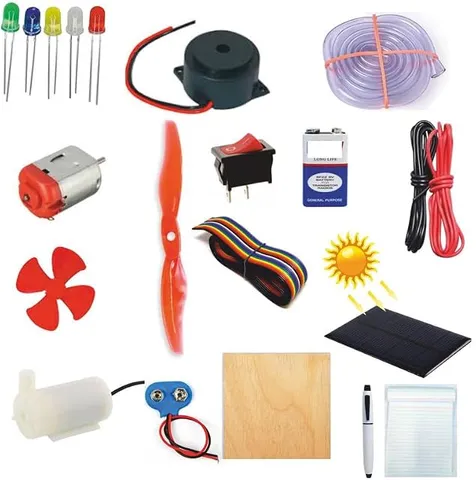
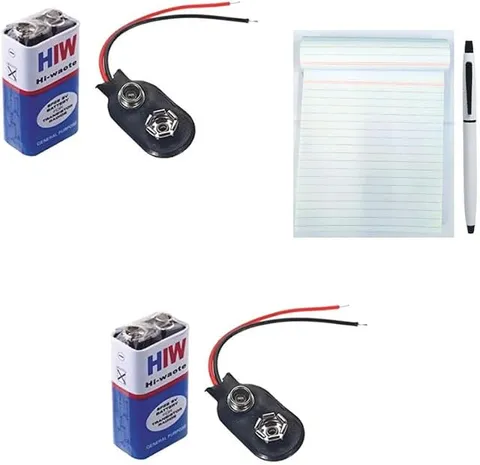
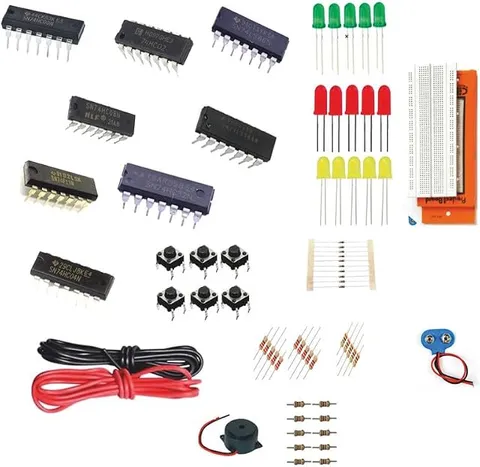
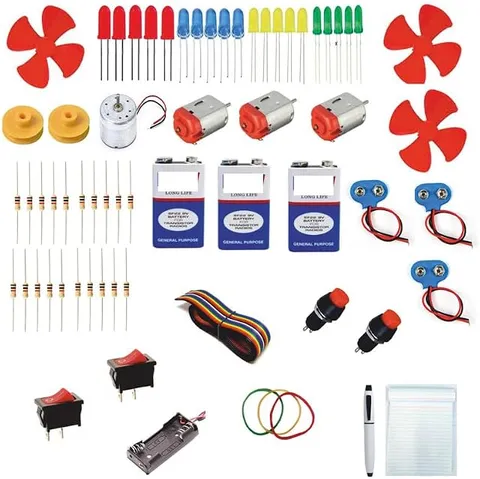
What you need 9
Step by step 8 steps
- Wind the transmitter coil
15 turns of enamelled wire on the former, then twist a small loop as the centre tap, then 15 more turns in the same direction; tape the coil so it keeps its shape.
Wind the receiver coil with about 30 turns of the same wire on the same former, so both coils are the same size, and tape it.
Scrape the enamel off every wire end and off the centre-tap loop until bright copper shows, because enamel does not conduct.
Fix the transistor on the board; connect its emitter to the battery negative, one outer end of the transmitter coil to its collector, and the other outer end through the 1 kΩ resistor to its base.
Connect the centre tap to the battery positive through the switch.
Solder an LED across the two ends of the receiver coil.
Switch on, hold the receiver coil flat just above the transmitter coil and watch the LED glow with no wire between them.
Slowly lift and tilt the receiver coil, and note the distance and angle at which the LED dims and goes out.
Read this first
Safety first
Go through these points before you build or switch anything on. Younger students should do this with an adult.
- Power it only from the 9 V battery or a cell pack of up to 12 V; never connect it to mains or to a home-made supply.
- The transistor can get hot; touch its heat sink only after switching off and letting it cool.
- Do not leave it switched on between demonstrations; the battery drains quickly and the transistor keeps heating.
- Solder only with an adult, and let joints cool before handling the board.
Troubleshooting
If something does not work
The usual problems with this part and how to fix them. Open a problem to see the fix.
The LED on the receiver does not glow at all
The oscillator is probably not running. Swap the two outer ends of the transmitter coil (collector and base connections), check the enamel is scraped at every joint, and fit a fresh battery.
The LED glows only when the coils touch
The coupling is weak. Keep the coils the same size, parallel and centred over each other, add a few turns to the receiver, or try a red LED, which needs less voltage.
The transistor gets very hot within seconds
Too much current is flowing, often because of a wiring mistake or turns shorted where the enamel is scratched. Switch off, check against the circuit diagram and fit a heat sink.
The LED flickers
A loose joint or a weak battery is the usual cause; re-solder the joints and replace the battery.
Exhibition day
How to present it
A running order for the exhibition table or the practical, step by step.
Raise the receiver coil slowly above the transmitter and show the output, such as an LED, dimming with distance.
Tilt the receiver coil to show that alignment matters as much as distance.
Place a sheet of paper or plastic between the coils to show that energy still passes through insulators.
Explain where wireless power is used today: phone chargers, electric toothbrushes and contactless cards.
Practice
Viva questions
Practice questions on this part, with short answers. Try each one aloud before you open the answer.
How is power transmitted without wires in this circuit?
A changing magnetic field from the transmitter coil induces an EMF in the receiver coil by mutual induction.
Why does the output fall as the coils are moved apart?
Less of the transmitter's magnetic flux links the receiver coil, so the coupling and the induced EMF decrease.
Why is a high-frequency current used in the transmitter coil?
Induced EMF depends on the rate of change of flux, so a faster-changing current induces a larger EMF.
Give two everyday examples of wireless power transfer.
Wireless phone chargers and contactless smart cards such as metro cards.
Project file
Project file outline
The headings of the project file, in order. Give each heading its own section and write it in your own words.
Free ebook: Writing a Science Project FileContents
- Aim: to transfer electrical energy between two coils without wires using mutual induction
- Faraday's law and the meaning of mutual inductance
- Circuit diagram of the oscillator and the receiver coil
- How the transistor keeps the current in the transmitter coil changing
- Observation table: distance between the coils against LED brightness
- Effect of tilting the receiver coil out of line
- Uses: wireless phone chargers, electric toothbrushes and contactless cards
- Limitations: short range and energy lost as heat
- Conclusion on wireless charging, and books and websites referred to
Buying checklist
Before you buy
What to check before you order the part, and what to do when it arrives.
1Before you order
- Check the listing for the power source the board needs and whether a battery is mentioned; plan to buy a fresh one if not.
- Confirm with your teacher that the project fits your class's chapter on electromagnetic induction.
- Handle the coils gently; a thin wire broken near a terminal is hard to spot.
- Keep the box and some foam for carrying it, and a spare battery for the exhibition.
- Check the delivery date for your PIN code on the marketplace, and order well before the exhibition or practical.
- Building it yourself: younger students should build with an adult, especially with motors, batteries and small parts.
2When it arrives
- Test the board soon after it arrives and note the distance at which the receiver stops working, for your project file.
Next steps
Take it further
Ways to turn this part into a bigger investigation or a stronger exhibition entry.
Measure the receiver coil's output on a multimeter's AC volts range and plot it against distance.
Try receiver coils with different numbers of turns and compare the brightness or voltage.
Add a capacitor across the receiver coil and try different values to see when the output improves, which is the idea of resonant coupling.
Rectify the receiver's output with a diode and capacitor and use it to run a small DC load.
Audience
Who it suits
Suits Class 12 physics investigatory projects on electromagnetic induction, and engineering students exploring wireless charging.
- CategoryComponents and Spares
- TypeComponent
Free to read
Free ebooks for this topic
Free PDF ebooks from Gurukul Technicals Institute on the science, the making and the presenting of projects like this one.
- Free PDF ebook
Electronic Components Handbook
Resistors, capacitors, LEDs, diodes, transistors and more, with how to use each
- Free PDF ebook
Electricity and Magnetism Experiments
Hands-on experiments with cells, wires, bulbs and magnets
- Free PDF ebook
Your Science Exhibition Guide
Choose a project, build it, present it and answer the judges with confidence
- Free PDF ebook
Writing a Science Project File
How to write the report, from the cover page to the bibliography