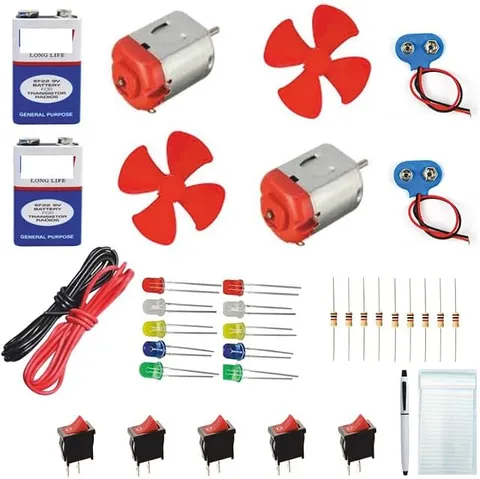
- Components and Spares
- Component
50+ Electronic Parts Kit
Code B0FGV48LBC
- Paid for and delivered by Amazon. The current price and the delivery date for your PIN code are shown there.
- Sold by Gurukul Technicals Institute, Delhi.
- Need a different topic, a custom version or a school order? Ask on WhatsApp.
Component
About this part
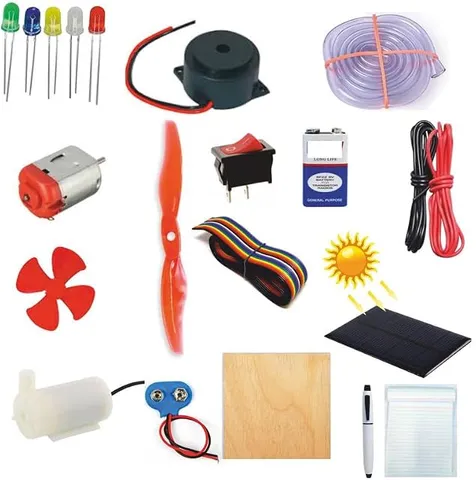
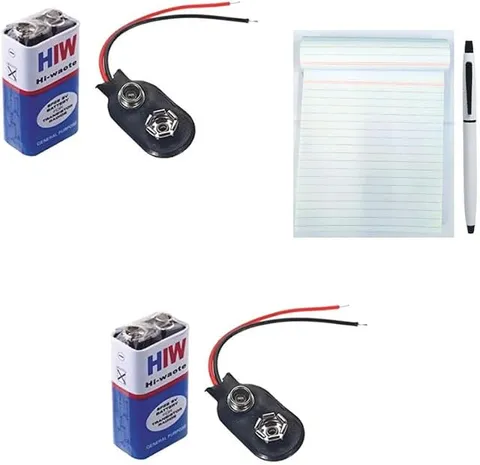
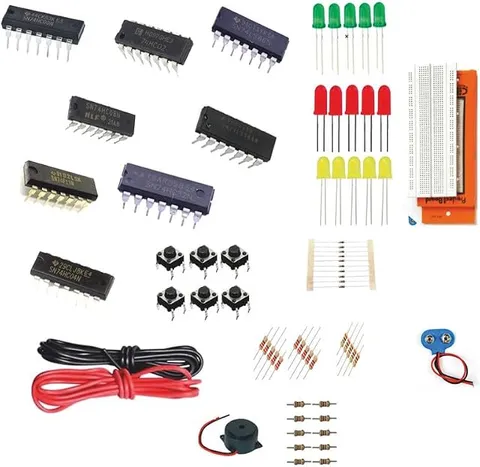
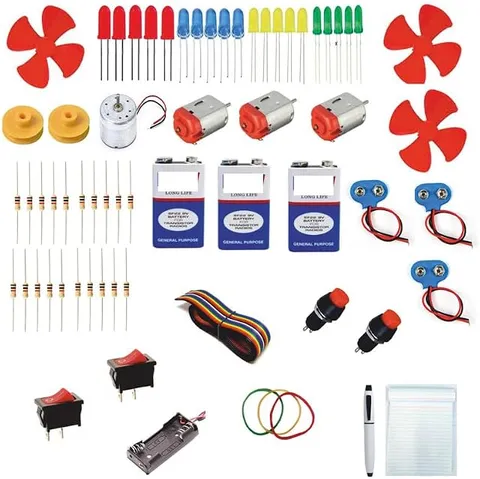
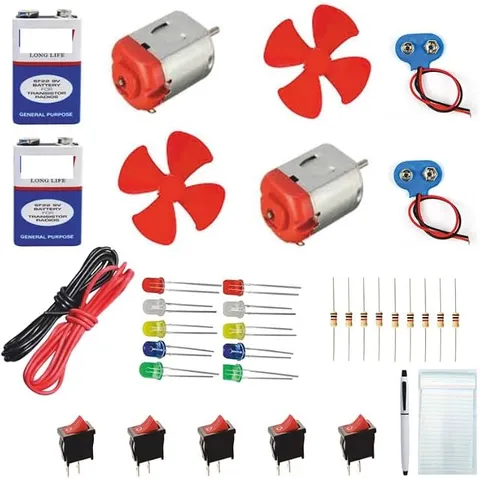
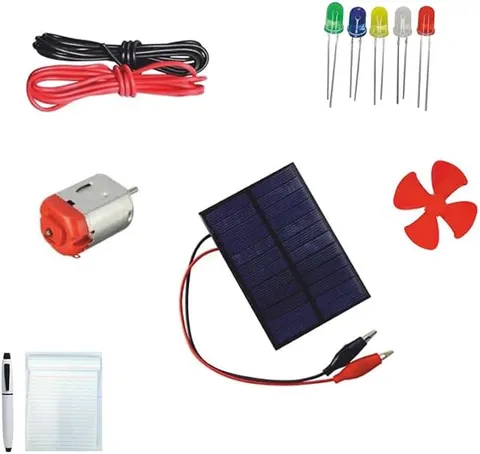
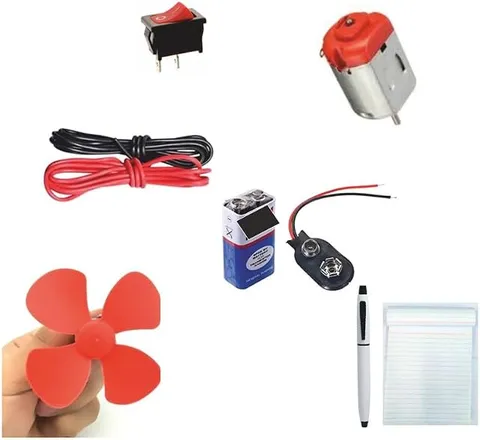
A beginner electronics kit that the title describes as 50+ parts, naming a DC toy motor, LEDs, a 9V battery, a switch and a buzzer among them. It is a handy set for first experiments such as a doorbell circuit, a mini fan or a conductivity tester.
What the listing says
- DC Toy Motor
How it works
The science behind it
The idea the part demonstrates, in words you can use in your report and when you explain it.
Each part in a basic circuit does one job. The 9V battery is the source, turning chemical energy into electrical energy. A switch opens or closes the circuit. An LED is a diode, so it glows only when connected the right way round, with its longer leg, the anode, towards positive. A buzzer turns electrical energy into sound; an active buzzer beeps as soon as DC is applied. A DC motor turns electrical energy into motion. Parts can be joined in series, where one current passes through all and a single break stops everything, or in parallel, where each part gets the full battery voltage and works independently. An LED connected straight to 9 V will burn out, so it needs a series resistor of a few hundred ohms; 470 Ω, for example, allows about (9 − 2) ÷ 470 ≈ 15 mA. A simple conductivity tester shows that a steel spoon conducts while a plastic scale does not.
Using it in your projects
Using a 50+ beginner electronics parts kit in your projects
What this part is good for, what else you need with it and how to connect it.
Projects you can build with it 7
- A doorbell with a push switch and buzzer
- A conductivity tester for solids and liquids
- A mini table fan in a decorated box
- A torch with an LED and a switch
- A door alarm that buzzes when a switch inside the door frame is released
- A demonstration board comparing series and parallel circuits
- A rain alarm that buzzes when water bridges two bare wires
What else you need 9
How to connect it 8 steps
Sort the parts into the tray, name each one, and tick them off against the listing.
Check the 9 V battery with the multimeter; a fresh one reads about 9 V or a little more.
Find each LED's legs (the long leg and the side without the flat edge are positive) and the + mark on the buzzer, and test the buzzer briefly on the battery.
- Make a doorbell
Battery positive to a push switch, the switch to the buzzer's positive lead, and the buzzer's negative lead back to the battery. Press to ring.
- Make a conductivity tester
Battery positive to a 470 Ω resistor, the resistor to the LED's long leg, the LED's short leg to probe A, and battery negative to probe B. Touch the probes to a coin, a pencil lead, an eraser and plastic, then dip them in tap water and then in salty water.
- Make a mini fan
Fit a blade on the motor and connect it through the switch to a battery that suits its rating.
- Compare series and parallel
Light two LEDs side by side, each with its own resistor, then remove one; next put two LEDs in a line with one resistor and remove one.
Disconnect the battery after each experiment and put the parts back in their compartments.
Read this first
Safety first
Go through these points before you build or switch anything on. Younger students should do this with an adult.
- Always use a resistor with each LED; connected straight to 9 V, an LED burns out at once.
- Never join the battery's two terminals with a wire, and keep it away from coins and keys; a shorted 9 V battery gets hot.
- Keep the salt water away from the battery, and dry the probes after use.
- Keep small parts away from young children, and keep fingers clear of the spinning fan blade.
Troubleshooting
If something does not work
The usual problems with this part and how to fix them. Open a problem to see the fix.
The buzzer stays silent
It may be connected the wrong way round, since active buzzers have a + lead. Check its marking, then try a fresh battery.
The tester's LED does not light even when the probes touch a coin
The LED may be reversed, or the probes may not be touching bare metal. Touch the probes together: if the LED stays dark, the fault is in the tester.
The LED glows dimly in salty water and not at all in tap water
That is a correct result: salt water conducts much better than tap water, and tap water conducts too weakly to light an LED through the resistor.
In the series test, both LEDs go out when one is removed
That is also correct: a series circuit has only one path, so one break stops everything. In the parallel circuit, the other LED stays lit.
Exhibition day
How to present it
A running order for the exhibition table or the practical, step by step.
Build one complete project, such as a doorbell from the switch and buzzer, and explain each part's job.
Check whether your kit has resistors, and never connect an LED straight to the 9V battery without one.
Show series and parallel by connecting two LEDs both ways and comparing their brightness.
Make a conductivity tester and let visitors test coins, keys, erasers and plastic scales.
Practice
Viva questions
Practice questions on this part, with short answers. Try each one aloud before you open the answer.
How do you identify the positive leg of an LED?
The longer leg is the anode, which goes to the positive side, and the flat edge on the rim marks the cathode.
What is the difference between series and parallel connection?
In series the same current flows through every part and one break stops all, while in parallel each part gets the full voltage and works on its own.
Why does an LED need a resistor with a 9V battery?
The resistor limits the current to a safe value; without it the LED would draw too much current and burn out.
What energy conversion happens in a buzzer?
A buzzer converts electrical energy into sound energy.
Buying checklist
Before you buy
What to check before you order the part, and what to do when it arrives.
1Before you order
- Check the motor's voltage rating before running it on the 9 V battery.
- A kit like this suits first electricity chapters; check that it fits your class and your teacher's project.
- Keep the small parts in a box with compartments so none get lost.
- Check the delivery date for your PIN code on the marketplace, and order well before the exhibition or practical.
- Building it yourself: younger students should build with an adult, especially with motors, batteries and small parts.
2When it arrives
- Read the listing to see which parts and how many come in the kit, and tick them off when it arrives.
Next steps
Take it further
Ways to turn this part into a bigger investigation or a stronger exhibition entry.
Measure the current drawn by an LED, the buzzer and the motor, and explain why the motor drains the battery fastest.
Draw every circuit you build with standard circuit symbols and add them to your project file.
Make a conductivity table for ten household materials and liquids, and group them into good conductors, poor conductors and insulators.
Audience
Who it suits
Suits Class 6 to 10 students starting electronics and building simple circuits for science fairs.
- CategoryComponents and Spares
- TypeComponent
Free to read
Free ebooks for this topic
Free PDF ebooks from Gurukul Technicals Institute on the science, the making and the presenting of projects like this one.
- Free PDF ebook
Electronic Components Handbook
Resistors, capacitors, LEDs, diodes, transistors and more, with how to use each
- Free PDF ebook
Electricity and Magnetism Experiments
Hands-on experiments with cells, wires, bulbs and magnets
- Free PDF ebook
Motors, Gears and Motor Drivers
Make things move: DC motors, servos, steppers and how to drive them