- Components and Spares
- Component
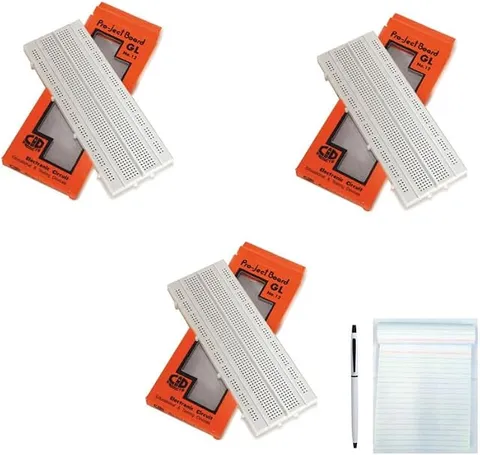
GL-12 840 Point Solderless Breadboard Kit
Code B0FGV5NPBG
- Paid for and delivered by Amazon. The current price and the delivery date for your PIN code are shown there.
- Sold by Gurukul Technicals Institute, Delhi.
- Need a different topic, a custom version or a school order? Ask on WhatsApp.
Component
About this part
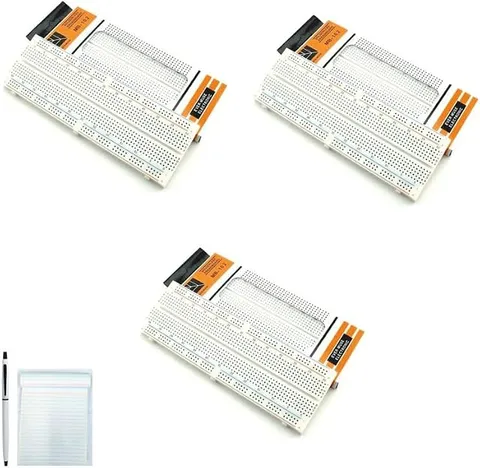
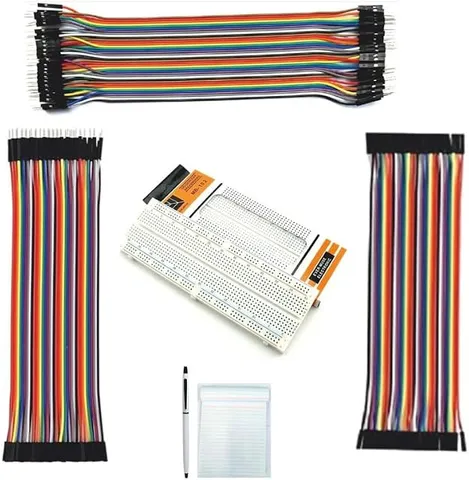
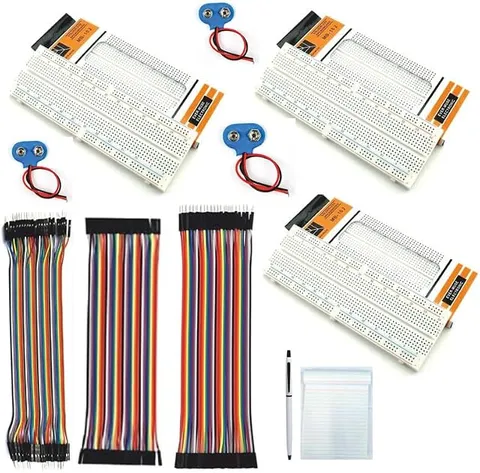
The GL-12 is a solderless breadboard with 840 tie points for building and testing circuits without solder. The listing says this is a combo of three boards, useful for a student or lab that runs several projects at once or wants to keep a working circuit intact while starting a new one.
What the listing says
- Combo of 3
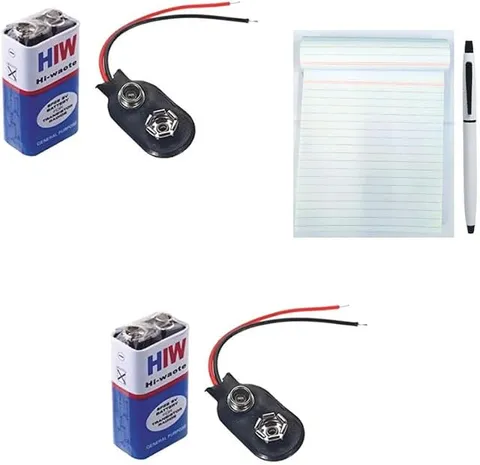
- Money Saver with Pen & Pad Electronic Components
How it works
The science behind it
The idea the part demonstrates, in words you can use in your report and when you explain it.
A breadboard turns circuit design into a quick build, test and improve cycle, which is how engineers prototype before making a permanent PCB. Inside, spring clips connect groups of holes in each row and run along the power rails. On some long breadboards the power rails are split halfway, so it is worth checking them with a multimeter's continuity mode before relying on them. The most common fault on a breadboard is an accidental short circuit, where current finds a path with almost no resistance. By Ohm's law, I = V/R, a very small R means a very large current, which heats wires, drains batteries quickly and can damage parts. The second common fault is an open circuit, where a lead is not pushed in fully and no current flows. Learning to find both, step by step, is the real skill a breadboard teaches.
Using it in your projects
Using an 840-point breadboard in your projects
What this part is good for, what else you need with it and how to connect it.
Projects you can build with it 6
- A 555 timer traffic light or LED chaser
- A transistor rain or water level alarm
- The sensor circuit of a light-following robot, tested before mounting
- A two-way (staircase) switch circuit
- A comparator-based temperature switch
- A three-stage project with sensor, logic and output on separate boards
What else you need 7
How to connect it 8 steps
Before building, set the meter to continuity and touch the probes to holes at both ends of each power rail. If it does not beep across the middle, the rail is split and needs a short link wire.
Fix the boards side by side on the base, so one can hold a finished circuit while you work on the next.
Plan your circuit on the grid sheet first, marking which row each leg goes in.
Connect the battery to the rails through a switch, red to positive.
Build in stages (power, then input or sensor, then output) and test each stage before adding the next.
Cut solid wires to the exact length and lay them flat, so the layout stays readable and nothing gets pulled out.
If anything gets warm, disconnect the battery at once and look for a short between the rails.
When a circuit works, photograph it and draw it before moving it to a zero PCB.
Read this first
Safety first
Go through these points before you build or switch anything on. Younger students should do this with an adult.
- A short circuit sends a large current through thin wires and can make the battery hot, so check the wiring before connecting power.
- Use cells only (up to 12 V); never mains or an opened charger.
- Do not push thick legs or bare stranded wire into the holes; stray strands cause shorts and spread the clips.
- Cut wire ends pointing downwards, away from your eyes.
Troubleshooting
If something does not work
The usual problems with this part and how to fix them. Open a problem to see the fix.
Half of my circuit has no power
The power rail is probably split in the middle. Bridge the two halves with a short wire and check again with continuity mode.
The battery heats up when connected
There is a short circuit. Disconnect at once and look for a wire or leg joining the two rails or running across a row.
A component works only in some holes
Some clips may be worn. Mark the bad holes and avoid them.
The board slides about on the table
Fix it to the base with its sticky backing or with double-sided tape.
Exhibition day
How to present it
A running order for the exhibition table or the practical, step by step.
Bring a neat circuit with short wires and a labelled diagram so judges can match one to the other.
Show how you check a connection with a multimeter in continuity mode.
Explain the build, test and improve cycle, and what you changed after your first test.
Keep one board for the finished circuit and use another to show one part of it on its own.
Practice
Viva questions
Practice questions on this part, with short answers. Try each one aloud before you open the answer.
What is a short circuit?
A path of very low resistance between the supply terminals, which causes a very large current to flow.
What is an open circuit?
A circuit with a break in it, so no current can flow.
Why do engineers prototype on a breadboard before making a PCB?
Because the circuit can be tested and changed easily without soldering, so mistakes are cheap to fix.
What does the continuity mode of a multimeter check?
It checks whether two points are electrically connected, usually by beeping when there is a low-resistance path between them.
Buying checklist
Before you buy
What to check before you order the part, and what to do when it arrives.
1Before you order
- Check the listing for the number of boards, the tie points, and whether the boards lock together.
- Plan to get wires and a multimeter if you do not already have them.
- Keep one board as a spare for exhibition day, or share with a classmate.
- Store the boards flat and covered to keep dust out of the holes.
- Check the delivery date for your PIN code on the marketplace, and order well before the exhibition or practical.
- Check what is in the box on the marketplace listing, including any batteries or tools you need to add.
- Building it yourself: younger students should build with an adult, especially with motors, batteries and small parts.
2When it arrives
- Check the power rails with continuity mode as soon as the boards arrive.
Next steps
Take it further
Ways to turn this part into a bigger investigation or a stronger exhibition entry.
Measure the current your circuit draws and estimate the battery life from the capacity printed on the battery.
Record a build, test and improve cycle in your report: version 1, the fault you found, and version 2.
Design a project that needs all the boards joined, such as a road junction with four sets of traffic lights.
Audience
Who it suits
Suits Class 9 to 12 students, engineering and polytechnic labs, and hobbyists who build several projects side by side.
- CategoryComponents and Spares
- TypeComponent
Free to read
Free ebooks for this topic
Free PDF ebooks from Gurukul Technicals Institute on the science, the making and the presenting of projects like this one.
- Free PDF ebook
Electronic Components Handbook
Resistors, capacitors, LEDs, diodes, transistors and more, with how to use each
- Free PDF ebook
Your Science Exhibition Guide
Choose a project, build it, present it and answer the judges with confidence
- Free PDF ebook
Writing a Science Project File
How to write the report, from the cover page to the bibliography