TEC1-12706 12V 92W Thermoelectric Peltier Cooler Module with Fan, Motor
Code B0FGV3CFDL
- Paid for and delivered by Amazon. The current price and the delivery date for your PIN code are shown there.
- Sold by Gurukul Technicals Institute, Delhi.
- Need a different topic, a custom version or a school order? Ask on WhatsApp.
Physics
About this part
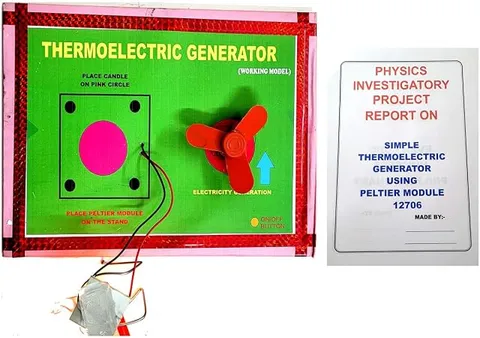
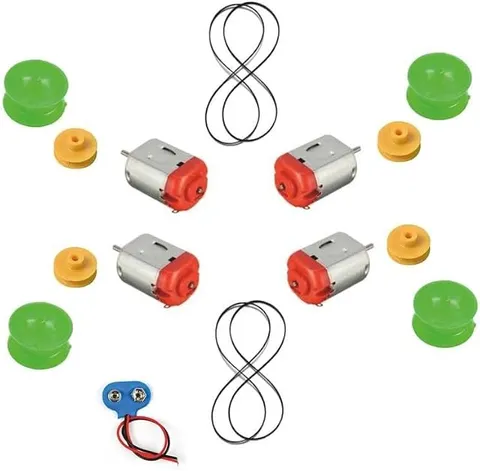
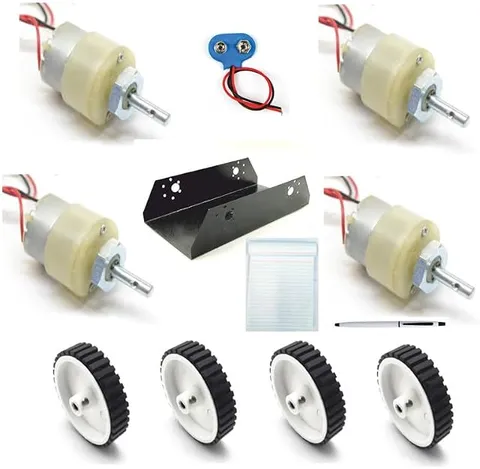
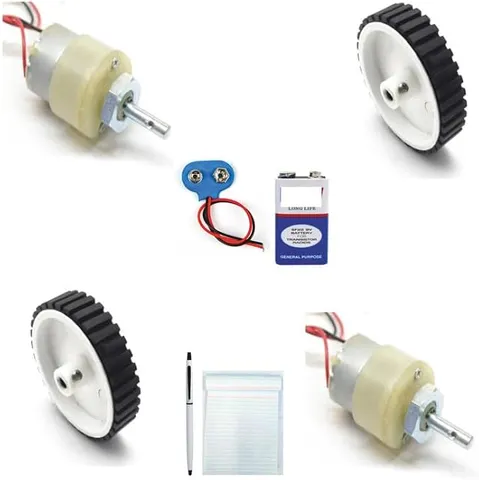
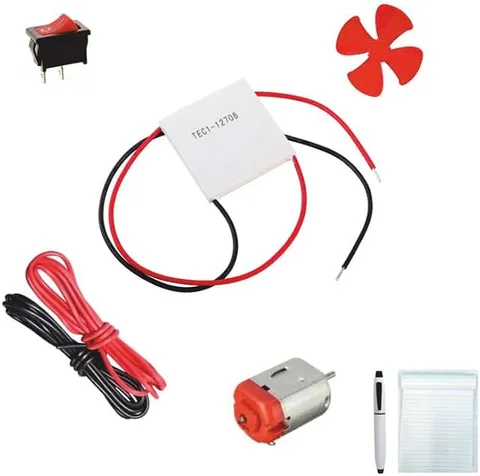
A TEC1-12706 thermoelectric Peltier module, which turns cold on one face and hot on the other when direct current passes through it. The listing mentions a fan and a motor with it, and students use modules like this to build mini refrigerators, drink coolers and heating-and-cooling experiments.
How it works
The science behind it
The idea the part demonstrates, in words you can use in your report and when you explain it.
This module works on the Peltier effect, the reverse of the Seebeck effect. When direct current passes through a junction of two different conductors, heat is absorbed at one junction and given out at the other. Inside the module, many pairs of p-type and n-type semiconductor blocks sit between two ceramic plates, so one plate cools while the other heats up. Reversing the current swaps the hot and cold faces. The module only moves heat; it does not destroy it, so the hot side must get rid of the heat taken from the cold side plus the electrical energy supplied. That is why the hot side always needs a heat sink and a fan, otherwise the module overheats very quickly and can be damaged. In the title, 12V is the usual supply voltage and 92W is the maximum electrical power drawn, not the cooling delivered. Small car coolers and some compact water dispensers use Peltier cooling.
Using it in your projects
Using a TEC1-12706 Peltier module in your projects
What this part is good for, what else you need with it and how to connect it.
Projects you can build with it 7
- A mini refrigerator in an insulated box
- A single-can drink cooler
- A heating and cooling plate that changes mode when the current is reversed
- A Seebeck effect demonstration: hot water on one face and ice water on the other, with a multimeter showing the small voltage produced
- A model of a battery-powered medicine carrier, with a calculation of how long a 12 V battery could run it
- A dew and condensation experiment using the cold plate
- An investigation comparing heat sinks of different sizes
What else you need 10
How to connect it 9 steps
- Find the wires
Red goes to positive and black to negative. To learn which face gets hot, connect the module to a small supply such as 5 V for only two or three seconds, feel both faces, and mark the hot one with an H.
Spread a thin, even layer of thermal paste on the hot face and press it onto the centre of the heat sink. Do the same on the cold face with the small aluminium plate.
Clamp the stack with the bolts or clips, tightening a little at a time on each side so the pressure is even; over-tightening one corner can crack the ceramic plates.
Fix the 12 V fan on the heat sink so it blows through the fins, and wire it in parallel with the module so both start together.
Put the switch in the positive lead and make every joint with thick wire in the terminal block, not with thin twisted wires, because the module draws several amperes.
Check that the heat sink and fan are fitted, ask an adult to plug in the adapter (or connect the battery), and switch on. Within a minute the cold plate should feel clearly cool.
For a mini cooler, cut a window in the lid of the insulated box so the cold plate faces inside while the heat sink and fan stay outside, and seal the gaps with tape.
Put a small glass of water inside, close the lid and note the temperature every two minutes for half an hour.
To show heating, swap the two module wires for a short time only: the cold face now becomes the hot face, which proves the module moves heat rather than making cold.
Read this first
Safety first
Go through these points before you build or switch anything on. Younger students should do this with an adult.
- Never run the module without its heat sink and fan, even for half a minute: the hot face can burn your fingers and the module can destroy itself.
- Only an adult should plug the adapter into the wall socket; students handle only the 12 V DC side and never open the adapter.
- The module draws several amperes, so a small 9 V battery or thin wires will heat up. Use thick wire and a supply of the right rating, and switch off if any wire gets warm.
- The cold plate can drop below freezing and collect water drops, so keep the adapter, switch and wiring away from where the water drips.
- Let the heat sink cool down before you touch or move it after a long run.
Troubleshooting
If something does not work
The usual problems with this part and how to fix them. Open a problem to see the fix.
The cold side gets cold at first and then turns warm
The hot side is not losing its heat fast enough, so the heat soaks back through the module. Check that the fan is running, use a bigger heat sink, and redo the thermal paste so there are no air gaps.
The module hardly cools and the adapter clicks off or gets hot
The supply cannot give enough current. Check the rating printed on the adapter; a small adapter or battery will not run this module properly.
Both faces get warm
There is poor contact on the hot side, or the module was damaged by running without a heat sink. Re-clamp it with fresh paste; if both faces still warm up evenly, the module may need replacing.
Water collects around the cold plate
This is normal: moisture in the air condenses on any surface colder than the dew point. Put a small tray under the plate and keep the wiring away from it.
Exhibition day
How to present it
A running order for the exhibition table or the practical, step by step.
Never power the module without a heat sink on the hot side, and show the judges how your heat sink and fan are arranged.
Place a thermometer on each face to show one side cooling while the other heats up.
Reverse the supply connections to show the hot and cold faces swap places.
Explain where the heat goes: the heat taken from the cold side plus the electrical input is released at the hot side.
Practice
Viva questions
Practice questions on this part, with short answers. Try each one aloud before you open the answer.
What is the Peltier effect?
When current flows through a junction of two different conductors, heat is absorbed at one junction and given out at the other.
What happens if the direction of current is reversed?
The cold and hot faces swap, because the direction in which heat is pumped depends on the direction of the current.
Why does the hot side need a heat sink and fan?
The hot side releases the heat pumped from the cold side plus the electrical energy supplied, and without a heat sink it overheats and can damage the module.
How is the Peltier effect related to the Seebeck effect?
They are reverse processes: the Peltier effect uses current to move heat, while the Seebeck effect uses a temperature difference to produce a voltage.
Buying checklist
Before you buy
What to check before you order the part, and what to do when it arrives.
1Before you order
- Check that your project really needs a Peltier module, and that you can arrange a 12 V supply of several amperes; a small battery will not run it.
- The title mentions a fan and a motor; read the listing to see exactly what comes with the module so you know what else to arrange, such as a heat sink and thermal paste.
- Build and test the complete cooler a few days before the exhibition, with the heat sink fitted.
- Store the module in its packing so the faces do not get scratched or chipped.
- Check the delivery date for your PIN code on the marketplace, and order well before the exhibition or practical.
- Check what is in the box on the marketplace listing, including any batteries or tools you need to add.
- Practise explaining it. Judges ask what the part shows and why; knowing the science matters as much as the part. The viva questions above are a good place to start.
2When it arrives
- When it arrives, check the ceramic faces for cracks and make sure the wires are firmly attached.
Next steps
Take it further
Ways to turn this part into a bigger investigation or a stronger exhibition entry.
Plot temperature against time inside the box with and without the fan running, and compare the cooling rates.
Measure the voltage and current to find the input power (P = VI), measure the heat taken from a known mass of water (Q = mcΔT), and estimate how efficient your cooler is.
Add a thermostat using a temperature sensor and a relay module so the box holds a set temperature on its own.
Audience
Who it suits
Suits Class 10 to 12 science projects on heat and electricity, and engineering students building small coolers.
- SubjectPhysics
Free to read
Free ebooks for this topic
Free PDF ebooks from Gurukul Technicals Institute on the science, the making and the presenting of projects like this one.
- Free PDF ebook
Electronic Components Handbook
Resistors, capacitors, LEDs, diodes, transistors and more, with how to use each
- Free PDF ebook
Electricity and Magnetism Experiments
Hands-on experiments with cells, wires, bulbs and magnets
- Free PDF ebook
Motors, Gears and Motor Drivers
Make things move: DC motors, servos, steppers and how to drive them