- Physics
- Class 1 to 9
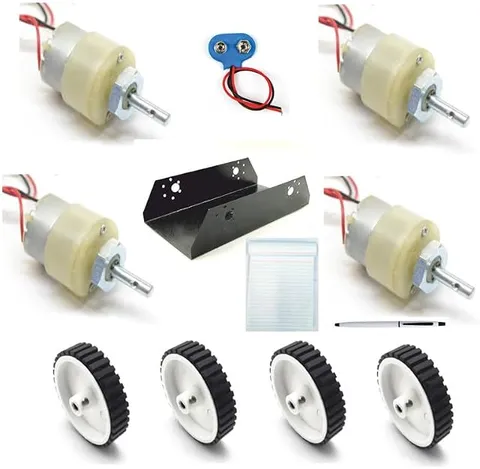
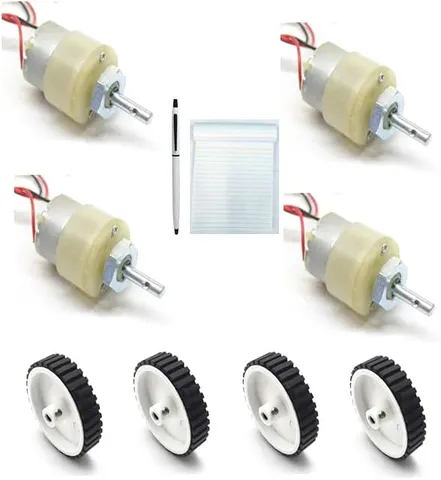
Set of 8 12V 5KG CM 200 RPM DC Gear Motor with Metal Gear for Robotics
Code B0FGV2F6NG
- Paid for and delivered by Amazon. The current price and the delivery date for your PIN code are shown there.
- Sold by Gurukul Technicals Institute, Delhi.
- Need a different topic, a custom version or a school order? Ask on WhatsApp.
Physics
About this part
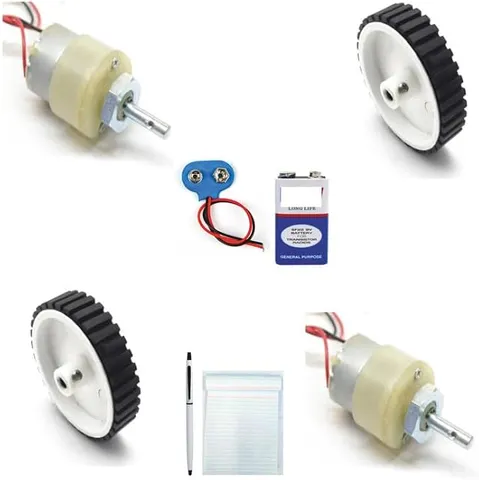
The listing title describes a set of eight 12 V DC gear motors rated 200 RPM and 5 kg-cm, with metal gears, for robotics. Motors with this much torque are meant for heavier robots, robotic arms and moving models than small toy motors can handle. Knowing what the speed and torque figures mean helps a student choose the right wheels and battery for a project.
How it works
The science behind it
The idea the part demonstrates, in words you can use in your report and when you explain it.
Two numbers describe a gear motor. RPM is the speed of the output shaft in revolutions per minute. Torque is the turning effect of a force, τ = force × perpendicular distance from the axis. A torque of 5 kg-cm means the shaft can turn against a force equal to the weight of 5 kg acting 1 cm from its centre, or 1 kg acting at 5 cm; that is about 0.49 N·m. So a bigger wheel gives more speed but less pushing force at the rim. The speed of a robot can be calculated from v = 2πr × (RPM/60). With a wheel of 3.5 cm radius at 200 RPM, v ≈ 22 cm × 200/60 ≈ 73 cm/s. The gearbox reduces the high speed of the motor inside and raises its torque, and metal gears handle this load better than plastic ones. Listed RPM is often the no-load speed, so a loaded robot usually moves a little slower.
Using it in your projects
Using 12 V 200 RPM metal gear motors in your projects
What this part is good for, what else you need with it and how to connect it.
Projects you can build with it 7
- Four-wheel-drive robot car for rough floors
- Sumo or soccer robot for competitions
- Conveyor belt or sorting machine model
- Automatic gate or sliding door model
- Winch or lift model using a pulley and string
- Bluetooth-controlled rover driven from a phone app
- Turntable for a rotating camera or display
What else you need 8
How to connect it 8 steps
- Check each motor
Connect it to the 12 V pack through the switch for a second, then reverse the wires and check that it turns the other way.
Solder wires to the motor terminals with an adult; if your driver's guide suggests it, add a small capacitor across the terminals to reduce electrical noise.
Fix each motor to the chassis with a bracket so it cannot twist under load.
Fit wheels or couplers and tighten each grub screw onto the flat side of the shaft.
Connect the motors to the driver's output terminals, and the 12 V pack to the driver's power input.
Connect the driver's control pins to the microcontroller and join their grounds; never power the motors from the microcontroller's own pins.
Upload a simple program that runs the motors forward, backward and at different speeds using PWM.
Test with the robot held off the floor first, then on the floor at low speed, checking that the motors and driver do not get hot.
Read this first
Safety first
Go through these points before you build or switch anything on. Younger students should do this with an adult.
- These motors are strong: keep fingers, hair and loose clothes away from wheels and gears, and hold the robot off the ground for the first test.
- Use a battery pack of no more than 12 V, and never connect the motors to any home-made mains supply.
- Never short the battery pack's wires; a 12 V pack can push a large current and heat wires fast.
- Do not stall the motors for long; they draw much more current and the driver and motors can overheat.
Troubleshooting
If something does not work
The usual problems with this part and how to fix them. Open a problem to see the fix.
The motors hum but do not turn under load
The battery cannot supply enough current, or the robot is too heavy for its wheels. Use a stronger pack, check the driver's current rating, or fit smaller wheels.
The microcontroller resets when the motors start
The motors are dragging the supply voltage down. Give the microcontroller its own supply or a good regulator, and keep the grounds joined.
One side runs slower than the other
Motors are never exactly identical. Adjust the PWM value for one side in your program.
The driver module gets very hot
It is close to its current limit. Add a heat sink, reduce the load, or use a driver with a higher rating.
Exhibition day
How to present it
A running order for the exhibition table or the practical, step by step.
Calculate your robot's expected speed from the RPM and wheel size, then measure it and compare.
Explain the meaning of 5 kg-cm with a simple lever diagram.
Show how a motor driver board reverses the motors for forward and backward motion.
Mount the motors firmly with brackets so they do not wobble during the demonstration.
Practice
Viva questions
Practice questions on this part, with short answers. Try each one aloud before you open the answer.
What does a torque of 5 kg-cm mean?
The motor can rotate against a force equal to the weight of 5 kg acting 1 cm from the shaft, or 1 kg acting at 5 cm.
How do you find the linear speed of a robot from motor RPM?
Multiply the wheel's circumference, 2πr, by the revolutions per second, which is RPM/60.
Why are metal gears preferred for robotics?
They are stronger and wear less than plastic gears, so they can handle higher torque and sudden loads.
Why can't a motor be connected directly to an Arduino pin?
An Arduino pin can supply only a small current, far less than a motor needs, so a motor driver or transistor circuit is used between them.
Buying checklist
Before you buy
What to check before you order the part, and what to do when it arrives.
1Before you order
- The title describes a set of eight 12 V motors; check the listing for the exact quantity, the shaft size and whether brackets or wheels are included.
- Check the motors' current rating in the listing and choose a driver and battery that can supply it.
- Choose wheels to suit the job: these motors are meant for heavier robots, and bigger wheels trade pushing force for speed.
- Keep the box and any loose grub screws together.
- Check the delivery date for your PIN code on the marketplace, and order well before the exhibition or practical.
- Practise explaining it. Judges ask what the part shows and why; knowing the science matters as much as the part. The viva questions above are a good place to start.
2When it arrives
- On arrival, run each motor briefly in both directions and listen for grinding from the gearbox.
Next steps
Take it further
Ways to turn this part into a bigger investigation or a stronger exhibition entry.
Add wheel encoders and use the feedback to make the robot drive in a straight line.
Measure the current with a multimeter with no load and with the robot climbing a ramp, and explain the difference.
Design a robotic arm joint and calculate whether 5 kg-cm of torque is enough for your arm length and load.
Audience
Who it suits
Class 9 to 12 robotics projects, engineering and diploma students, and robotics clubs building heavier robots and arms.
- ClassClass 1 to 9
- SubjectPhysics
Free to read
Free ebooks for this topic
Free PDF ebooks from Gurukul Technicals Institute on the science, the making and the presenting of projects like this one.
- Free PDF ebook
Electronic Components Handbook
Resistors, capacitors, LEDs, diodes, transistors and more, with how to use each
- Free PDF ebook
Robotics and Electronics Basics Study Book
The complete study notes, practice questions and glossary for Robotics and Electronics Basics
- Free PDF ebook
Arduino Starter Projects
Ten beginner projects with an Arduino Uno, with code explained