- Physics
- Class 1 to 9
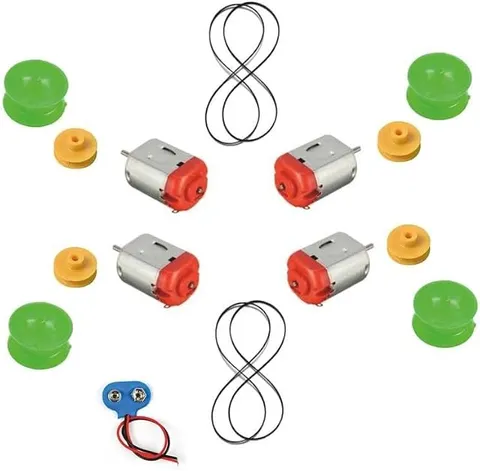
17in1 DC Motor with Small and Medium Pulley with Belts
Code B0FGTYY2Q2
- Paid for and delivered by Amazon. The current price and the delivery date for your PIN code are shown there.
- Sold by Gurukul Technicals Institute, Delhi.
- Need a different topic, a custom version or a school order? Ask on WhatsApp.
Physics
About this part
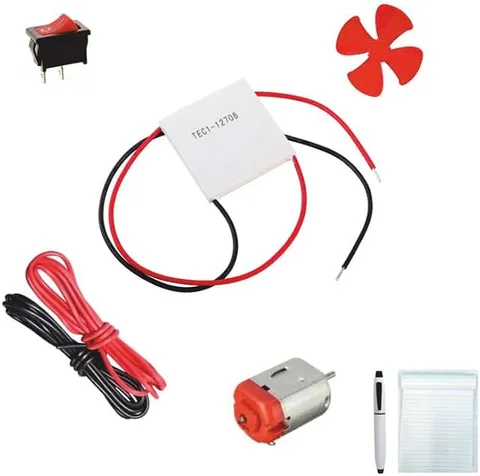
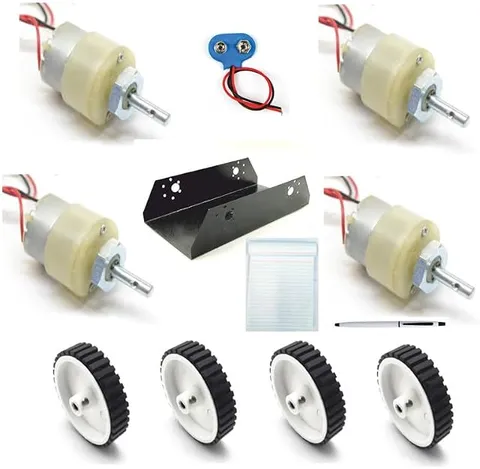
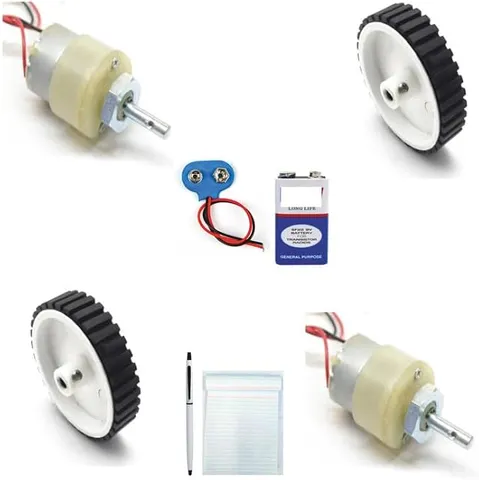
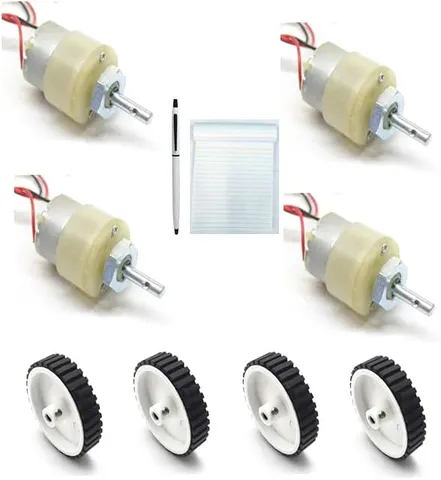
This is a DC motor set with small and medium pulleys and belts, which the listing describes as 17-in-1, for building moving science models. A motor with pulleys lets a student drive models such as conveyor belts, windmills, cranes and mini washing machines at a speed that suits the project.
How it works
The science behind it
The idea the part demonstrates, in words you can use in your report and when you explain it.
A DC motor turns electrical energy into mechanical energy. A coil carrying current sits in the field of a magnet, and each side of the coil feels a force (F = BIL) in the direction given by Fleming's left-hand rule. The forces on the two sides act in opposite directions and turn the coil. A split-ring commutator reverses the current in the coil every half turn, so the coil keeps rotating in the same direction. Reversing the battery connections reverses the direction of rotation. A belt carries this rotation to another pulley. Since the belt moves at the same speed over both pulleys, their speeds are inversely proportional to their diameters: a 1 cm pulley on the motor driving a 3 cm pulley turns it at one third of the motor's speed, but with more turning force. The belt-driven atta chakki found in many neighbourhoods uses the same idea.
Using it in your projects
Using the DC motor with pulleys and belts in your projects
What this part is good for, what else you need with it and how to connect it.
Projects you can build with it 7
- A conveyor belt carrying small boxes through a factory model
- A belt-driven windmill or water wheel display
- A mini washing machine with a rotating drum
- A flour mill (chakki) model with a turning stone
- A crane that winds up a string to lift a small load
- A rotating display stand for another exhibition model
- An experiment comparing pulley size with speed
What else you need 8
How to connect it 8 steps
Check the motor's rated voltage in the listing or on the motor, and choose a cell holder that does not exceed it.
Attach wires to the motor's two terminals, by soldering with an adult or by twisting and taping, and put the switch in one wire.
Test the motor on its own: it should spin smoothly. Swap the two wires to see it reverse.
Press the small pulley firmly onto the motor shaft.
Clamp or tie the motor body to the frame so it cannot twist, keeping glue away from the shaft and the air vents.
Fit the medium pulley on an axle held in straw bearings, level with the motor shaft and in line with the small pulley.
Loop a belt over both pulleys so it is just tight enough not to slip, and switch on.
Mark a dot on each pulley, count their turns in ten seconds, and compare the ratio with the ratio of the pulley diameters.
Read this first
Safety first
Go through these points before you build or switch anything on. Younger students should do this with an adult.
- Keep fingers, hair, ties and loose sleeves away from moving belts and pulleys.
- Do not hold the motor stalled for long; it heats up and drains the cells.
- Use cells only, within the motor's rating, and never short the battery holder.
- Solder and use the glue gun only with an adult.
Troubleshooting
If something does not work
The usual problems with this part and how to fix them. Open a problem to see the fix.
The motor hums but does not turn
The load is too heavy or the belt is too tight. Loosen the belt, check that the axle turns freely by hand, and fit fresh cells.
The belt keeps coming off
The pulleys are not in line or the axles are not parallel. Line them up with a ruler and keep the belt slightly taut.
The motor spins but the driven pulley barely moves
The belt is too loose and slipping. Move the axle farther from the motor or use a shorter belt.
The pulley slips on the motor shaft
Its hole is a loose fit. Wrap a thin layer of tape around the shaft before pressing the pulley on.
Exhibition day
How to present it
A running order for the exhibition table or the practical, step by step.
Run the motor with the small pulley driving the medium one, then the other way round, and compare the speeds.
Mark a dot on each pulley so the audience can count and compare the turns.
Explain the commutator with a simple drawing, as it is the part examiners ask about most.
Keep the belt just tight enough; a loose belt slips and a very tight belt overloads the motor.
Practice
Viva questions
Practice questions on this part, with short answers. Try each one aloud before you open the answer.
What energy conversion takes place in a DC motor?
Electrical energy is converted into mechanical (kinetic) energy of rotation.
What is the job of the split-ring commutator?
It reverses the direction of current in the coil every half turn, so the coil keeps turning in one direction.
How would you make the pulleys turn the other way?
Reverse the current through the motor by swapping its battery connections; the motor, and so the pulleys, then turn the opposite way.
A 1 cm pulley on a motor drives a 3 cm pulley with a belt. How does the speed change?
The larger pulley turns at one third of the motor's speed, because pulley speeds are inversely proportional to their diameters.
Buying checklist
Before you buy
What to check before you order the part, and what to do when it arrives.
1Before you order
- Check the listing for the motor's rated voltage and the sizes of the pulleys and belts, and plan your model around them.
- Keep spare rubber belts or rubber bands, as belts can stretch or snap during demonstrations.
- Store the small pulleys and belts in a labelled bag inside the box.
- Check the delivery date for your PIN code on the marketplace, and order well before the exhibition or practical.
- Practise explaining it. Judges ask what the part shows and why; knowing the science matters as much as the part. The viva questions above are a good place to start.
2When it arrives
- Check that each pulley fits the motor shaft as soon as the parts arrive.
- Test the motor with cells on arrival and again a few days before the exhibition.
Next steps
Take it further
Ways to turn this part into a bigger investigation or a stronger exhibition entry.
Measure the speeds of pulleys of different sizes and show that the speed ratio is the inverse of the diameter ratio.
Turn the motor through a belt by hand and measure the voltage it produces, to show a motor working as a generator.
Compare a belt drive with a gear drive giving the same speed reduction, and note which one slips.
Audience
Who it suits
Suits Class 6 to 12 students building moving models for science exhibitions, and beginners learning about motors and simple machines.
- ClassClass 1 to 9
- SubjectPhysics
Free to read
Free ebooks for this topic
Free PDF ebooks from Gurukul Technicals Institute on the science, the making and the presenting of projects like this one.
- Free PDF ebook
Electronic Components Handbook
Resistors, capacitors, LEDs, diodes, transistors and more, with how to use each
- Free PDF ebook
Electricity and Magnetism Experiments
Hands-on experiments with cells, wires, bulbs and magnets
- Free PDF ebook
Motors, Gears and Motor Drivers
Make things move: DC motors, servos, steppers and how to drive them