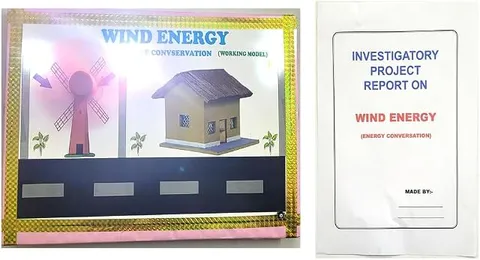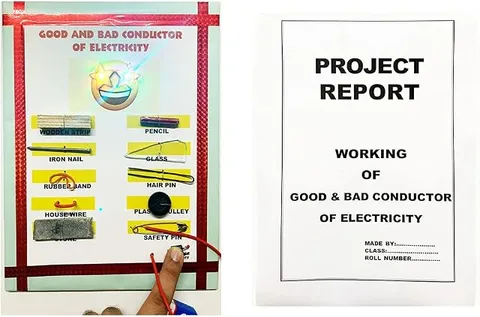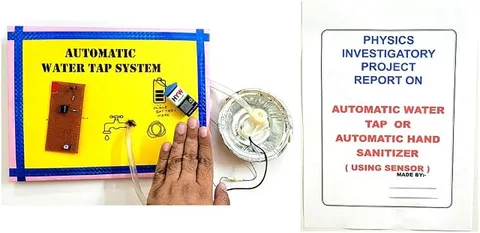
- Physics
- Ready-made model
- Class 1 to 9
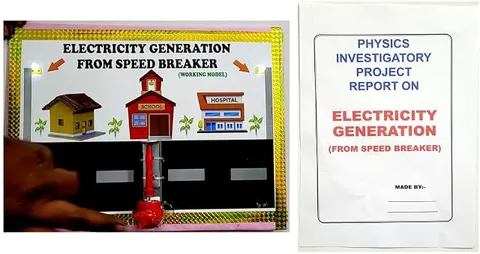
Electricity Generation from Speed Breaker Project Model Educational Electronic Hobby Kit
Code B0DTY7554G
- Paid for and delivered by Amazon. The current price and the delivery date for your PIN code are shown there.
- Sold by Gurukul Technicals Institute, Delhi.
- Need a different topic, a custom version or a school order? Ask on WhatsApp.
In this project guide
Ready-made model
About this model
This project model shows how electricity can be generated from vehicles passing over a speed breaker, by turning their push on the road into rotation that drives a generator. It is a popular theme for non-conventional energy exhibitions because it reuses energy that is otherwise wasted.
How it works
The science behind it
The idea the model demonstrates, in words you can use in your report and when you explain it.
A moving vehicle has kinetic energy, ½mv², and when it slows for a speed breaker much of that energy is normally lost as heat in the brakes. In a power-generating speed breaker, the vehicle's weight pushes a movable plate down a short distance. A mechanism such as a rack and pinion, a crank or a roller turns this up-and-down motion into rotation, which spins a generator. The generator works on electromagnetic induction: a coil rotating in a magnetic field has a changing magnetic flux through it, so an emf is induced (Faraday's law). Work done = force × distance, so a 1000 kg car pressing a plate down 2 cm does about 1000 × 9.8 × 0.02 ≈ 196 J of work, and a real system recovers less because of friction. Because the output comes in bursts, it is stored in a battery. A busy toll plaza, where vehicles slow down all day, suits such a system.
Make it yourself
Make a speed breaker electricity generator model yourself
Build your own version from scratch, or use the steps to understand how the ready-made model is put together before you present it.
What you need 8
Step by step 8 steps
Make a box-shaped hump on the base with a hinged top plate that can move down about 2 to 3 cm.
Put the springs under the free end of the plate so it springs back after being pressed.
Fix the rack upright under the plate so it moves down when the plate is pressed.
Mount the pinion and the large gear together on one axle so the rack turns them, and fix the motor so the small gear on its shaft meshes with the large gear. This steps up the speed, because a toy motor must spin fast to make enough voltage for an LED.
Connect the two LEDs across the motor terminals, back to back, so one lights as the plate goes down and the other as it comes back up.
Press the plate quickly by hand and watch the LEDs flash, then roll the toy car over it.
Connect the multimeter in place of the LEDs and record the voltage for slow and fast presses.
For a longer glow, take the two LEDs off and charge the capacitor through the diode over several presses: the diode's plain end to one motor terminal, its banded end to the capacitor's positive lead, and the capacitor's marked negative lead to the other motor terminal. Then connect an LED with the 1 kΩ resistor across it; it glows dimly for a few seconds.
Read this first
Safety first
Go through these points before you build or switch anything on. Younger students should do this with an adult.
- Keep fingers away from the gears and the hinge when the plate is pressed.
- Connect the electrolytic capacitor the right way round; reversed, it can bulge or burst.
- Ask an adult to saw wood, drill holes and use the glue gun.
- Press the plate with a flat hand, never with fingers under its edge.
Troubleshooting
If something does not work
The usual problems with this model and how to fix them. Open a problem to see the fix.
The LEDs do not light
The motor is not turning fast enough. Press more quickly, check that the gears stay meshed, or add a second gear stage so the motor spins faster for each press. The multimeter will still show a small voltage.
The pinion slips over the rack
The rack is not held firmly against the gear. Add a guide strip that keeps it pressed against the pinion.
Only one LED ever lights
Check that the second LED is fitted the opposite way round; it lights only as the plate rises.
The plate does not come back up
The springs are too weak or rubbing. Use stronger springs or add a third one.
Exhibition day
How to present it
A running order for the exhibition table or the practical, step by step.
Press the speed breaker by hand, first slowly and then quickly, and explain why faster motion gives a higher output from the generator.
Draw the energy chain on a chart: kinetic energy of the vehicle, mechanical rotation, then electrical energy stored in a battery.
Show the work-done calculation for a car and say honestly that a real system recovers only part of it.
Suggest real sites, such as toll plazas, parking exits and factory gates, where vehicles slow down anyway.
Practice
Viva questions
Practice questions on this model, with short answers. Try each one aloud before you open the answer.
What energy conversion takes place in this project?
The mechanical energy of the moving vehicle is converted into electrical energy by a generator.
On which principle does the generator work?
Electromagnetic induction: when the magnetic flux through a coil changes, an emf is induced in it.
Why is the electricity stored in a battery?
Vehicles pass at irregular moments, so the output comes in bursts; a battery stores it so it can be used steadily, for example for street lights.
Is this free energy?
No. By the law of conservation of energy, the electrical energy comes from the vehicle's motion, which its fuel ultimately supplied.
Project file
Project file outline
The headings of the project file, in order. Give each heading its own section and write it in your own words.
Free ebook: Writing a Science Project FileContents
- Aim: to show how energy from vehicles crossing a speed breaker can be converted into electricity
- Materials
- Principle: electromagnetic induction and turning straight-line motion into rotation
- Diagram of the rack and pinion mechanism
- Construction
- Observations: voltage for slow, fast and heavy presses
- Advantages and limitations of the idea on real roads
- Conclusion
- Precautions
Buying checklist
Before you buy
What to check before you order the model.
1Check these first
- Non-conventional energy is a common exhibition theme; check that this topic fits what your teacher has set.
- Check in the listing whether the output is shown with LEDs, a meter or something else, and whether any batteries are included.
- Test it a few days before the exhibition, pressing it many times to make sure the gears stay meshed.
- Keep the box so the plate and gears are not knocked out of line.
- Check the delivery date for your PIN code on the marketplace, and order well before the exhibition or practical.
- Practise explaining it. Judges ask what the model shows and why; knowing the science matters as much as the model. The viva questions above are a good place to start.
Next steps
Take it further
Ways to turn this model into a bigger investigation or a stronger exhibition entry.
Measure how the output changes with the weight pressed on the plate and plot a graph.
Add a bridge rectifier and capacitor so that several presses light an LED for a few seconds.
Compare a rack and pinion with a crank or roller mechanism and explain which wastes less energy.
Audience
Who it suits
Suits Class 8 to 12 science exhibitions on renewable and non-conventional energy, and Class 10 lessons on electromagnetic induction.
- ClassClass 1 to 9
- SubjectPhysics
- TypeReady-made model
Free to read
Free ebooks for this topic
Free PDF ebooks from Gurukul Technicals Institute on the science, the making and the presenting of projects like this one.
- Free PDF ebook
Electricity and Magnetism Experiments
Hands-on experiments with cells, wires, bulbs and magnets
- Free PDF ebook
Physics Working Models Explained
Twenty classic models, how each works and how to make it
- Free PDF ebook
Your Science Exhibition Guide
Choose a project, build it, present it and answer the judges with confidence
- Free PDF ebook
Writing a Science Project File
How to write the report, from the cover page to the bibliography