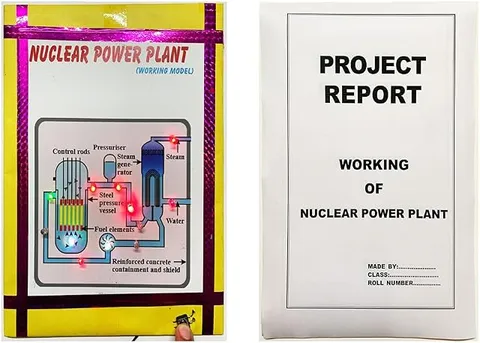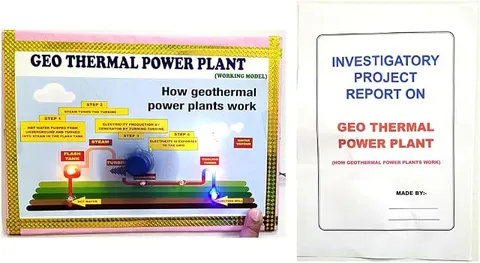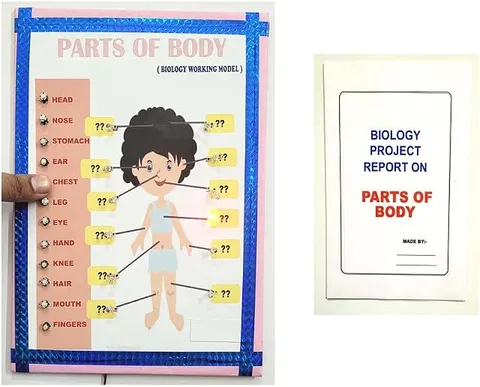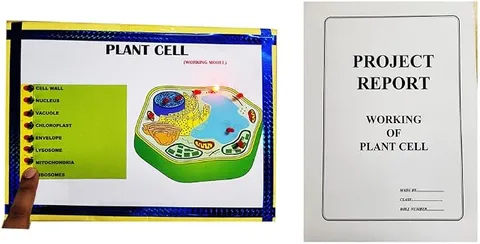
- Biology
- Kit
- Class 1 to 9
- Printed report included
Generic Educational Science Kit: Parts of a Plant Biology Working Project Model with Printed Report for Students
Code B0DK26R7JM
- Paid for and delivered by Amazon. The current price and the delivery date for your PIN code are shown there.
- Sold by Gurukul Technicals Institute, Delhi.
- Need a different topic, a custom version or a school order? Ask on WhatsApp.
In this project guide
Kit
About this kit
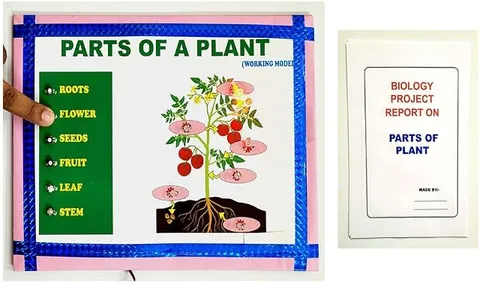
This biology working model is about the main parts of a flowering plant, such as the root, stem, leaves and flower, and the job each part does. The listing says a printed report is included, so a student also has material to build the project file from.
How it works
The science behind it
The idea the kit demonstrates, in words you can use in your report and when you explain it.
A flowering plant has a root system below the ground and a shoot system above it. Roots anchor the plant and absorb water and minerals through tiny root hairs, which increase the surface area for absorption. Mustard has a tap root, while wheat and grasses have fibrous roots. The stem holds up the leaves and flowers and carries materials: xylem moves water and minerals upward, and phloem carries food to all parts. Leaves make food by photosynthesis, using carbon dioxide, water and sunlight in the presence of chlorophyll, and give out oxygen; tiny pores called stomata let gases in and out. A peepal leaf shows reticulate venation, while a banana leaf shows parallel venation. The flower is the reproductive part: stamens are male, the pistil is female, and after fertilisation the ovary becomes the fruit and the ovules become seeds.
Make it yourself
Make a parts of a plant model yourself
Everything you need and the order to do it in. Tick off the materials as you collect them.
What you need 8
Step by step 7 steps
Draw a soil line across the board and make one plant with a tap root on one side and fibrous roots on the other, or two small plants.
Fix the stem upright, marking nodes and internodes, and add fine threads near the root tips as root hairs.
Cut leaves with a petiole and a lamina, draw the veins, and add a magnified circle showing stomata.
Make a large flower showing the sepals, petals, stamens with anthers, and the pistil in the centre.
Glue blue arrows going up from the roots to the leaves for water, and yellow arrows going from the leaves to the rest of the plant for food.
The night before the exhibition, stand the white flower or celery in coloured water; the colour rising into the petals or veins shows the xylem at work.
Label every part and add a small card giving its job.
Read this first
Safety first
Go through these points before you build or switch anything on. Younger students should do this with an adult.
- Ask an adult to trim the stem of the flower or celery with a knife.
- Food colour stains clothes and tables, so cover your work area.
- Ask an adult to use any glue gun.
Troubleshooting
If something does not work
The usual problems with this kit and how to fix them. Open a problem to see the fix.
The colour does not rise in the celery or flower
The cut end may have dried and sealed. Cut a fresh end under water, use more food colour and leave it for several hours.
The model keeps falling over
Fix the board to a heavier base or add a stand behind it.
The leaves droop
Glue a thin wire along the midrib of each leaf.
There is no room for labels
Use numbered pointers and a key at the side of the board.
Exhibition day
How to present it
A running order for the exhibition table or the practical, step by step.
Start from the root and move upward, naming each part and its function in one line.
Bring two real leaves, such as peepal and banana, to show reticulate and parallel venation.
Explain photosynthesis with its word equation written on a small card beside the model.
Show a real flower such as hibiscus or mustard, cut open, to point out the stamens and the pistil.
Practice
Viva questions
Practice questions on this kit, with short answers. Try each one aloud before you open the answer.
What is the function of root hairs?
Root hairs increase the surface area of the root so it can absorb more water and minerals from the soil.
What is the difference between xylem and phloem?
Xylem carries water and minerals from the roots upward, while phloem carries food made in the leaves to other parts of the plant.
Why are leaves called the food factories of a plant?
Leaves contain chlorophyll and make food (glucose) by photosynthesis using sunlight, carbon dioxide and water.
Give one example each of a plant with a tap root and a plant with fibrous roots.
Mustard has a tap root, while wheat has fibrous roots.
Project file
Project file outline
The headings of the project file, in order. Give each heading its own section and write it in your own words.
The listing includes a printed project report: use this outline to check that your own file covers every part.
Free ebook: Writing a Science Project FileContents
- Aim: to show the main parts of a flowering plant and the function of each
- Materials
- The root system: tap roots and fibrous roots
- The shoot system: stem, leaves and flowers
- Transport in plants: xylem and phloem
- Activity: coloured water rising in a stem, with observations
- Conclusion
- Glossary of terms
Buying checklist
Before you buy
What to check before you order the kit.
1Check these first
- Plant parts are taught from the primary classes onwards; check how much detail your teacher wants, such as the parts of a flower.
- Check in the listing whether the model has lights or moving parts that need batteries.
- If a printed report comes with it, add your own observations from the coloured-water activity.
- Look over the model a few days before submission and reglue any loose parts.
- Keep the box so the leaves and petals are not crushed.
- Check the delivery date for your PIN code on the marketplace, and order well before the exhibition or practical.
- Check whether it arrives assembled. The listing calls it a kit, so look at the photos and the box contents on the marketplace before you order.
Next steps
Take it further
Ways to turn this kit into a bigger investigation or a stronger exhibition entry.
Add modified roots and stems, such as a carrot, a potato and ginger, with notes on what each stores.
Peel the lower skin of a leaf and look at its stomata under a microscope with your teacher.
Show a monocot and a dicot side by side and compare their roots and leaf veins.
Audience
Who it suits
Suits Class 4 to 7 science and EVS projects and classroom lessons on the parts of a plant.
- ClassClass 1 to 9
- SubjectBiology
- TypeKit
- Project reportPrinted report included
Free to read
Free ebooks for this topic
Free PDF ebooks from Gurukul Technicals Institute on the science, the making and the presenting of projects like this one.
- Free PDF ebook
Biology Models Guide
Make the heart, lungs, kidney, eye, cell and more, and explain them well
- Free PDF ebook
Your Science Exhibition Guide
Choose a project, build it, present it and answer the judges with confidence
- Free PDF ebook
Writing a Science Project File
How to write the report, from the cover page to the bibliography
- Free PDF ebook
Viva Questions for Science Projects
How to answer examiner questions, with sample questions for popular projects