- Biology
- Ready-made model
- Class 1 to 9
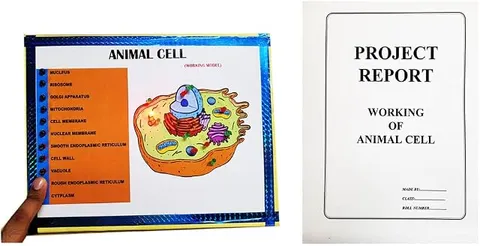
Animal Cell Biology Working Model Educational Science Project
Code B0BN2G7JCQ
- Paid for and delivered by Amazon. The current price and the delivery date for your PIN code are shown there.
- Sold by Gurukul Technicals Institute, Delhi.
- Need a different topic, a custom version or a school order? Ask on WhatsApp.
In this project guide
Ready-made model
About this model
A biology working model of an animal cell, used to identify and explain the nucleus, cytoplasm, cell membrane and organelles such as mitochondria. It is a clear visual aid for learning what each part does and how an animal cell differs from a plant cell.
How it works
The science behind it
The idea the model demonstrates, in words you can use in your report and when you explain it.
The cell is the basic structural and functional unit of life. An animal cell is bounded by a thin, flexible cell membrane, which is selectively permeable and controls what enters and leaves. Inside is the jelly-like cytoplasm holding the organelles. The nucleus, wrapped in a nuclear membrane, contains chromosomes made of DNA and controls the cell's activities. Mitochondria release energy from food by respiration and are called the powerhouse of the cell. The endoplasmic reticulum forms a network of channels, and the rough type carries ribosomes, which make proteins. The Golgi apparatus packages and dispatches materials, and lysosomes hold digestive enzymes, earning the name suicide bags. Unlike a plant cell, an animal cell has no cell wall and no chloroplasts, and its vacuoles, if present, are small. In Indian school labs, cheek cells stained with methylene blue are the usual way to see animal cells under a microscope.
Make it yourself
Make an animal cell model with light-up organelles yourself
Build your own version from scratch, or use the steps to understand how the ready-made model is put together before you present it.
What you need 10
Step by step 9 steps
Paint the hemisphere a light colour for the cytoplasm and paint a darker rim round its edge for the cell membrane, then fix it on the base.
- Shape the organelles from clay
A nucleus with a nucleolus inside, oval mitochondria with folded inner lines for the cristae, the Golgi apparatus as a stack of curved flat sacs, small round lysosomes, a pair of centrioles near the nucleus, and one or two small vacuoles.
Make the rough endoplasmic reticulum from pipe cleaners curving round the nucleus, with tiny beads stuck on as ribosomes, and the smooth endoplasmic reticulum without beads.
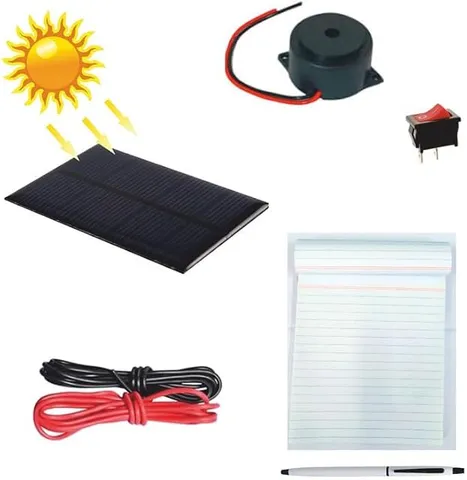
Before fixing the organelles, make a small hole beside the nucleus, one mitochondrion, the Golgi apparatus, a lysosome and the rough ER, and push an LED up through each so its tip just shows.
- Wire it underneath
Battery positive to one side of each push button; the other side of each button through a 470 Ω resistor to its LED's long leg; all the short legs back to battery negative.
Fix the push buttons in a row along the front of the base and label each with its organelle's name.
Glue the organelles in place and add label flags.
Test every button and check that it lights the correct organelle.
Add a small chart comparing animal and plant cells: no cell wall, no chloroplasts, small vacuoles and centrioles present in the animal cell.
Read this first
Safety first
Go through these points before you build or switch anything on. Younger students should do this with an adult.
- Do not use spray paint on thermocol: many spray paints dissolve it. Use water-based paints.
- Cut thermocol and foam board only with an adult, using a cutter or a hot-wire cutter in a room with fresh air.
- Keep tiny beads away from young children, who might swallow them.
- Always keep a resistor in series with each LED, and unclip the battery when the model is not on show.
Troubleshooting
If something does not work
The usual problems with this model and how to fix them. Open a problem to see the fix.
A button lights the wrong organelle
Two wires are crossed under the base. Trace each wire from its button to its LED and relabel or rewire.
The clay organelles crack or fall off
Air-dry clay shrinks as it dries. Let it dry slowly away from the sun, then fix each piece with white glue and a short toothpick peg.
An LED glows only dimly
The battery may be weak, or the LED tip may be buried in clay. Fit a fresh battery and clear the clay away from the LED's tip.
The thermocol surface melted when painted
The paint contained a solvent. Scrape off the damaged part, seal the surface with diluted white glue, and repaint with water-based paint.
Exhibition day
How to present it
A running order for the exhibition table or the practical, step by step.
Point to each organelle and give its function in one line, starting at the membrane and moving inwards.
Keep a comparison chart of animal and plant cells ready, as this is the most common question.
Explain why mitochondria are called the powerhouse of the cell and lysosomes the suicide bags.
If possible, show a cheek cell slide or photograph next to the model to connect it with the real thing.
Practice
Viva questions
Practice questions on this model, with short answers. Try each one aloud before you open the answer.
Why is the cell membrane called selectively permeable?
It allows some substances to pass in and out while stopping others.
Which organelle is called the powerhouse of the cell, and why?
Mitochondria, because they release energy from food by cellular respiration and store it as ATP.
Name two structures present in a plant cell but absent in an animal cell.
The cell wall and chloroplasts.
Why are lysosomes called suicide bags?
They contain digestive enzymes, and if the cell is badly damaged they can burst and digest the cell itself.
Project file
Project file outline
The headings of the project file, in order. Give each heading its own section and write it in your own words.
Free ebook: Writing a Science Project FileContents
- Aim: to show the structure of an animal cell and the job of each organelle
- Introduction: the cell as the basic unit of life, Robert Hooke and the cell theory
- Labelled diagram of an animal cell
- Table of organelles and their functions
- Differences between animal and plant cells
- Construction of the model and the push-button light circuit
- Observation of human cheek cells under a microscope
- Conclusion and bibliography
Buying checklist
Before you buy
What to check before you order the model, and what to do when it arrives.
1Before you order
- Check that the cell chapter is in your class syllabus and that a working model is what your teacher wants.
- Read the listing to see how the model's lights or moving parts are powered and whether batteries are mentioned.
- Compare the labels on the model with the names in your textbook, and correct any that differ before the exhibition.
- Keep the box and carry the model upright.
- Check the delivery date for your PIN code on the marketplace, and order well before the exhibition or practical.
- Practise explaining it. Judges ask what the model shows and why; knowing the science matters as much as the model. The viva questions above are a good place to start.
2When it arrives
- Check it for loose or broken parts as soon as it arrives and test it a few days before the exhibition.
Next steps
Take it further
Ways to turn this model into a bigger investigation or a stronger exhibition entry.
Prepare a stained cheek cell slide with your teacher's help and show a photo of it under the microscope beside the model.
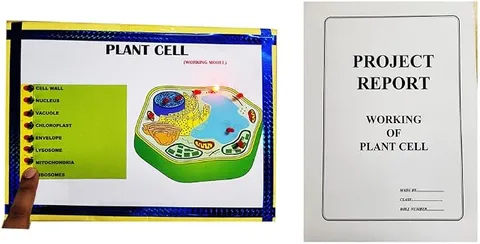
Build a plant cell model of the same size and display the two side by side.
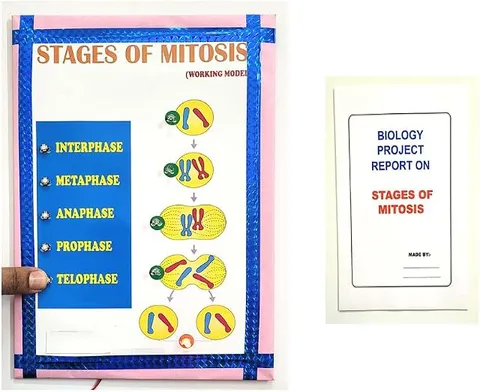
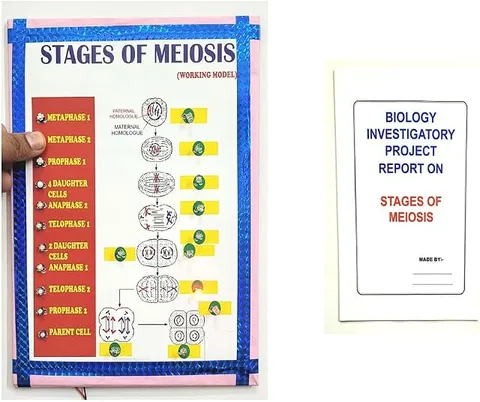
Add flip cards showing the stages of cell division (mitosis).
Audience
Who it suits
Suits Class 6 to 9 biology exhibitions and practical work on the cell.
- ClassClass 1 to 9
- SubjectBiology
- TypeReady-made model
Free to read
Free ebooks for this topic
Free PDF ebooks from Gurukul Technicals Institute on the science, the making and the presenting of projects like this one.
- Free PDF ebook
Biology Models Guide
Make the heart, lungs, kidney, eye, cell and more, and explain them well
- Free PDF ebook
Your Science Exhibition Guide
Choose a project, build it, present it and answer the judges with confidence
- Free PDF ebook
Writing a Science Project File
How to write the report, from the cover page to the bibliography
- Free PDF ebook
Viva Questions for Science Projects
How to answer examiner questions, with sample questions for popular projects