Science projects
Your Science Exhibition Guide
Choose a project, build it, present it and answer the judges with confidence
 Gurukul Technicals InstituteProjects & kits · Computer education · RoboticsBecome a Franchise PartnerMenu
Head office, Rana Pratap Bagh, Delhi
Science project idea finder
Find a project by class, subject and type. Every idea explains the science it shows, what you need, how long it takes and how to stay safe, with free ebooks and ready-made kits if you need them. 930 ideas have numbered steps and viva questions on their own page.
Want a complete build with diagrams? 16 free detailed project guides
Idea finder
Choose your class and what interests you, or search for a word such as magnet, solar, heart or robot. Open any card for a summary, or its title for the full page with the science, the steps and the viva questions.
Fans, conveyors and e-rickshaws vary motor speed by switching power on and off very fast rather than wasting it in a resistor. The project builds a PWM controller, measures real rpm with an infrared sensor and plots speed against duty cycle.
Safety: Use a battery or sealed 12 V adapter. Keep fingers and hair away from the rotating disc. The MOSFET can get warm. An adult must check the wiring.
Take it further: Add a PID loop that adjusts the duty cycle to hold the rpm at a set value as the load changes.
Digital weighing scales in shops use strain-gauge load cells, which change resistance by a tiny amount when bent. An HX711 amplifier and Arduino turn that into grams. The project calibrates the scale with known masses and reports its accuracy.
Safety: Do not overload the cell past its rating. Handle the bolts and plates with care; an adult must help with drilling.
Take it further: Add a price-per-kg keypad and compute the cost of the item for a small shop-style scale.
Wi-Fi does not reach farms, dams or hill villages. LoRa radio reaches kilometres on a few milliwatts. The project builds a transmitter that sends soil moisture and temperature and a receiver that shows them, then measures signal strength, packet loss and range against distance, spreading factor and antenna height.
Safety: Use only the licence-free band and power allowed in India and keep to the power limit of the module. Do not transmit near an airport. An adult must accompany field tests and keep to open safe ground.
Take it further: Add a third node and a simple repeater and test whether a hilltop relay reaches a hidden valley.
Factories and smart buildings send small readings from many sensors to one place. MQTT is the light-weight publish-subscribe protocol for this. The project builds three ESP32 nodes that publish readings to a broker on a laptop, with Node-RED showing live charts and alerts, and tests behaviour when a node drops off.
Safety: Keep the broker on the local network and set a username and password. Relay switches only the 12 V strip. An adult must check wiring.
Take it further: Store all readings in an InfluxDB or SQLite database and draw a week of data in a Grafana style chart.
Delivery vans, school buses and trekkers need a record of where they went. A battery-powered logger with a GPS module stores time, position and speed on an SD card, and a Python script plots the track on a map and finds distance and average speed. The project tests accuracy against a phone and a known surveyed route.
Safety: Handle Li-ion cells only with a proper charger module and protection board and never puncture or short them. An adult must supervise charging. Do not track people without their consent.
Take it further: Send the position every minute through an ESP32 over Wi-Fi to a web page that shows the live location in a campus.
A pulse oximeter clips on a finger and shows pulse and blood oxygen using red and infrared light. A student can build a low-cost model with a MAX30102 sensor and an Arduino, display the readings, and test the pulse rate against a manual count. The project is for learning only and must not be used for medical decisions.
Safety: This is not a medical device and its readings must not be used for diagnosis or treatment. Test only on consenting volunteers and use low light output. An adult must supervise, and stop if anyone feels unwell.
Take it further: Send the heart rate over Bluetooth to a phone app and plot a 10-minute history during a rest and recovery test.
Proxy attendance is a problem in classes and workshops. A fingerprint module identifies a person on the spot and a log records the time. The project builds a stand-alone attendance box and a Python script that converts the log into a monthly report, with attention to consent and data protection.
Safety: Use only sealed USB power. Collect fingerprints only from volunteers with written consent and explain how templates are stored. Never store images, only the module templates, and delete them at the end of the project.
Take it further: Send the log to a school server over Wi-Fi in a daily batch and show parents a monthly attendance percentage without fingerprint data.
Arduino code hides what a microcontroller does. Writing the program straight to the ATmega328P registers shows how ports, timers and interrupts work. The project builds a four-way traffic signal model with a state machine, timer interrupts and a pedestrian button, and measures timing accuracy.
Safety: Use USB power of 5 V. Check the LED resistor values so that the pin current stays below 20 mA. An adult must supervise soldering.
Take it further: Add a sensor-based mode that extends green time when a vehicle detector sees a queue, using an IR sensor model.
Elderly patients often forget tablets. A seven-compartment box with an RTC alarm, LEDs and lid sensors can remind the user, detect which lid opened and record missed doses for a caregiver. The project designs and tests the device with candy in place of medicine and discusses safety and reliability.
Safety: Use candy or small beads only for testing, never real medicine. This is a learning prototype, not a medical device, and must not be relied on for real medication. An adult must supervise.
Take it further: Add an ESP32 Wi-Fi message to a family member’s phone when a dose is missed twice in a row.
Small solar lighting systems fail when batteries are overcharged or deeply discharged. A charge controller protects them. The project builds one with an Arduino, a MOSFET switch and voltage and current sensing, with three-stage charging, low-voltage load disconnect and data logging, tested on a 12 V 7 Ah sealed lead-acid battery with a 20 W panel.
Safety: Lead-acid batteries can release gas when overcharged and can deliver very large current if shorted, so fit a fuse next to the battery. Work in a ventilated place with no flame. An adult must check all wiring and supervise the first power-up. Never connect to the mains.
Take it further: Add a buck converter to convert the extra panel voltage to current, a simple MPPT, and compare the energy gain with the PWM version.
Factory robots must place a gripper at an exact point. Inverse kinematics finds the joint angles that reach a point. The project builds a four-axis arm from acrylic and servos and solves the angles by trigonometry in Python, then measures positioning accuracy and repeatability.
Safety: The arm can pinch fingers and servos draw large currents. Do not power them from the Arduino pin. An adult must check wiring and supervise first movements, and keep hands out of the work area when running.
Take it further: Add a webcam and OpenCV to detect the cube colour and position, and make the arm pick it without fixed coordinates.
A two-wheel robot is an inverted pendulum and falls unless it moves under itself fast enough. The project builds one with a gyroscope and accelerometer, fuses their data, and tunes a PID controller until the robot stands and recovers from pushes, recording the effect of each gain.
Safety: Li-ion packs need a protection board and the right charger, and an adult must supervise charging. Keep the robot away from fingers as the wheels can pinch, and always test on the floor in a clear area.
Take it further: Add a Bluetooth module and a phone joystick so that the robot can drive and turn while balancing.
Some materials let electric current pass and some do not. A bulb lights up when the circuit is complete and a conductor is in the gap.
Safety: Use only a small cell and never touch mains sockets or plugs. An adult must strip the wire ends and stay with you while you test.
Take it further: Test a steel spoon, a pencil and water, and a tap-water bowl, but only with an adult.
A complete circuit with a cell, a bulb and a switch makes light. A lighthouse model shows how light guides ships at night.
Safety: An adult must strip the wires and press the pins. Use only a small cell, never mains power.
Take it further: Add a second bulb in the circuit and see if both are as bright.
Before you start
Six things to think about before you decide. A project you understand and finish well beats a big one you rush.
Good projects answer a question you are curious about: why does iron rust, which fabric keeps tea hottest, how does a robot follow a line? A question gives your project a purpose.
Find out whether your teacher wants a working model, a still model or an investigatory project, the size limits, the topic or theme, the date, and whether ready-made models are allowed.
Each idea here shows a class band, a difficulty and a rough time. Choose something you can finish properly with time to test it, rather than something huge you have to rush.
Judges and examiners ask how it works. Choose an idea whose science you understand, or can learn from your textbook and the free ebooks, and practise explaining it.
Write down everything you need before you start. Many models use things from home; motors, LEDs, sensors and boards are easy to buy as spare parts or in a kit.
Change one thing and measure what happens, add a chart of your readings, or show a real-life use. Even a well-known model becomes yours when you add your own observations.
Plan your time
Work backwards from the date of your exhibition or submission. Short of time? Do the same steps faster, but never skip testing.
On the day
You will usually have a minute or two to explain your project, then questions. Practise both out loud at home.
Projects and kits
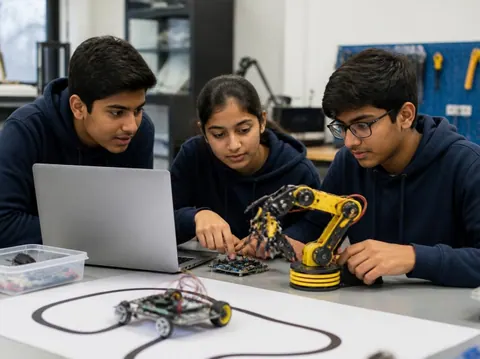
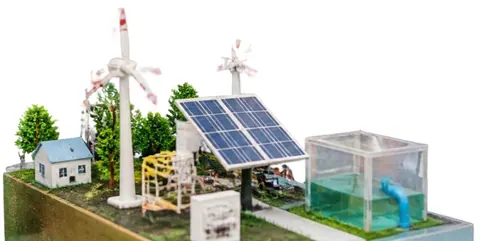
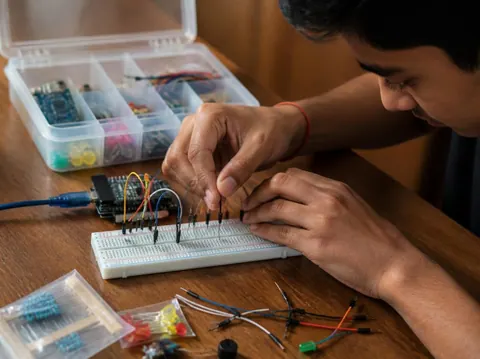
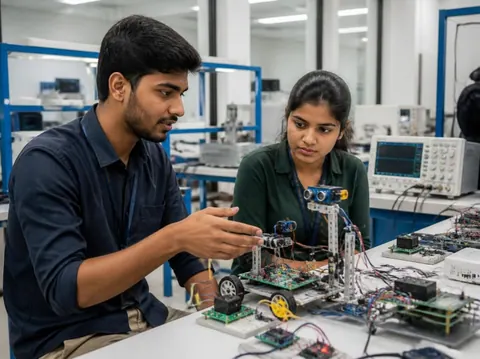
Need a working model, a kit to build yourself, or a motor, LED, battery or sensor to finish your own? Every idea card links to the matching section of the store.
Cannot find what you need? Ask the head office on WhatsApp.
Free ebooks
Step-by-step project books for every class, plus guides to exhibitions, project files and viva questions. Free to download, read and print.
Science projects
Choose a project, build it, present it and answer the judges with confidence
Science projects
How to write the report, from the cover page to the bibliography
Science projects
How to answer examiner questions, with sample questions for popular projects
Science projects
Simple, safe projects young children can make with a little help
Science projects
Working models matched to middle-school science topics
Science projects
Topics, method and report structure for physics, chemistry and biology
Stay safe
Read these with a parent before you start. Ideas that need extra care carry their own safety note on the card.
Power your models with cells, batteries or a low-voltage adapter. Never connect anything home-made to a wall socket.
Cutters, blades, glue guns, soldering irons and drills need an adult beside you. Cut away from your body on a board.
Use only safe household materials at home. Acids, stains and other lab chemicals are for the school lab with your teacher. Wear goggles and never taste anything.
Candles and burners only with an adult present and water nearby. Tie back long hair and keep paper away.
Do not short-circuit a battery, mix old and new cells, or puncture or heat a lithium battery. Remove batteries when the model is stored.
Magnets, button cells and small parts can be swallowed. Keep them away from younger brothers and sisters, and wash your hands after making.
Still have a question?
Chat on WhatsAppA working model moves or works to show a principle, such as a windmill that lights an LED. A still model shows how something is built or arranged, such as the layers of the Earth. An investigatory project asks a question and answers it by experiment: you change one thing, measure the result and draw a conclusion from your readings.
Check your school’s rules first: some competitions want models made by the student, and some allow ready-made ones. Either way, you must understand how it works and be able to explain it. A good approach is to build from a kit, or to add your own measurements and chart to a ready-made model.
Each idea here shows a rough time for the making. Leave extra time for reading, testing, the report and practice: three to four weeks from choosing to presenting is comfortable for most school projects.
A title page, your aim, the science behind it, the materials, the method with a diagram, your observations in a table, the result and conclusion, precautions, and the books and websites you used. The free ebook “Writing a Science Project File” explains each part.
Carry spare cells, wires and tape, and test everything when you arrive. Take a short video or photos of it working at home. If something still fails, explain calmly what should happen and what you would check: judges value understanding as much as a perfect model.
More help
Read the student help pages, try the free calculators for circuits and units, or ask the head office on WhatsApp.