Science projects
Your Science Exhibition Guide
Choose a project, build it, present it and answer the judges with confidence
 Gurukul Technicals InstituteProjects & kits · Computer education · RoboticsBecome a Franchise PartnerMenu
Head office, Rana Pratap Bagh, Delhi
Science project idea finder
Find a project by class, subject and type. Every idea explains the science it shows, what you need, how long it takes and how to stay safe, with free ebooks and ready-made kits if you need them. 930 ideas have numbered steps and viva questions on their own page.
Want a complete build with diagrams? 16 free detailed project guides
Idea finder
Choose your class and what interests you, or search for a word such as magnet, solar, heart or robot. Open any card for a summary, or its title for the full page with the science, the steps and the viva questions.
Faraday’s law says the emf in a coil equals the rate of change of magnetic flux. A magnet falling faster through the same coil gives a larger voltage pulse.
Safety: Neodymium magnets are brittle and can pinch; an adult must handle them. Catch the magnet on a cushion so it does not chip.
Take it further: Time the fall with a phone video and compare the measured speed with √(2gh) to estimate the drag.
A convex lens forms a real, inverted image on a screen at a distance that depends on where the object is. The lens formula links the two distances to the focal length, and a graph of 1/v against 1/u gives f accurately.
Safety: Never point the lens at the Sun; an adult must make the cross cut in the paper.
Take it further: Measure the magnification v / u for each position and plot it against v to find a second value of f.
If an object and a screen are further apart than four focal lengths, there are two lens positions that give a sharp image. The distance between them gives f from f = (D² − d²) / 4D.
Safety: Do not look at the torch beam directly and never aim the lens at the Sun.
Take it further: Measure the sizes of both images, h1 and h2, and show that the object size is √(h1 × h2).
The size, position and nature of the image in a concave mirror change as the object moves from far away to inside the focal length. The mirror formula and magnification can be checked with real readings.
Safety: Do not let the mirror focus the Sun on skin, paper or cloth; an adult must supervise outdoor tests of the focal length.
Take it further: Use a spoon-sized convex mirror and show that it always gives a small, upright, virtual image.
Rays from an object under water that meet the surface at more than the critical angle are totally reflected and cannot leave. A disc on the surface can hide a pin completely when its radius is large enough, which gives the refractive index.
Safety: An adult must handle the sharp pins and push them through the disc.
Take it further: Use salt water of a known strength and show that the critical angle becomes smaller because n has increased.
Light going from air into glass bends toward the normal so that sin i / sin r is a constant, the refractive index. A graph of sin i against sin r for several angles has a slope equal to that index.
Safety: An adult must supervise the sharp pins and help with any tricky cutting.
Take it further: Repeat with a slab of different thickness and show that the lateral shift is greater for the thicker slab at the same angle.
A ray bent by a prism is deviated by an angle D that first falls and then rises as the angle of incidence increases, with a minimum in the middle. The refractive index follows from the minimum deviation and the prism angle.
Safety: An adult must handle the pins and the glass prism, whose edges can be sharp.
Take it further: Place coloured filters or red and blue paper over the incident ray and measure the minimum deviation for each.
A short focal length objective makes a magnified real image, and a second lens, the eyepiece, magnifies that image again. The total magnification is the product of the two.
Safety: An adult must make any cuts in the card. Do not use a mirror to point sunlight at the slide or your eye.
Take it further: Change the tube length and plot magnification against tube length to show that a longer tube gives a larger M.
A long focal length objective and a short focal length eyepiece make a refracting telescope. In normal adjustment its angular magnification is f0 / fe.
Safety: Never look at the Sun through the telescope, even for a moment; it can blind. An adult must supervise any cutting.
Take it further: Add a third lens of suitable focal length as an erecting lens to make a terrestrial telescope and test it on a distant tree.
Light passing through a second polarising filter is cut down by cos² of the angle between the two filters’ axes. Measuring the light level against the angle verifies Malus’s law.
Safety: An adult must take apart any old screen and remove the polarising film; handle broken glass with care.
Take it further: Look through one filter at the sky at different angles from the Sun and note where the polarisation is strongest, at 90 degrees from the Sun.
A CD’s closely spaced tracks act as a reflection diffraction grating. A laser pointer makes spots on a wall whose angles give the spacing of the tracks, about 1.6 micrometres, from d sin θ = n λ.
Safety: An adult must supervise. Never shine a laser at anyone’s eyes, or at shiny surfaces that can reflect it back; do not look into the beam or its reflection. Use only a class 2 pointer.
Take it further: Shine the laser across a single human hair stretched on a card and use the fringe spacing to estimate the hair’s thickness.
The brightness of a small light source falls with the square of the distance. Doubling the distance cuts the light to a quarter.
Safety: Do not look directly at a bright LED from close range. An adult should supervise if a phone is held on a tape.
Take it further: Compare a white LED and a red LED of equal brightness and find whether the law holds for each.
A hot body cools at a rate proportional to its excess temperature over the surroundings. A graph of the natural log of the excess temperature against time is a straight line.
Safety: An adult must heat the water and pour it; hot water causes scalds. Keep the cup on a firm tray.
Take it further: Compare a black-painted tin and a shiny tin of the same size cooling side by side, to test the effect of surface radiation.
Different metals need different amounts of heat to warm by one degree. Dropping hot metal into cool water and measuring the final temperature gives the metal’s specific heat.
Safety: An adult must heat the water and move the hot metal with tongs or thread; boiling water and hot metal can burn badly.
Take it further: Plot the final temperature against the mass of metal used to show that the rise is proportional to the heat available.
When one end of equal rods is heated, the heat travels along each at a different speed. Dabs of butter melt in order along the rod, showing which metal is the better conductor.
Safety: An adult must heat and handle the water and use tongs, never fingers, to move the rods; do not use an open flame.
Take it further: Add a glass rod and a wooden skewer of the same size and see how little their butter dabs melt.
Melting ice absorbs a lot of heat without changing temperature. Mixing dry ice at 0 degrees C into warm water and measuring the final temperature gives the latent heat of fusion, about 334 joules per gram.
Safety: An adult should supervise the hot tap water. Handle the glass thermometer carefully.
Take it further: Repeat with crushed ice and with salt added and measure the lower temperature reached.
A metal rod lengthens by only a fraction of a millimetre when heated. A pointer fixed on a rolling needle magnifies the tiny change so that the coefficient of linear expansion can be measured.
Safety: An adult must heat and pour the water; hot water and metal can scald. Do not touch the rod during the test.
Take it further: Build a bimetallic strip from aluminium foil taped to thin steel and watch it curl when warmed by hot water.
An air column closed at one end resonates when its length is a quarter or three quarters of the wavelength. Two resonance lengths give the speed of sound without needing to know the end correction.
Safety: Keep the volume modest to protect hearing. An adult should help if glass is used.
Take it further: Repeat on a cold morning and a hot afternoon to see the speed of sound changing with temperature.
Sound takes time to reach a wall and return. If you clap so that each clap meets the echo of the last, the time between claps is the echo time, so speed = 2 × distance ÷ time.
Safety: Choose a quiet open ground away from traffic. An adult must supervise.
Take it further: Use a phone voice recorder and a free sound editor to measure the delay between a clap and its echo directly.
The pitch of a stretched string rises when it is shortened or tightened. The frequency is inversely proportional to the length and proportional to the square root of the tension.
Safety: An adult must help fix the wire and keep clear of its ends, as the string can snap under tension.
Take it further: Pluck the string at one quarter of its length and use the app to see the higher harmonics appear in the spectrum.
Air in a bottle with a narrow neck resonates at a frequency that falls as the bottle’s air volume gets bigger. Adding water makes the note rise.
Safety: An adult should supervise if glass bottles are used.
Take it further: Blow across bottles with different neck lengths cut from plastic and show the effect of L on the frequency.
A vibrating plate has nodal lines where it stays still, and sprinkled salt collects on them to draw beautiful patterns. Each pattern belongs to one natural frequency of the plate, and higher frequencies give more complex figures.
Safety: An adult must cut the metal sheet and file the edges smooth, and must supervise the wiring of the speaker; keep volume moderate.
Take it further: Use a round plate and compare its patterns with the square one.
The acceleration of a trolley is proportional to the force on it and inversely proportional to its mass. A falling weight pulls the trolley, and distance-time measurements give the acceleration.
Safety: Catch the trolley before it hits the pulley; keep the weights away from toes, and do not use heavy weights.
Take it further: Use a phone slow-motion video and a ruler on the table to get the speed at several points and plot v against t.
In a collision the total momentum of two cars is the same before and after, even though some kinetic energy is lost. Slow-motion video gives the speeds.
Safety: Keep the cars away from the table edge and from the floor beneath it. An adult must supervise small parts.
Take it further: Start with both cars at rest, joined by a compressed spring, release them and show that the two momenta are equal and opposite.
Before you start
Six things to think about before you decide. A project you understand and finish well beats a big one you rush.
Good projects answer a question you are curious about: why does iron rust, which fabric keeps tea hottest, how does a robot follow a line? A question gives your project a purpose.
Find out whether your teacher wants a working model, a still model or an investigatory project, the size limits, the topic or theme, the date, and whether ready-made models are allowed.
Each idea here shows a class band, a difficulty and a rough time. Choose something you can finish properly with time to test it, rather than something huge you have to rush.
Judges and examiners ask how it works. Choose an idea whose science you understand, or can learn from your textbook and the free ebooks, and practise explaining it.
Write down everything you need before you start. Many models use things from home; motors, LEDs, sensors and boards are easy to buy as spare parts or in a kit.
Change one thing and measure what happens, add a chart of your readings, or show a real-life use. Even a well-known model becomes yours when you add your own observations.
Plan your time
Work backwards from the date of your exhibition or submission. Short of time? Do the same steps faster, but never skip testing.
On the day
You will usually have a minute or two to explain your project, then questions. Practise both out loud at home.
Projects and kits
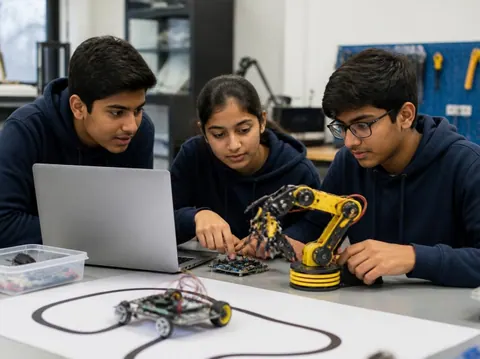
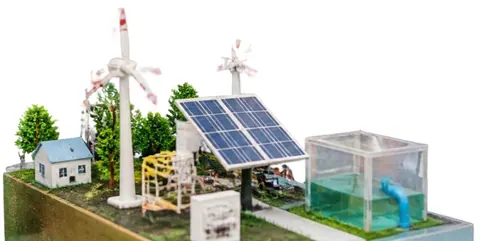
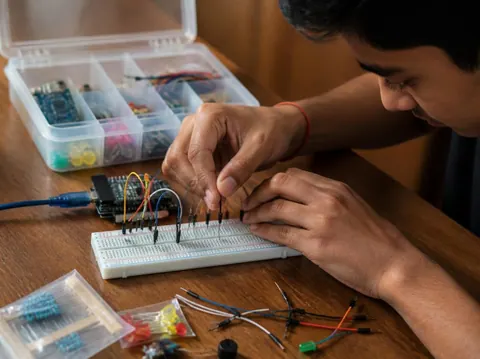
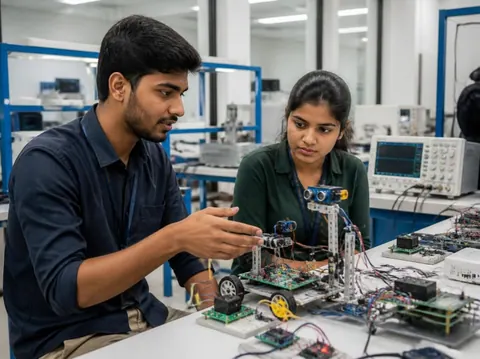
Need a working model, a kit to build yourself, or a motor, LED, battery or sensor to finish your own? Every idea card links to the matching section of the store.
Cannot find what you need? Ask the head office on WhatsApp.
Free ebooks
Step-by-step project books for every class, plus guides to exhibitions, project files and viva questions. Free to download, read and print.
Science projects
Choose a project, build it, present it and answer the judges with confidence
Science projects
How to write the report, from the cover page to the bibliography
Science projects
How to answer examiner questions, with sample questions for popular projects
Science projects
Simple, safe projects young children can make with a little help
Science projects
Working models matched to middle-school science topics
Science projects
Topics, method and report structure for physics, chemistry and biology
Stay safe
Read these with a parent before you start. Ideas that need extra care carry their own safety note on the card.
Power your models with cells, batteries or a low-voltage adapter. Never connect anything home-made to a wall socket.
Cutters, blades, glue guns, soldering irons and drills need an adult beside you. Cut away from your body on a board.
Use only safe household materials at home. Acids, stains and other lab chemicals are for the school lab with your teacher. Wear goggles and never taste anything.
Candles and burners only with an adult present and water nearby. Tie back long hair and keep paper away.
Do not short-circuit a battery, mix old and new cells, or puncture or heat a lithium battery. Remove batteries when the model is stored.
Magnets, button cells and small parts can be swallowed. Keep them away from younger brothers and sisters, and wash your hands after making.
Still have a question?
Chat on WhatsAppA working model moves or works to show a principle, such as a windmill that lights an LED. A still model shows how something is built or arranged, such as the layers of the Earth. An investigatory project asks a question and answers it by experiment: you change one thing, measure the result and draw a conclusion from your readings.
Check your school’s rules first: some competitions want models made by the student, and some allow ready-made ones. Either way, you must understand how it works and be able to explain it. A good approach is to build from a kit, or to add your own measurements and chart to a ready-made model.
Each idea here shows a rough time for the making. Leave extra time for reading, testing, the report and practice: three to four weeks from choosing to presenting is comfortable for most school projects.
A title page, your aim, the science behind it, the materials, the method with a diagram, your observations in a table, the result and conclusion, precautions, and the books and websites you used. The free ebook “Writing a Science Project File” explains each part.
Carry spare cells, wires and tape, and test everything when you arrive. Take a short video or photos of it working at home. If something still fails, explain calmly what should happen and what you would check: judges value understanding as much as a perfect model.
More help
Read the student help pages, try the free calculators for circuits and units, or ask the head office on WhatsApp.