Robotics
Robotics and Electronics Basics Study Book
The complete study notes, practice questions and glossary for Robotics and Electronics Basics
 Gurukul Technicals InstituteProjects & kits · Computer education · RoboticsBecome a Franchise PartnerMenu
Head office, Rana Pratap Bagh, Delhi
Robotics and electronics
Build circuits, sensors, robots and smart devices with Arduino and other microcontrollers, for projects, labs, repairs and automation.
This could suit you if
On this page
The work
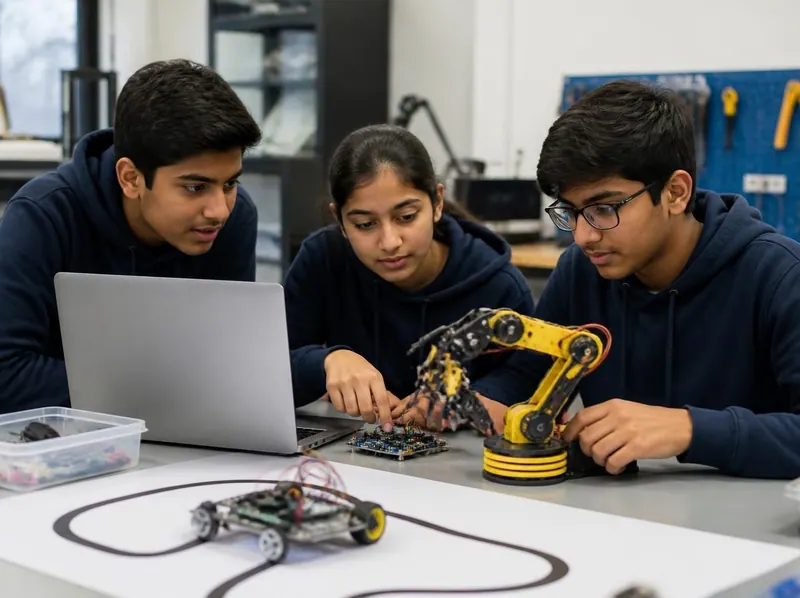
Robotics and electronics combine circuits, sensors, motors and code. An electronics technician builds and repairs circuits and devices. A robotics or embedded systems developer programs microcontrollers such as Arduino and ESP boards so that machines can sense and act: a robot that follows a line, a pump that waters plants when the soil is dry, a machine that counts products on a production line.
It is also one of the best ways to understand physics and coding together. Many people start with school science projects and kits, go on to a diploma or engineering, and work in labs, factories, repair or teaching.
A day at work
Every workplace is different, but a typical day goes something like this.
Plan the day’s build: read the circuit diagram and check the components and code it needs.
Wire the circuit on a breadboard, upload code to the Arduino, and test each sensor and motor one at a time.
Debug: measure voltages with a multimeter, fix loose wires, adjust the code, then solder the final version.
Document the project with photos, the circuit diagram and the code, so someone else can repeat it.
Skills and tools
The skills come first; the tools are how you use them. You do not need everything on day one.
Learning path
A realistic plan if you practise most days, at a course or at home. Go at your own pace: the order matters more than the speed.
Practice plan
Employers and customers want to see what you can do. Build these as you learn, and keep them neat: they speak for you in an interview.
For example a line follower, an obstacle avoider and a smart dustbin, each with a short video.
One neat, permanent circuit on a PCB or perfboard shows real hand skill.
A sensor reading shown on a phone or web page, such as a room temperature monitor.
Circuit diagram, parts list, code on GitHub, and what you would improve next time.
Photos and certificates from science fairs or robotics competitions you entered.
Getting started
Most people start with a junior job or helper role and learn on the job; some build their own small business step by step.
Stay safe
Fake job offers target people looking for their first job. A real employer never asks you for money.
A real employer does not ask for a registration fee, a security deposit, or money for a training kit, ID card or uniform before you join. If someone asks you to pay to get a job, it is a scam.
Offers on WhatsApp or Telegram to earn by liking videos, writing reviews or doing "simple online tasks" are a common fraud. They pay a little at first, then ask you to deposit money for bigger tasks.
Look for an office you can visit, an official email address and website, and people who have actually worked there. Search the company name with the word "fraud" before you go.
Never share an OTP, bank PIN or password. Do not send scans of Aadhaar or PAN, or install a screen-sharing app, for anyone you have not checked.
Interviews should be in an office or a public place, in the daytime. Tell a family member where you are going, and leave if anything feels wrong.
Call the national cyber crime helpline 1930 straight away, report it at cybercrime.gov.in and tell your bank. The sooner you report, the better the chance of stopping the money.
National cyber crime helplineCheated by a fake job or payment? Call 1930 straight away and report it at cybercrime.gov.in (opens in a new tab).
Interview tips
Learn at the institute
These courses teach skills on this page. For the duration, fees and batch timings, ask the head office or your nearest member centre.
Free ebooks
Free PDF ebooks for this line of work, to read on your phone or print.
Robotics
The complete study notes, practice questions and glossary for Robotics and Electronics Basics
Robotics
Resistors, capacitors, LEDs, diodes, transistors and more, with how to use each
Robotics
Make things move: DC motors, servos, steppers and how to drive them
Hardware & repair
Make strong, clean solder joints on wires and circuit boards
Robotics
A complete build guide with two IR sensors, an L298N driver and Arduino
Still have a question?
Chat on WhatsAppYoung children can start with simple circuits, lights and motors, and move on to coding and Arduino as they grow. What matters most is building things with their own hands, at a pace that suits them.
Design and research roles usually need a diploma or an engineering degree. Lab assistant, trainer, technician and repair roles often value practical skill and good projects. Many people start with projects and kits and go on to study further.
Start with Arduino. It is simple, low-cost and made for controlling sensors and motors. A Raspberry Pi is a small computer that runs Linux, better later for camera, data and internet projects.
Gurukul Technicals Institute sells project kits, robotics kits and spare parts through its store on Amazon and Flipkart, and electronics markets in most cities stock components. Buy a starter kit first, then add parts project by project.
Keep exploring